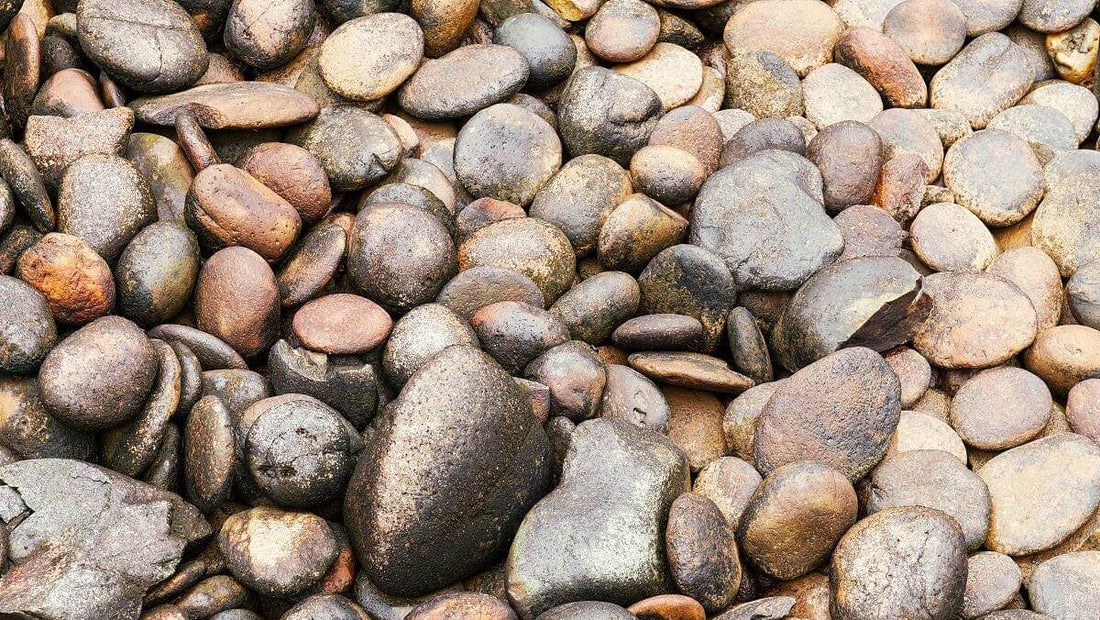
Rock polishing, also known as lapidary, is the art of transforming rough, unpolished stones into smooth, shiny gems through a series of grinding, sanding, and polishing processes. Understanding how to polish rocks by hand is useful once you've collected some good samples. Maybe you're using a rock tumbler for your rock tumbling. If you prefer, you can experience the gratification of hand-polishing your rocks, although it does demand dedication and time. Here are the steps to guide you through the process...
Types of Rocks Suitable for Polishing
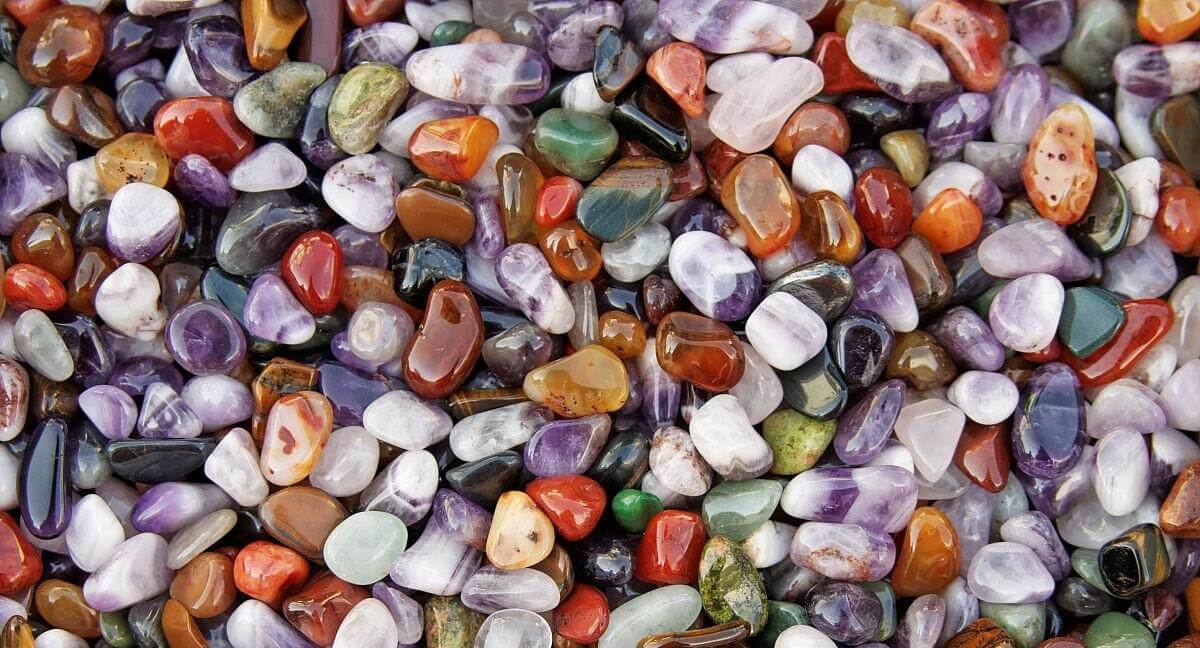
When it comes to rock polishing, not all stones are created equal. Certain types of rocks are better suited for polishing than others due to their hardness, texture, and composition. Some of the most commonly polished rocks include:
Agates: Known for their vibrant colors and distinctive banding patterns, agates are a popular choice among rock polishers. Their relatively high hardness makes them ideal for achieving a smooth, glossy finish.
Jasper: With its rich hues and intricate patterns, jasper is prized for its ornamental value. This dense and durable stone polishes beautifully, revealing its striking colors and unique patterns.
Quartz: Quartz crystals come in a variety of forms, including clear quartz, amethyst, and rose quartz. These crystals are prized for their clarity and luster, making them a favorite among rock polishing enthusiasts.
Obsidian: Formed from volcanic lava, obsidian is a naturally occurring glass that polishes to a high shine. Its smooth texture and glossy appearance make it a popular choice for jewelry and decorative items.
Petrified Wood: Petrified wood is the result of wood being fossilized over millions of years, resulting in a stone-like material with beautiful grain patterns. When polished, petrified wood reveals its intricate textures and rich colors, making it a unique and captivating choice for rock polishing projects.
Why Hand Polish Rocks?
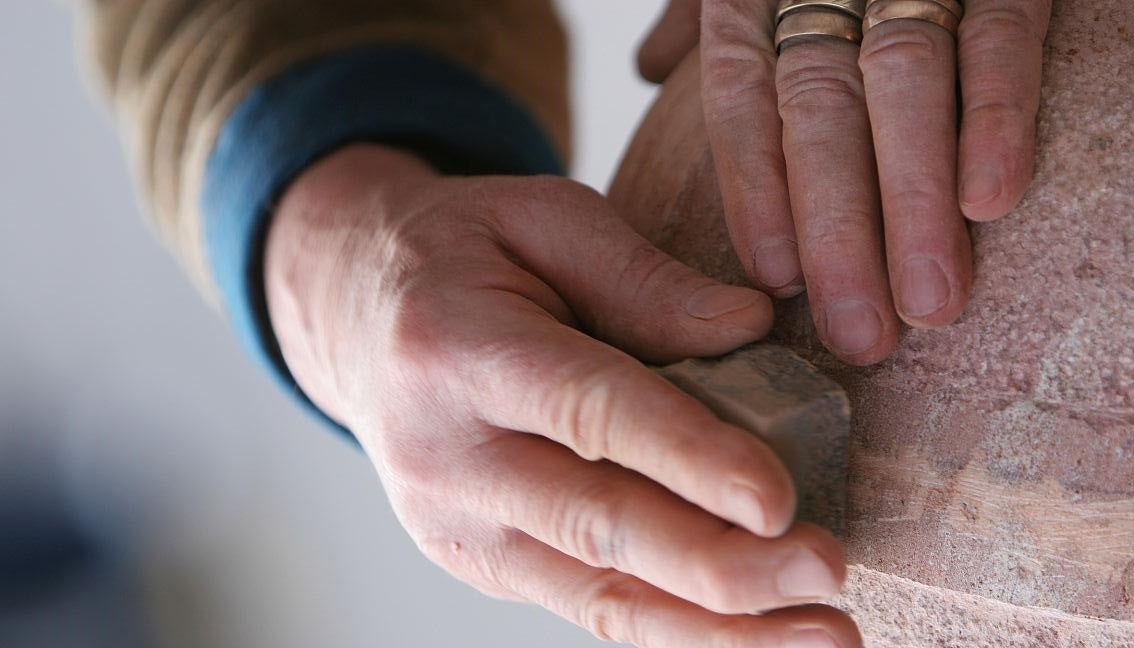
Hand polishing rocks provides a deeply immersive and fulfilling experience, forging a profound connection between enthusiasts and the untamed splendor of nature's gems. Unlike automated processes, manual polishing invites a tactile and intimate engagement with every individual stone, nurturing a profound sense of artistry and ingenuity. With meticulous manipulation and unwavering focus, artisans can attain distinct finishes and intricate patterns that mirror their distinctive flair and creative vision. Furthermore, hand-polishing affords heightened control and precision, reducing the likelihood of harming the stones and safeguarding their innate allure.
The Polishing Process
With your rocks prepared and set, it's time for the next step - the transformation! The polishing process consists of several steps, with each one progressing from the previous to uncover the hidden beauty of your rock.
Step 1: Cleaning the Rocks
First things first, we need a clean slate to work with. Thoroughly wash your rocks in warm water with a mild dish soap to eliminate any dirt, grime, or minerals that could impede the polishing process. Ensure they are rinsed well and completely dried before moving on.
Step 2: Shaping the Rocks (optional)
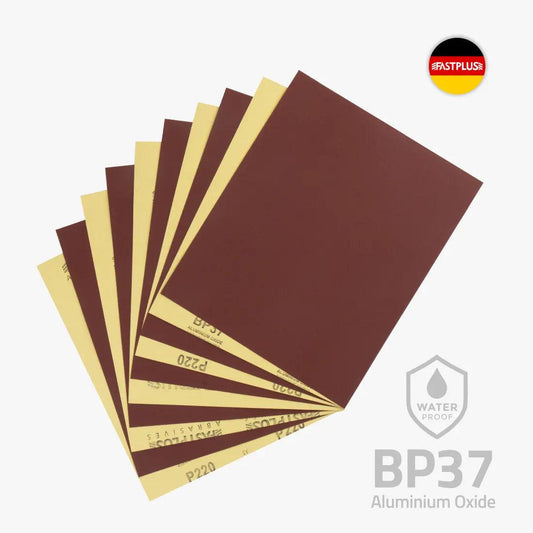
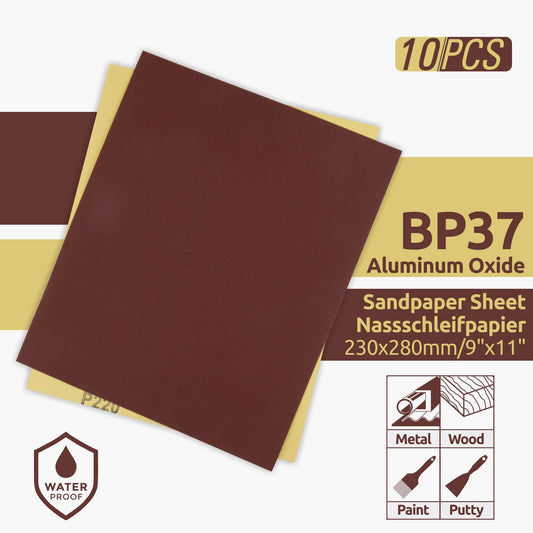
If your rock has any sharp edges or uneven surfaces you'd like to refine, this is your chance! Grab some coarse-grit sandpaper (around 220 grit) and dampen it with water. Use long, even strokes to smooth out the rock's exterior, focusing on removing large flakes and achieving your desired shape. Remember, you can always remove more material, so start slow and be mindful not to take off too much at once. Rinse the rock and sandpaper frequently to remove debris and ensure a smooth sanding experience.
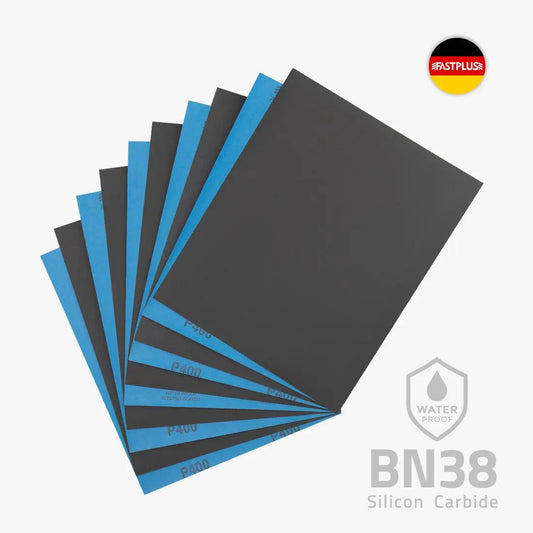
Step 3: Sanding Through the Grits

This is where the real magic happens! We'll be using a series of sandpaper grits, progressively finer, to gradually remove scratches and create a polished surface. Here's where patience becomes your best friend.
- Start with Coarse Grit (e.g., 220 grit): Dip your sandpaper in water and begin sanding the rock in a circular motion, applying even pressure throughout. Rinse both the rock and sandpaper regularly to remove built-up debris. Keep sanding until the scratches left by the previous step (shaping, if done) are completely gone.
- Progressing Through the Grits (e.g., 400, 600): To advance through the grits (such as 400 grit and 600 grit), continue sanding with increasingly finer sandpaper grits (starting around 400, then moving to 600). As you progress through the grits, the scratches will become increasingly finer, resulting in a smoother rock surface.
- Checking Your Progress: Inspect your rock under good lighting frequently. When the scratches from the previous grit become no longer visible, proceed to the next finer grit.
Step 4: Pre-polishing
For an extra-smooth foundation for polishing, you can use a final, very fine-grit sandpaper (around 1000 grit or higher). This step isn't essential but can be helpful for achieving a truly exceptional shine. Follow the same process as before, sanding with even pressure and rinsing frequently.
Step 5: Polishing
We are now prepared to reveal the hidden brilliance of the rock! The polishing compound plays a crucial role in this process. Simply put a small quantity of the compound on a moist felt or cotton cloth. Polish the rock using a circular motion and gentle pressure. While polishing, the compound will interact with the rock's surface, smoothing out small scratches and producing a dazzling sheen. Apply additional compound as necessary and keep polishing until you reach the desired shine.
Step 6: The Final Touches
After achieving the desired shine, proceed with the finishing touches. Use a fresh, dry cloth to remove any remaining polishing compound residue. Give the rock a final buff to enhance its brilliance, and appreciate your craftsmanship. You have turned a raw rock into a polished gem, suitable for showcasing proudly or presenting as a thoughtful gift.
Tumbling vs. Hand Polishing: Choosing the Right Path for Your Rocks
Tumbling is a mechanized process that utilizes a rotating barrel filled with abrasive grit and water. Rocks are added to the barrel and tumbled for several hours or even days. The tumbling action creates friction, gradually grinding down the rocks' surfaces and smoothing them out.
As you've learned throughout this guide, hand polishing is a meticulous process that involves progressively finer grits of sandpaper and polishing compound. It's a hands-on approach that allows you to connect with your rocks on a deeper level.
The best method for polishing your rocks ultimately depends on your goals and the type of rocks you have. Consider these factors when making your choice:
- Quantity: If you have a large collection, tumbling might be more efficient. For a single special rock, hand polishing allows for greater personalization.
- Rock Type: Tumbling works well for harder stones. Softer stones or those with delicate features might be better suited for hand polishing.
- Desired Finish: If a high-gloss shine is your priority, hand polishing offers more control. Tumbling is a good option for a smooth, matte finish.
- Time and Effort: Tumbling is less labor-intensive, while hand polishing offers a more personal and rewarding experience.
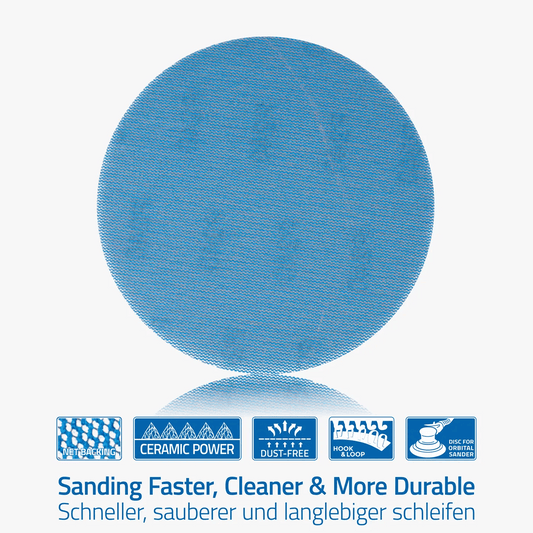
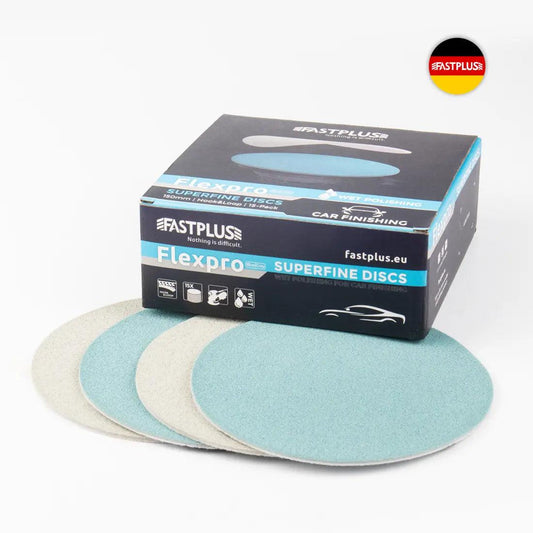
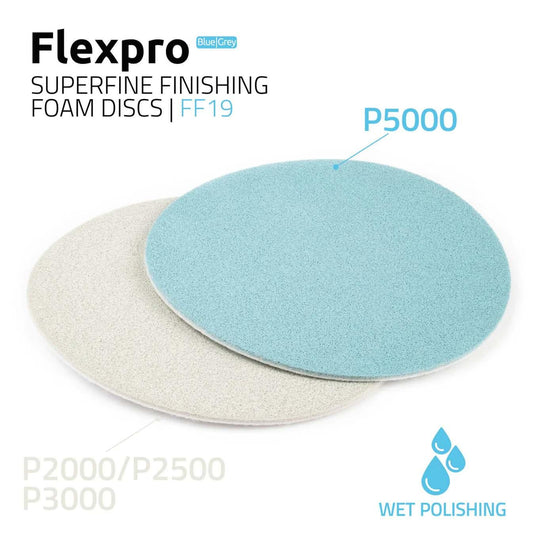
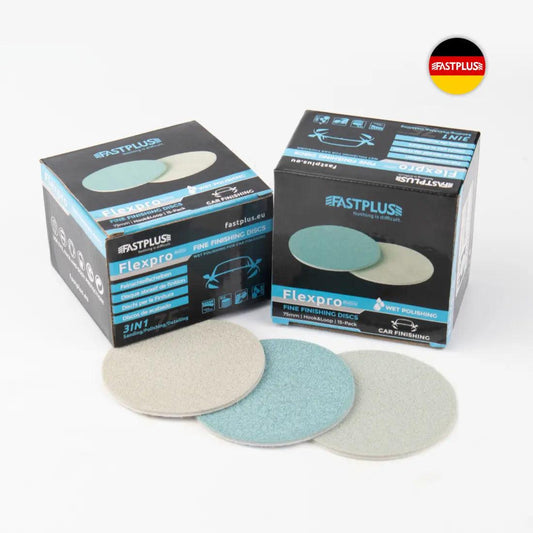
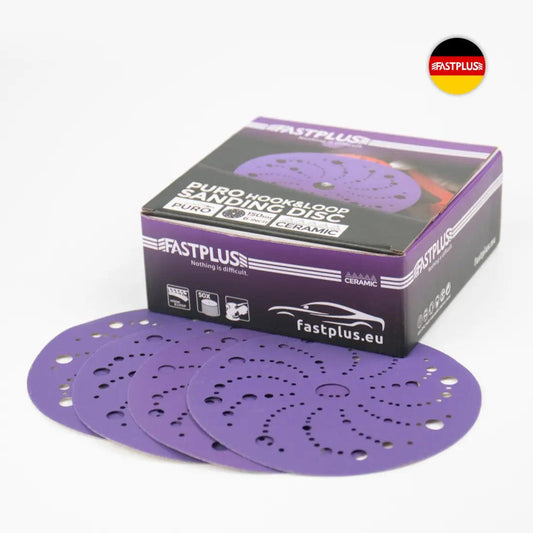
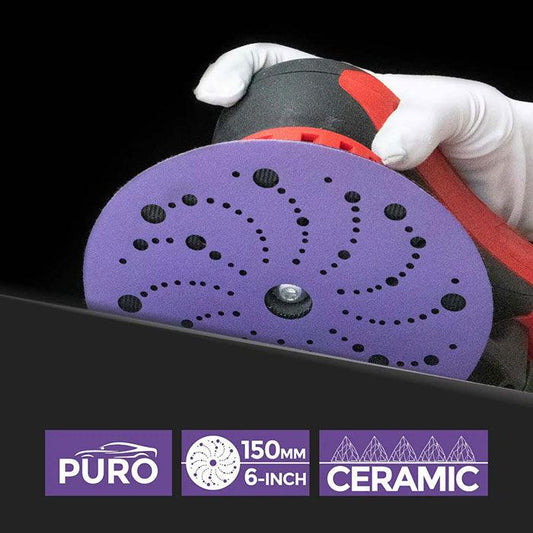
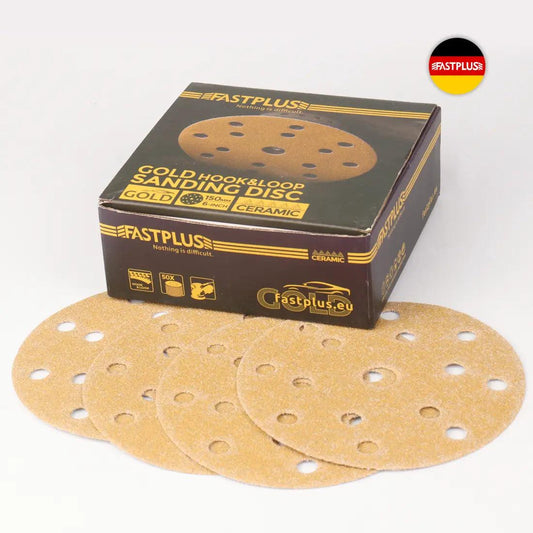
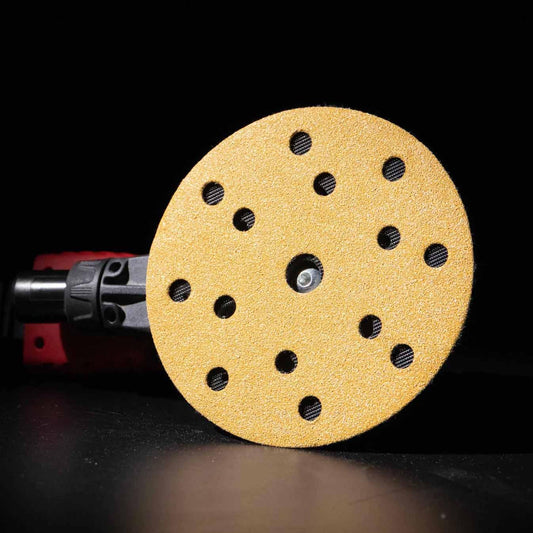
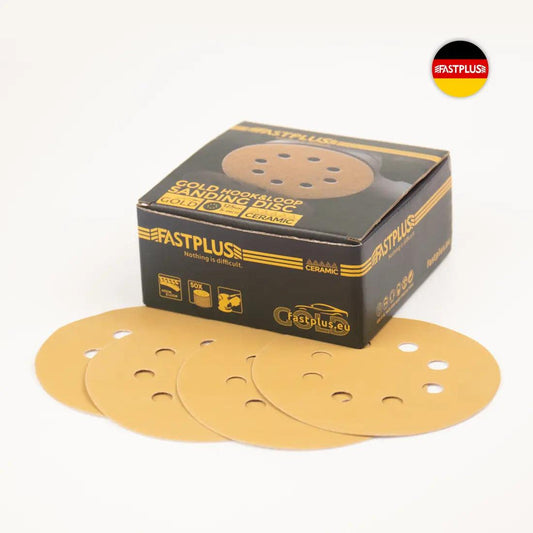
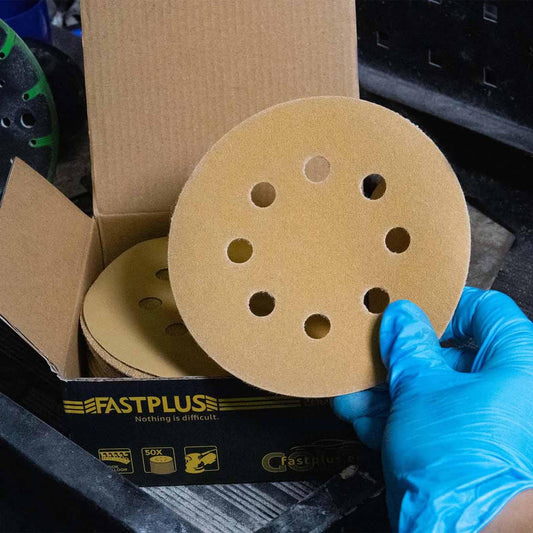
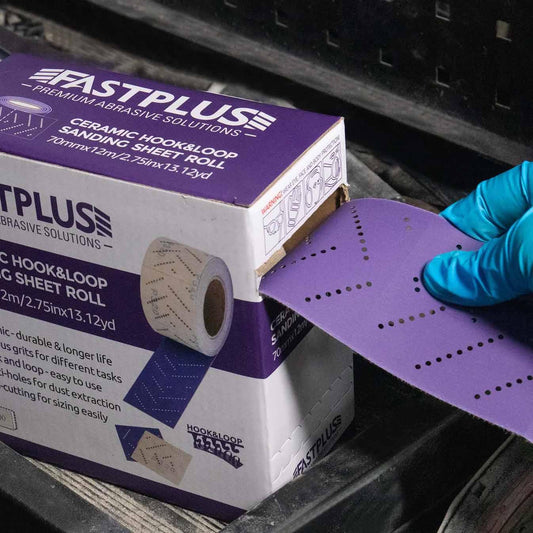
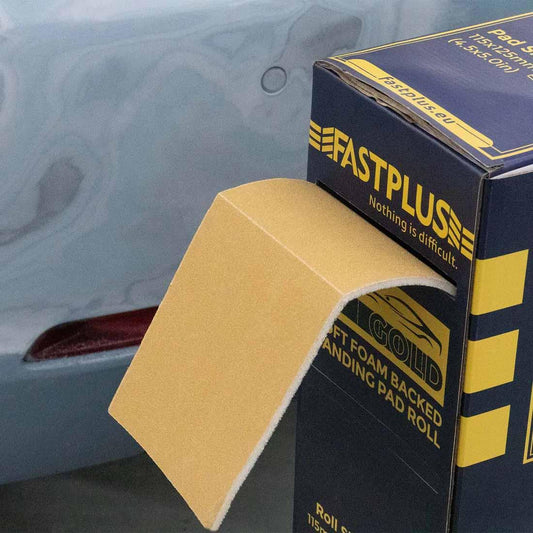
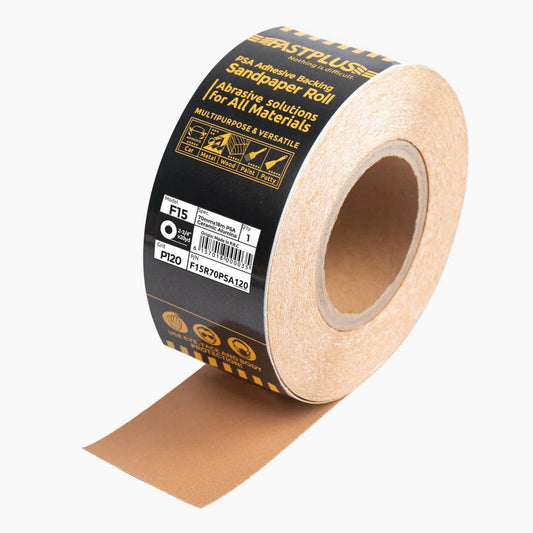
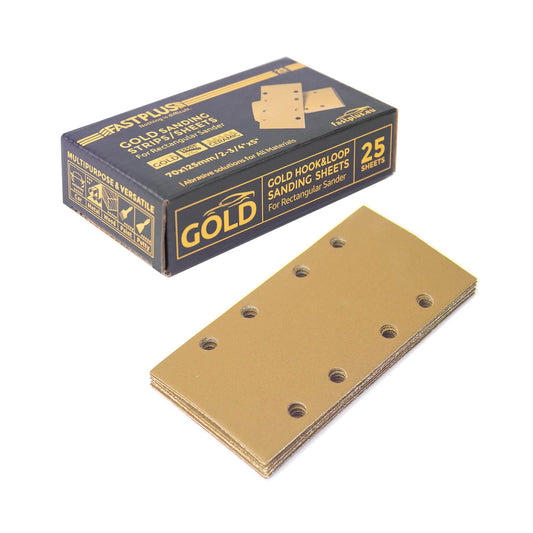
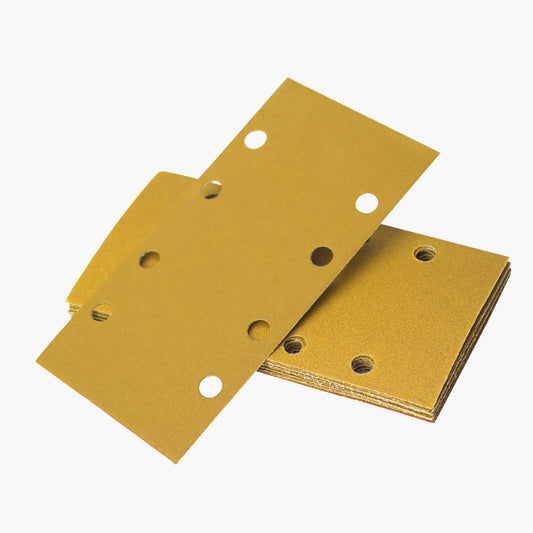
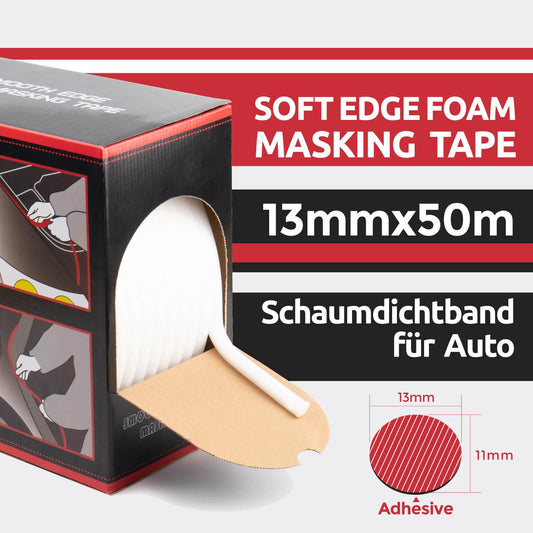
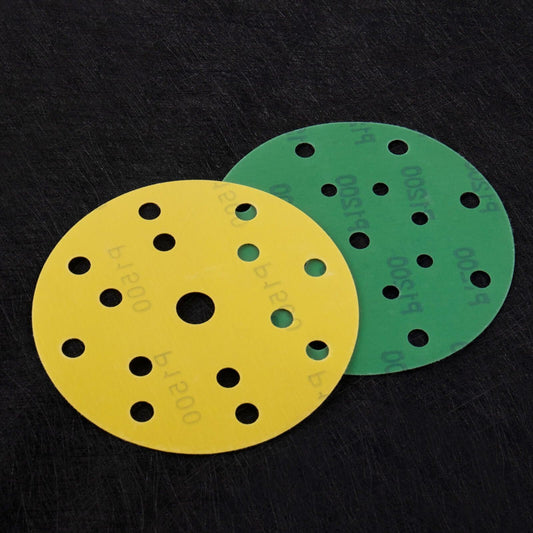
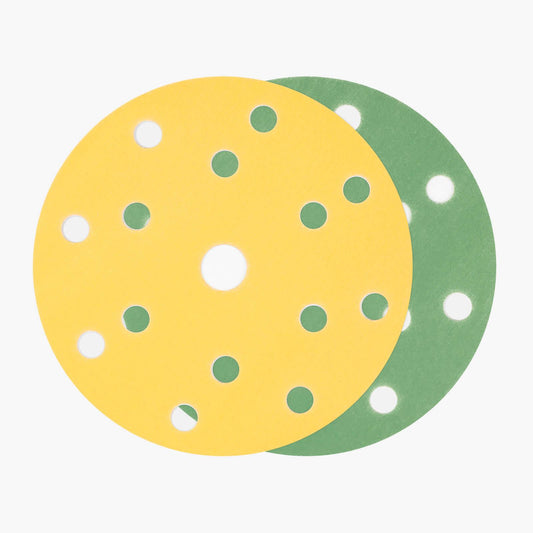
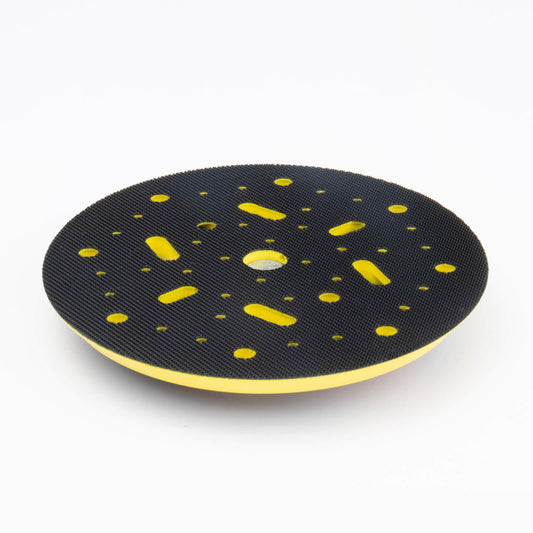
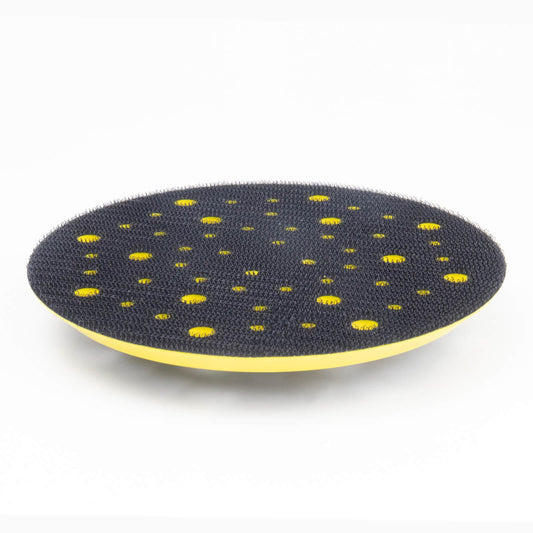
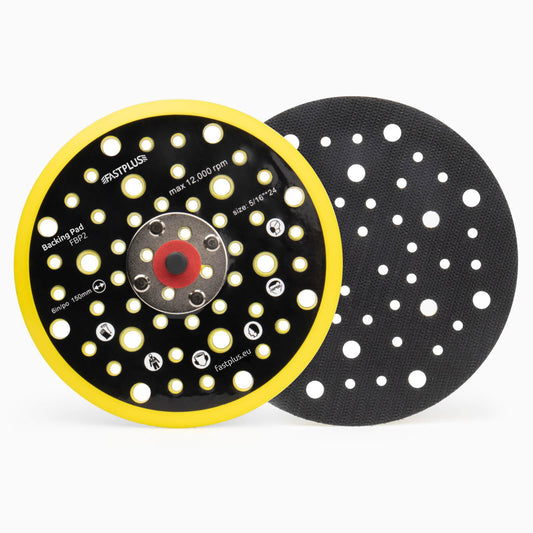
Polish Your Rocks with Fastplus Abrasives
When it comes to achieving a flawless finish on your polished rocks, the abrasives you use are crucial. With a reputation for quality and reliability, Fastplus Abrasives offers a wide range of abrasives specifically designed for rock polishing enthusiasts. From coarse grits for shaping and smoothing to fine grits for polishing to perfection, Fastplus abrasives are engineered to deliver consistent performance and exceptional durability. Whether you're a seasoned professional or just starting out, Fastplus Abrasives has the tools you need to achieve stunning results.