How to Use Mesh Sanding Discs on Wood Like a Pro?
Mesh sanding discs, also known as net sanding discs, are revolutionizing woodworking. With their advanced design and superior dust extraction, these tools offer precision and efficiency for achieving smooth, professional-grade finishes. If you’re new to using mesh sanding discs or want to improve your technique, this guide will provide all the essential tips to maximize their potential.
What Are Mesh Sanding Discs?
Mesh sanding discs are abrasive tools designed with a mesh backing instead of the traditional paper backing. The open-mesh design allows for improved dust extraction and greater durability, making them ideal for woodworking tasks. Whether you’re sanding hardwood, softwood, or veneered surfaces, mesh sanding discs deliver consistent results.
Why Use Mesh Sanding Discs on Wood?
Mesh sanding discs stand out from other abrasives due to their:
-
Enhanced Dust Extraction: The perforated design ensures maximum dust removal, keeping your workspace
 cleaner and improving visibility while sanding.
 - Durability: The flexible yet sturdy backing extends the lifespan of the disc, making it a cost-effective option for professionals and hobbyists.
- Versatility: These discs work well for flat, contoured, and curved surfaces, making them indispensable for a range of woodworking applications.
- Even Sanding: They reduce the risk of clogging, ensuring smoother sanding and fewer imperfections.
Tools and Materials You’ll Need
Before you begin, gather these essential tools and supplies:
- Mesh Sanding Discs (available in various grit sizes, such as 80, 120, 220, and 400, depending on your project)
- Random Orbital Sander or sanding block
- Dust Extractor or Shop Vac
- Protective Gear (dust mask, safety goggles, and gloves)
- Wood Surface (furniture, panels, or a DIY project)
Choosing the Right Grit
Selecting the appropriate grit for your mesh sanding disc is essential for achieving the desired finish:
- Coarse Grits (60–80): Best for removing old finishes, paint, or uneven surfaces.
- Medium Grits (120–180): Ideal for smoothing rough wood and preparing surfaces for finishing.
- Fine Grits (220–320): Used for final sanding before applying paint, stain, or sealant.
- Extra-Fine Grits (400+): Perfect for ultra-smooth finishes and polishing tasks.
Step-by-Step Guide to Using Mesh Sanding Discs on Wood
Step 1: Prepare Your Workspace
- Choose a well-ventilated area to minimize exposure to dust.
- Set up your dust extraction system to keep the work surface clear.
Step 2: Attach the Mesh Sanding Disc
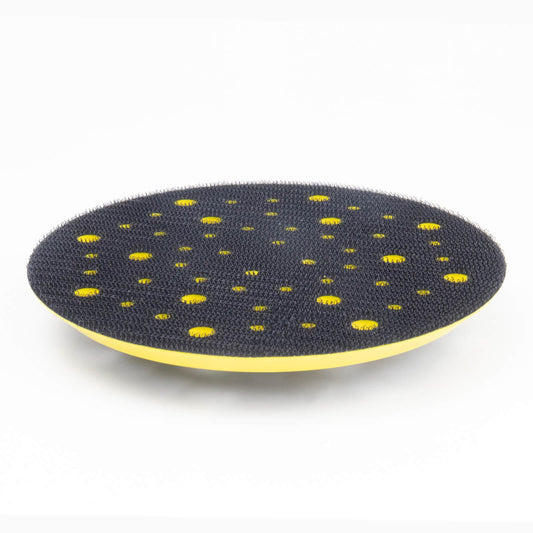
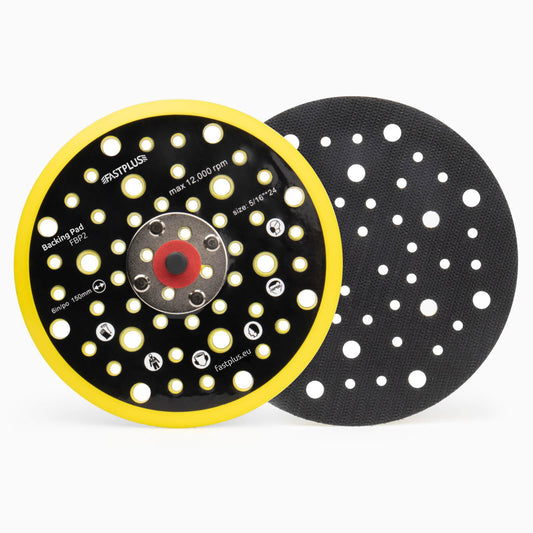
- For a random orbital sander, align the disc’s center with the sander’s pad. The hook-and-loop backing ensures a secure attachment.
- For manual sanding, wrap the disc around a sanding block for better control.
Step 3: Start with Coarse Grit
- If your wood surface has imperfections, begin with a coarse grit (e.g., 80).
- Turn on the sander and apply light, even pressure. Move in the direction of the wood grain to avoid scratches.
Step 4: Progress to Finer Grits

- Gradually move to finer grits to achieve a smooth surface. For instance, after using an 80-grit disc, switch to 120 grit, then 220 grit.
- Always clean the surface between grits to remove sanding dust that could cause scratches.
Step 5: Focus on Edges and Contours
- Mesh sanding discs are flexible, making them ideal for sanding curved or detailed areas. Take your time and use a lower speed for better precision.
Step 6: Check Your Progress
- Periodically wipe down the wood with a tack cloth or microfiber towel to inspect the surface.
- Look for scratches or uneven areas and address them with an appropriate grit.
Step 7: Finish with Extra-Fine Grit
- Once the surface is smooth, use an extra-fine grit (e.g., 400) for a final pass.
- This step is crucial if you’re preparing the wood for a clear coat or stain.
Pro Tips for Using Mesh Sanding Discs
- Avoid Over-Sanding: Sanding too much can damage the wood or create dips. Check the surface frequently to avoid this.
- Control Pressure: Apply even pressure without forcing the sander down. Let the tool do the work.
- Keep the Disc Clean: If the disc becomes clogged, use compressed air or a brush to clean it. This will prolong its lifespan.
- Use a Dust Extractor: Proper dust collection not only keeps your workspace clean but also enhances sanding efficiency.
- Replace Discs When Needed: Worn-out discs can leave marks or fail to remove material effectively. Swap them out when you notice reduced performance.
Applications for Mesh Sanding Discs in Woodworking
Mesh or net sanding discs are incredibly versatile and can be used for:
- Furniture Refinishing: Achieve smooth surfaces on tables, chairs, and cabinets.
- Floor Sanding: Prepare wooden floors for staining or sealing.
- DIY Projects: Perfect for crafts, wood carvings, and small woodworking projects.
- Veneer Sanding: Gentle enough for delicate veneer surfaces without causing damage.
Common Mistakes to Avoid
- Skipping Grits: Moving from coarse to fine grit without intermediate steps can leave scratches. Always follow the progression.
- Ignoring Dust Management: A clogged disc or dusty surface can hinder sanding efficiency.
- Sanding Against the Grain: This can create visible scratches and ruin the finish. Always sand with the grain.
- Using the Wrong Grit: Too coarse or too fine can lead to unsatisfactory results. Match the grit to the task.
Why Choose Mesh Sanding Discs Over Traditional Discs?

While traditional sanding discs are effective, mesh sanding discs offer several advantages:
- Longer Lifespan: They resist tearing and clogging, lasting longer in demanding applications.
- Cleaner Work Environment: The improved dust extraction keeps your space cleaner and safer.
- Better Finish: The even sanding action ensures a smoother, professional-grade finish.
Final Thoughts
Mesh sanding discs are a valuable addition to any woodworker’s toolkit. Their superior performance, durability, and dust management capabilities make them ideal for achieving high-quality results on wood surfaces. By following the steps and tips outlined in this guide, you’ll be able to use mesh sanding discs like a pro, whether you’re refinishing furniture, preparing a DIY project, or crafting a custom piece.
Invest in high-quality mesh sanding discs today and experience the difference in your woodworking projects!
Need help choosing the right disc for your project? Check out our Mesh Sanding Disc Collection or contact us for expert advice!