
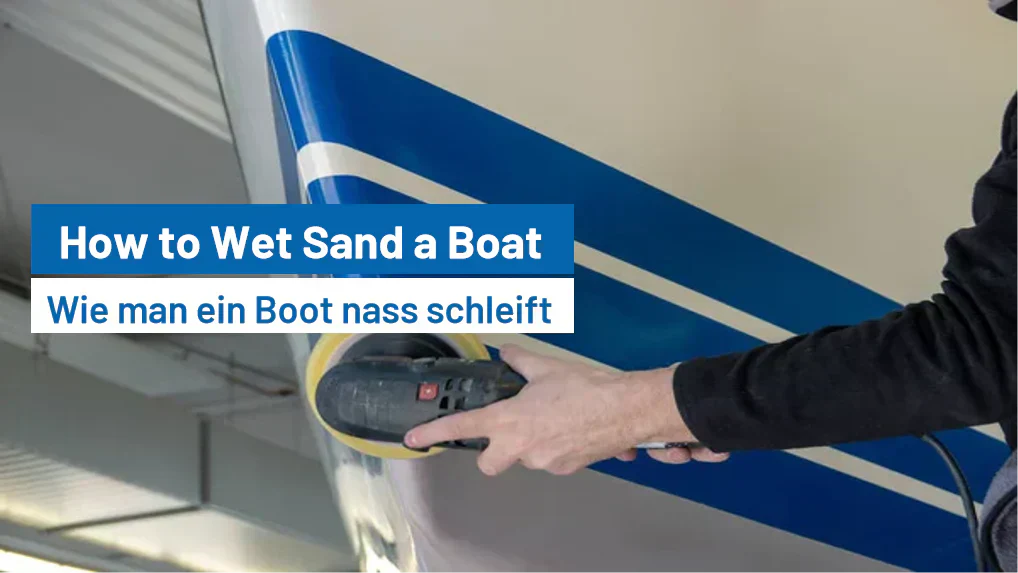
Easy Way to Wet Sand Your Boat
Boats endure constant exposure to sun, saltwater, and wind—elements that degrade their appearance over time. Gelcoat fades, oxidation dulls the surface, and minor scratches and scuffs accumulate. Fortunately, wet sanding offers a cost-effective and rewarding way to restore your boat’s finish to like-new condition.

Whether you're preparing your boat for a fresh coat of wax or trying to bring back its original shine, this detailed guide will show you how to wet sand a boat safely and effectively. We'll also recommend the best finishing foam discs, sandpaper, mesh sanding discs, and more to help you achieve professional results.
What Is Wet Sanding?
Wet sanding is a technique where abrasive sandpaper is used with water to gently remove surface imperfections, oxidation, and dull gelcoat from your boat’s exterior. The water acts as a lubricant, reducing friction and helping carry away debris.
Unlike dry sanding, wet sanding is gentler and provides a smoother, more uniform surface that's ideal for polishing and waxing.
When Should You Wet Sand Your Boat?
You should consider wet sanding when:
- The gelcoat is oxidized or chalky
- Scratches or swirl marks are visible
- The surface has lost its gloss and clarity
- You want a professional-grade polish finish
⚠️ Note: Wet sanding is a corrective process—not routine maintenance. Always try washing and polishing first. If that fails to restore shine, wet sanding is the next step.
Tools & Materials You’ll Need
Before you start, gather these essentials from your trusted abrasive tools supplier:
Abrasives:

- Wet/dry sandpaper sheets or rolls (grits: 600, 800, 1000, 1500, 2000)
- Mesh sanding discs (for better dust control and smoother sanding)
- Finishing foam discs (for the final polishing stage)
Accessories:
- Sanding block or orbital sander with velcro pad
- Buckets of clean water
- Spray bottle with water and a drop of dish soap
- Microfiber cloths
- Polishing compound
- Electric buffer or rotary polisher
Step-by-Step Process for Wet Sanding a Boat
Step 1: Wash and Inspect
Start by thoroughly cleaning your boat to remove salt, grime, algae, and other residues.
- Use marine soap and water with a soft sponge.
- Rinse completely and let it dry.
- Inspect the surface. Identify heavily oxidized or scratched areas that need more aggressive sanding.
Step 2: Mask Off Sensitive Areas
Use masking tape to protect decals, trim, rubber seals, and any non-gelcoat surfaces. Wet sanding can damage soft materials, so isolate only the sections that need sanding.
Step 3: Begin with 600 or 800 Grit
Depending on the severity of the oxidation:
- Use 600 grit if oxidation or scratches are heavy.
- Use 800 grit for moderate imperfections.
Manual Wet Sanding:
- Wrap the sandpaper around a sanding block.
- Dip in water frequently or spray with soapy water.
- Sand in straight, even strokes (not circular).
- Keep the surface wet at all times.
Machine Wet Sanding:
- Attach mesh sanding discs to your orbital sander.
- Spray the surface with water.
- Gently sand with moderate pressure and slow movement.
👉 Pro Tip: Avoid applying excessive pressure—it’s better to make multiple light passes than one aggressive one.

Step 4: Progress to Finer Grits
Once the surface feels smoother and dull oxidation is removed, switch to finer grits:
- 1000 grit → removes sanding marks from 800 grit.
- 1500 grit → further refines the surface.
- 2000 grit → prepares for polishing with a glossy finish.
Always rinse between grit changes to avoid dragging coarse particles.
Step 5: Rinse and Dry
After the final sanding pass:
- Rinse the surface with clean water.
- Wipe down with a microfiber cloth.
- Allow to dry completely before moving to polishing.
Your boat should now have a smooth, dull surface with no deep scratches—perfectly prepped for the shine stage.
Step 6: Polishing for Gloss
Time to bring the gloss back!
What You’ll Need:
- Finishing foam polishing discs
- Marine-grade polishing compound
- Electric dual-action or rotary polisher
How to Polish:
- Apply compound in small sections (2’x2’).
- Spread it evenly with the foam disc before switching on the polisher.
- Polish at low speed to distribute, then increase to moderate speed.
- Use overlapping passes for uniform results.
- Wipe off residue with a microfiber towel.
Repeat until the entire boat is restored to a brilliant, reflective shine.
Step 7: Apply Wax or Sealant
Once your boat is glossy and smooth, protect the finish by applying a marine wax or UV-resistant sealant. This final layer adds depth, shields from sun damage, and prolongs the polished look.
Maintenance Tips After Wet Sanding
- Wash the boat regularly with fresh water.
- Use quick detailers to maintain shine between waxings.
- Avoid harsh cleaners that can strip your wax layer.
- Reapply wax every few months to preserve the finish.
Safety Tips
- Always wear eye protection and gloves during wet sanding.
- If using power tools, keep cords and electrical devices away from water.
- Work in a shaded or covered area to prevent water from evaporating too quickly.
- Don’t rush—wet sanding is a gradual process.
Recommended Products from Our Store
To help you get started, here are our top-selling products ideal for wet sanding your boat:
🟢 Foam Polishing Discs (Finishing Grade)
Perfect for the final polishing stage to bring out that deep, reflective shine.
🔵 Waterproof Sandpaper Sheets
Available in grits from 600 to 2000. Ideal for manual wet sanding or block sanding.
🟠 Mesh Sanding Discs
Clog-resistant and flexible—great for wet sanding with orbital sanders.
🔴 Sandpaper Rolls
Cut to any length needed for hand sanding or wrapping around blocks.
All our abrasives are marine-grade and designed to handle tough gelcoat surfaces without causing damage.
Final Thoughts
Wet sanding a boat might sound intimidating at first, but with the right tools, technique, and patience, it’s entirely doable—even for DIY boat owners. The reward? A boat that turns heads at the marina, sails smoother in the sun, and resists oxidation for months to come.

Invest in quality sanding and polishing tools from our store and experience the difference. Whether you're restoring a faded hull or prepping for resale, wet sanding is the secret to a showroom shine.
Ready to get started?
Shop our full range of wet sanding and polishing tools today and restore your boat with confidence!


