

Full Wall Putty Sanding Process: How to Sand Drywall and Prepare Walls Before Painting
Learn how to sand wall putty correctly with the right tools, sanding techniques, and grit selection. This complete guide explains how to prepare smooth, paint-ready walls using effective drywall sanding methods.
The best way to sand wall putty is to allow the surface to dry completely, remove uneven areas with a medium grit abrasive, use a suitable drywall sanding disc for large wall surfaces, finish with fine sanding, and clean all dust before painting.
Why Proper Wall Putty Sanding Matters Before Painting

A fresh coat of paint can completely change the look of a room, but the final result depends on much more than the paint itself. The condition of the wall underneath plays a major role in how smooth and professional the finished surface will appear.
After applying wall putty, joint compound, or drywall filler, the surface may look even at first. However, once the material dries, small imperfections often appear, including raised areas, tool marks, uneven patches, and rough textures.
These imperfections become especially noticeable after painting, particularly with lighter colors, matte finishes, and rooms with strong natural lighting.
That is why the wall putty sanding process is one of the most important steps before applying primer and paint.
A smooth wall starts with proper preparation
Sanding is not about aggressively removing the putty layer. The goal is to gradually level the surface, remove imperfections, and create a clean base where paint can spread evenly and adhere properly.
For small repairs, traditional sandpaper may be enough. However, when preparing an entire wall or multiple rooms, choosing the right sanding tool can make the process much faster and more consistent.
Why Sanding Full Walls Is More Challenging Than Small Repairs
Many DIY homeowners assume wall sanding is simply rubbing sandpaper over the surface until it feels smooth. While this approach may work for fixing a small hole or damaged area, sanding an entire wall requires a different method.
Large wall surfaces create several challenges:
- The sanding area is much larger than it appears
- Uneven pressure can create waves or low spots
- Low-quality abrasives may wear out quickly
- Fine dust can spread throughout the room
- Manual sanding becomes tiring during long projects
For this reason, many DIY users choose a larger sanding solution for the main surface area and use hand sanding tools only for corners and detailed areas.
Step-by-Step Full Wall Putty Sanding Process
A successful wall sanding project is not only about using the right abrasive. The order of each step, sanding technique, and surface preparation all affect the final painting result.
Step 1: Make Sure the Wall Putty Is Completely Dry
Before sanding, always allow the wall putty or joint compound to dry completely.
Sanding too early can remove soft material unevenly and create additional repairs later. Drying time depends on factors such as:
- Putty thickness
- Room temperature
- Humidity level
- Air circulation
The surface should feel hard and stable before sanding begins.
Step 2: Inspect the Wall Surface Carefully
Before turning on your sanding tool, inspect the entire wall under good lighting.
Look for:
- Raised putty areas
- Uneven joint compound
- Small cracks
- Tool marks
- Surface imperfections
A useful method is to shine light across the wall from an angle. Shadows will reveal uneven areas that are difficult to see under normal lighting.
Step 3: Choose the Right Sanding Disc for Large Wall Areas
When sanding a full wall, the size of your abrasive makes a significant difference.
Small sheets of sandpaper work well for small repairs, but sanding an entire room manually can take much longer and may create inconsistent pressure across the surface.
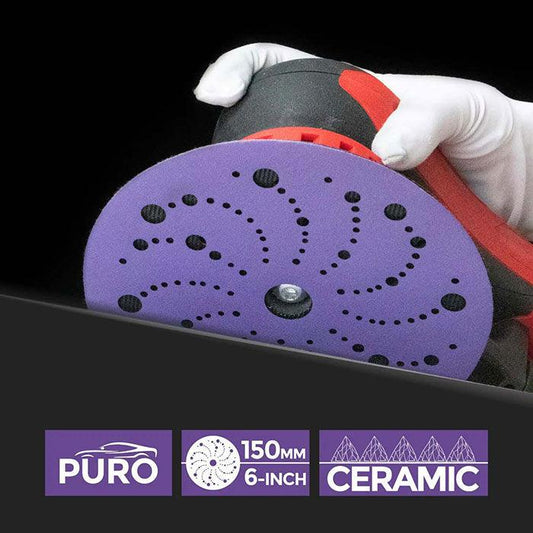
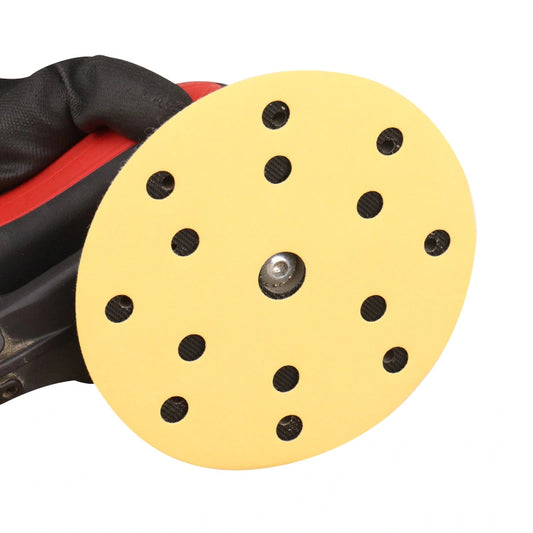
For large drywall and wall putty projects, a 225mm drywall sanding disc is designed to cover more surface area and improve sanding efficiency.

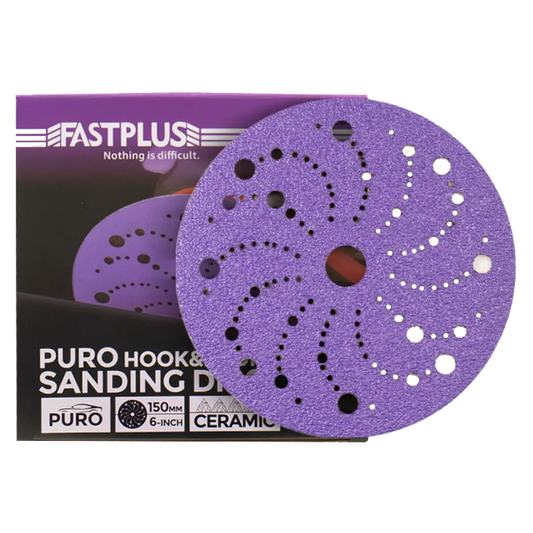
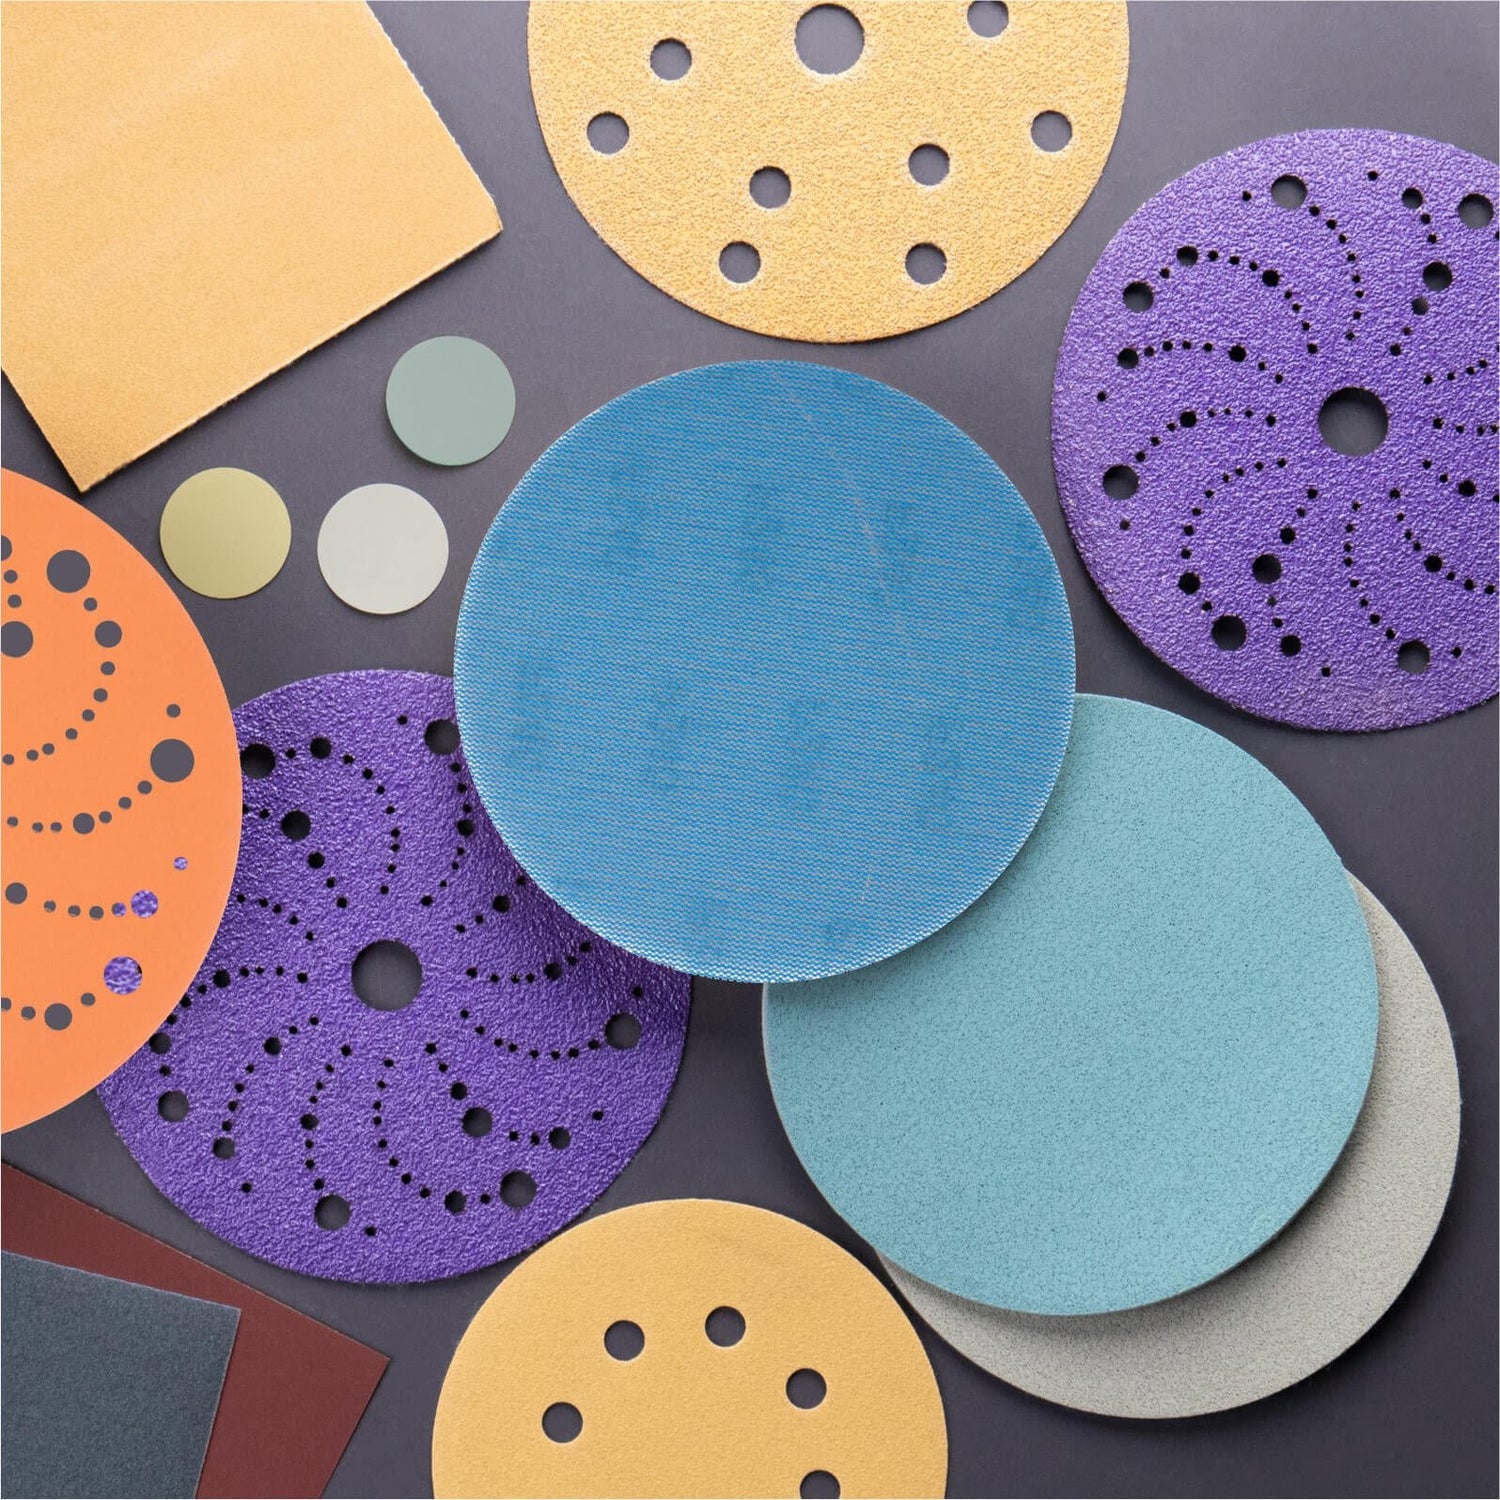
Designed for large wall preparation projects, FastPlus 225mm Drywall Sanding Discs are suitable for:
- Wall putty sanding
- Drywall finishing
- Joint compound smoothing
- Surface preparation before painting
The larger sanding diameter helps users achieve more consistent contact with the wall while reducing the time required for large-area sanding.
Shop 225mm Drywall Sanding DiscStep 4: Use the Correct Sanding Technique
Even with the right sanding disc, technique plays an important role in achieving a smooth finish.
Keep the sanding disc flat
Avoid sanding at a sharp angle. Keeping the abrasive flat helps maintain even contact and prevents creating grooves in softer putty areas.
Use overlapping movements
Move across the wall with controlled overlapping passes instead of repeatedly sanding one small area.
Avoid excessive pressure
Pressing harder does not always create faster results. Excessive pressure can reduce abrasive life and may create uneven surfaces.
Step 5: Reduce Dust During Wall Sanding
Dust is one of the biggest challenges when sanding drywall and wall putty.
Fine sanding dust can quickly cover the workspace and make it difficult to inspect the surface properly.
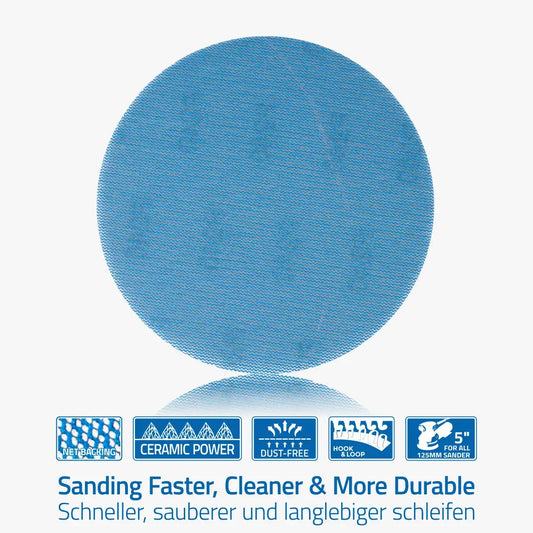
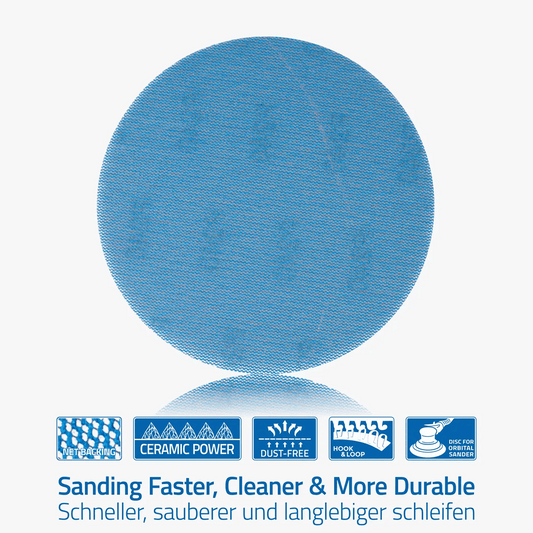
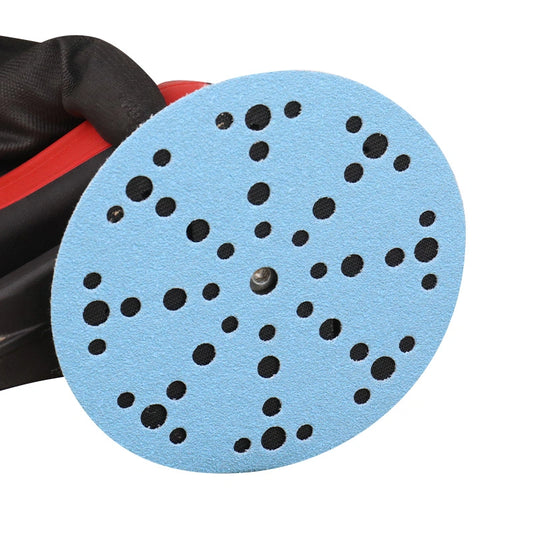
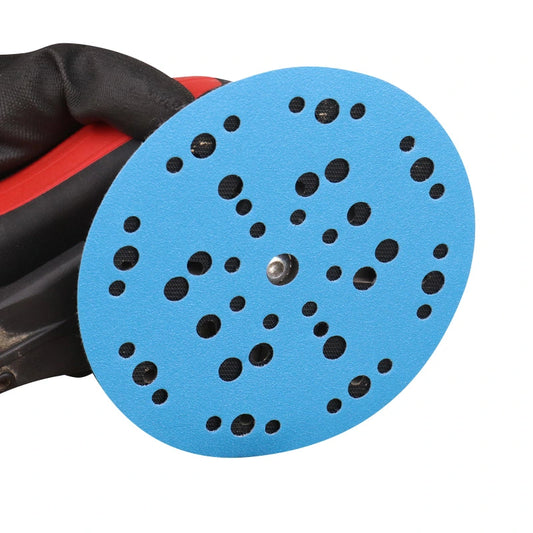
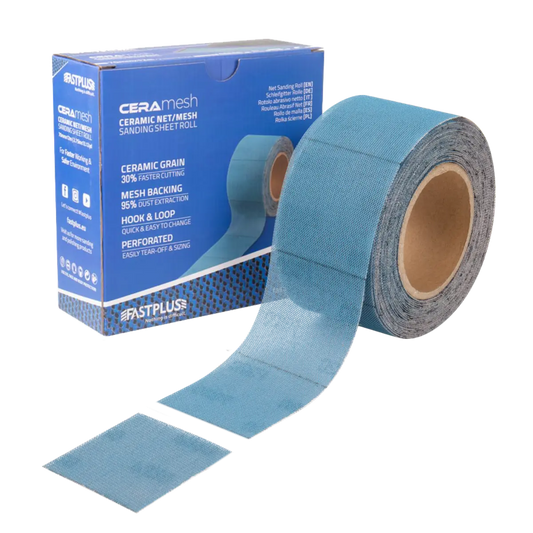
For longer sanding sessions, mesh sanding discs can help improve dust management because their open structure allows dust particles to move through the abrasive more efficiently.

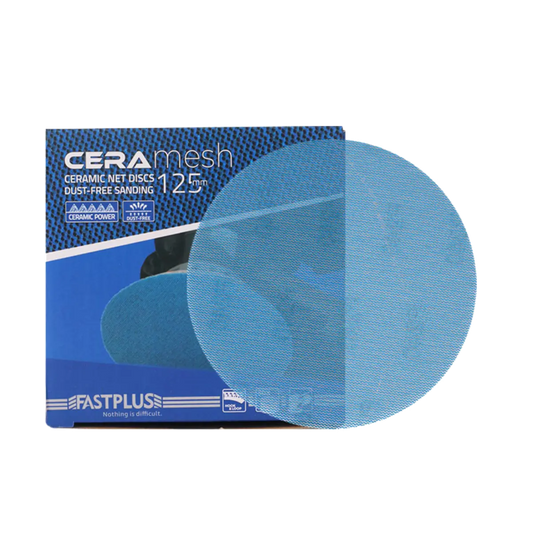
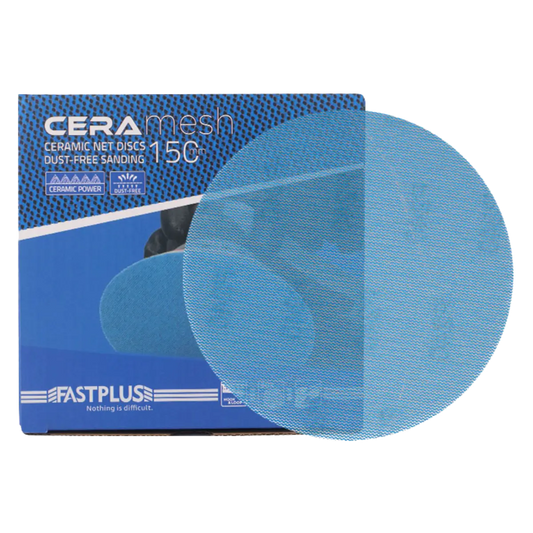
The CeraMesh Net Sanding Disc is designed for users who want cleaner sanding performance with reduced clogging during demanding applications.
It is especially useful for:
- Large drywall surfaces
- Extended sanding sessions
- Projects where dust control is important
Best Sanding Tool for Full Wall Putty Projects
Choosing the right sanding tool depends on the size of your project.
| Tool | Best Application |
|---|---|
| 225mm Drywall Sanding Disc | Large wall surfaces, drywall finishing, full room preparation |
| CeraMesh Net Sanding Disc | Dust reduction and longer sanding sessions |
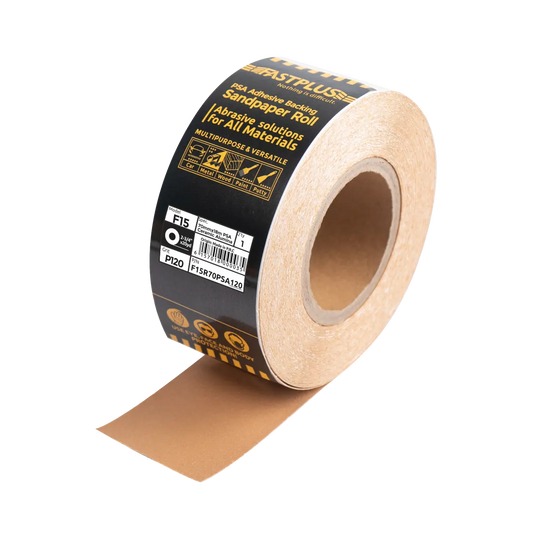
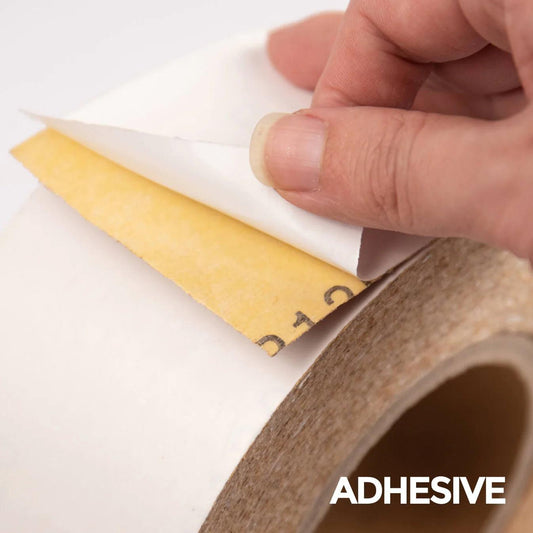
| Hand Sanding Block / Sanding Sheets | Corners, edges, and small repair areas |
For most home renovation projects, the most efficient approach is combining different sanding methods:
- Use a 225mm drywall sanding disc for large flat walls
- Use hand sanding tools for corners and detailed areas
- Finish with finer abrasives before painting
What Sandpaper Grit Should You Use for Wall Putty?
Choosing the correct grit helps balance material removal and surface smoothness.
| Grit | Recommended Use |
|---|---|
| P80-P120 | Removing heavy uneven areas or excess material |
| P150-P180 | General wall putty and drywall sanding |
| P220-P240 | Final smoothing before painting |
| P320+ | Extra fine finishing work |
For most DIY wall preparation projects, starting with P150 or P180 and finishing with P220 provides a good balance between sanding speed and surface quality.
Common Mistakes When Sanding Wall Putty
1. Sanding Before the Putty Is Fully Dry
One of the most common mistakes is starting too early. If the putty is still soft, sanding can remove too much material and create uneven areas.
Always wait until the surface is completely dry before beginning the sanding process.
2. Using the Wrong Sanding Tool for Large Walls
Small sanding sheets are useful for repairs, but they are not always the most efficient choice for full wall preparation.
Trying to sand an entire room manually can increase working time and make it harder to maintain consistent pressure.
For large wall surfaces, a 225mm drywall sanding disc provides wider coverage and a more consistent sanding experience.
3. Applying Too Much Pressure
Many beginners believe stronger pressure means faster sanding. However, excessive pressure can wear the abrasive faster and may create uneven surfaces.
A better approach is to use controlled movement and allow the abrasive to perform the cutting work.
4. Skipping Dust Removal Before Painting
After sanding, leftover dust can affect paint adhesion and create a rough final texture.
Always clean the wall carefully before applying primer or paint.

Frequently Asked Questions About Wall Putty Sanding
What is the best way to sand wall putty before painting?
The best method is to allow the putty to dry completely, level uneven areas with the correct abrasive, use a suitable drywall sanding disc for large surfaces, finish with fine sanding, and remove all dust before painting.
What is the best sanding disc for drywall?
For large drywall and wall putty projects, a 225mm drywall sanding disc is an efficient option because it covers more surface area and helps create a consistent finish across large walls.
Can I use regular sandpaper for a full wall?
Regular sandpaper can work for small repairs and detail areas. However, for sanding an entire wall, a larger drywall sanding disc can reduce working time and provide more even results.
What grit sandpaper should I use for wall putty?
Most DIY projects start with P150-P180 grit for leveling and move to P220-P240 grit for final smoothing before painting.
How do I reduce dust when sanding drywall?
Using abrasives designed for dust extraction, such as mesh sanding discs, can help reduce clogging and improve dust management during longer sanding sessions.
Prepare Your Walls With the Right Sanding Solution
A smooth painted wall starts with proper preparation. Whether you are renovating one room or preparing an entire home, choosing the right sanding method can make the process faster and help achieve better results.
For large wall surfaces, FastPlus 225mm Drywall Sanding Discs provide efficient coverage for drywall finishing, wall putty sanding, and paint preparation. For projects where dust control is important, CeraMesh Net Sanding Discs offer another practical solution.
Explore FastPlus Sanding Solutions