

How to Fix Small Holes & Sand Walls for a DIY Touch-Up
A complete DIY guide to repairing wall damage, choosing the right sandpaper grit, and creating a smooth paint-ready finish.
Small holes, dents, and surface imperfections are some of the most common problems homeowners face. Whether you are removing old picture frames, repairing furniture damage, preparing a rental property, or simply refreshing a room, learning how to fix small holes and sand walls properly can save time and money.
Many DIY wall repairs seem simple: apply filler, wait for it to dry, and paint over it. However, the sanding process is what determines whether the repair looks professional or remains visible after painting.
A poorly sanded patch can create uneven textures, raised edges, or noticeable shadows when light hits the wall. With the right repair method, proper sanding technique, and the correct abrasive tools, you can achieve a smooth surface that blends seamlessly with the surrounding wall.
This guide explains how to repair small wall holes, choose the correct sandpaper grit, and prepare your wall for a flawless paint finish.
Why Proper Wall Sanding Matters
Applying wall filler is only the first step. Sanding is what creates a smooth transition between the repaired area and the original wall surface.
- Remove excess filler
- Smooth uneven surfaces
- Blend repair edges into the wall
- Remove scratches and imperfections
- Improve primer and paint adhesion
- Create a professional-looking finish
Even high-quality paint cannot completely hide an uneven repair. When sunlight or indoor lighting hits the wall from an angle, small bumps and rough areas become much easier to notice.
Taking extra time during sanding is what separates a visible patch from a repair that looks like it was never there.
Common Types of Small Wall Damage

Nail Holes
Nail holes are usually caused by hanging artwork, mirrors, shelves, or decorations. They are small and shallow, making them one of the easiest repairs for beginners.
Difficulty level: Easy
Screw Holes
Screw holes are slightly larger and deeper than nail holes. They may require more filler and additional sanding to achieve a smooth finish.
Difficulty level: Easy
Small Dents and Surface Damage
Small dents often happen when furniture hits the wall, doors swing too far, or objects accidentally impact the surface.
Difficulty level: Easy to Moderate
Minor Drywall Chips
Drywall chips may expose the material beneath the painted surface. These areas require careful filling and sanding to restore the original wall texture.
Difficulty level: Moderate
Tools and Materials You Need
Preparing the right tools before starting will make your wall repair faster and easier.
Repair Materials
- Lightweight wall filler or spackling compound
- Putty knife
- Painter’s knife (optional)
- Clean microfiber cloth
- Vacuum cleaner
Sanding Materials

For small wall repairs, choose abrasives that provide good control and a smooth finish.
- Sanding sponge
- Sanding block
- Sandpaper sheets
- Dust extraction sander (optional for larger repairs)
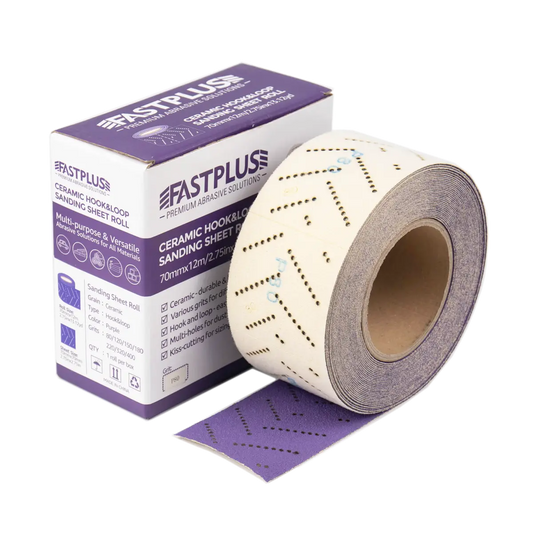
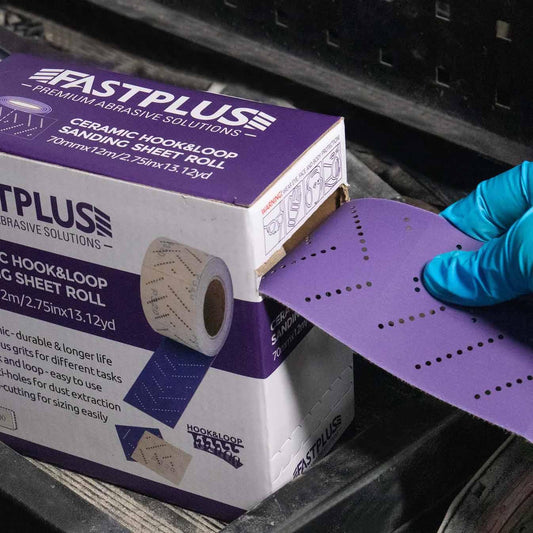
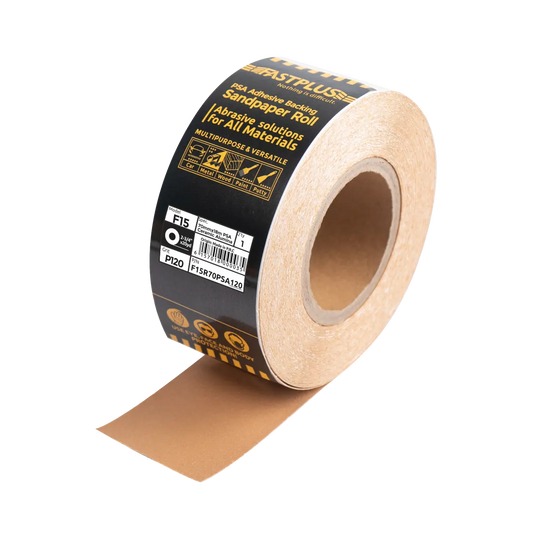
Sandpaper sheets are a practical choice for DIY wall touch-ups because they are flexible, easy to use by hand, and available in different grits for every stage of the repair process.
Choosing the Right Sandpaper Grit
Using the correct grit is essential for achieving a smooth wall surface. Choosing sandpaper that is too aggressive may create deep scratches that remain visible after painting.
P120 Grit – Initial Smoothing
Use P120 grit to remove excess dried filler, level uneven repair areas, and shape the surface before moving to finer sanding.
P150 Grit – Blending the Repair
P150 grit helps smooth remaining imperfections, feather the edges, and create a more even transition between the repaired area and the original wall.
P180–P220 Grit – Final Finish
Fine grit sandpaper creates a smooth, paint-ready surface by removing small scratches and texture differences before priming.
Step 1: Clean the Damaged Area
Step 1: Before applying filler, prepare the surface properly. Remove loose paint, dust, dirt, and any damaged drywall material.
Use a clean cloth to wipe away debris and allow the area to dry completely.
If the edges around the hole are raised, gently scrape them flat using a putty knife. A clean surface allows the filler to bond properly and creates a stronger repair.
Step 2: Apply Wall Filler
Step 2: Apply wall filler using a putty knife and press it firmly into the damaged area.
- Fill the hole completely
- Smooth excess material
- Leave the filler slightly higher than the wall surface
Most fillers shrink slightly during drying, and the extra material will be removed during sanding.
Step 3: Allow the Filler to Dry Completely
Drying time depends on filler thickness, room temperature, humidity, and product type.
- Lightweight filler: around 30–60 minutes
- Standard wall compound: several hours
- Deep repairs: up to 24 hours
Never sand filler while it is still soft. The surface should feel completely hard before sanding begins.
Step 4: Start Sanding the Repair
Step 4: Once the filler is dry, begin sanding with P120 or P150 sandpaper sheets.
Use light pressure and smooth movements. The goal is not only to smooth the filler, but also to blend the repair into the surrounding wall.
- Use circular motions
- Avoid excessive pressure
- Check the surface frequently
Step 5: Feather the Repair Edges
Step 5: One of the most important parts of wall repair is blending the edges of the filler into the surrounding surface. This process is called feathering.
Instead of creating a noticeable raised patch, gradually smooth the transition between the repaired area and the original wall.
- Extend sanding slightly beyond the repaired area
- Use gentle pressure around the edges
- Create a smooth transition rather than a sharp border
Professional painters often sand several inches around a repair because a gradual transition helps the patch disappear after painting.
Step 6: Inspect the Wall Under Good Lighting
Normal room lighting does not always reveal surface imperfections. Before applying primer or paint, inspect your repair using side lighting.
- High spots
- Low areas
- Remaining filler edges
- Sanding scratches
- Uneven textures
If you notice imperfections, apply another thin layer of filler, allow it to dry, and sand again. Several thin coats usually create better results than applying one thick layer.
Step 7: Finish with Fine Sandpaper
Step 7: For the final preparation before painting, switch to fine grit sandpaper.
P180–P220 sandpaper sheets are ideal for creating a smooth finish without leaving visible sanding marks.
- Remove small scratches
- Smooth texture differences
- Prepare the wall for primer
The wall should feel smooth when you run your hand across the repaired area. If you can feel the patch, it will likely remain visible after painting.
Removing Dust Before Painting
Sanding creates fine dust that can affect paint adhesion and create an uneven finish. Always clean the surface thoroughly before applying primer.
- Use a vacuum with a brush attachment
- Wipe the wall with a microfiber cloth
- Remove all visible sanding residue
- Allow the surface to dry before painting
A clean surface helps primer and paint bond properly and creates a smoother final result.
Choosing the Right Abrasive for Wall Repairs
The best sanding tool depends on the size of the repair and whether you are sanding by hand or using a power tool.
Sandpaper Sheets – Best for DIY Wall Touch-Ups
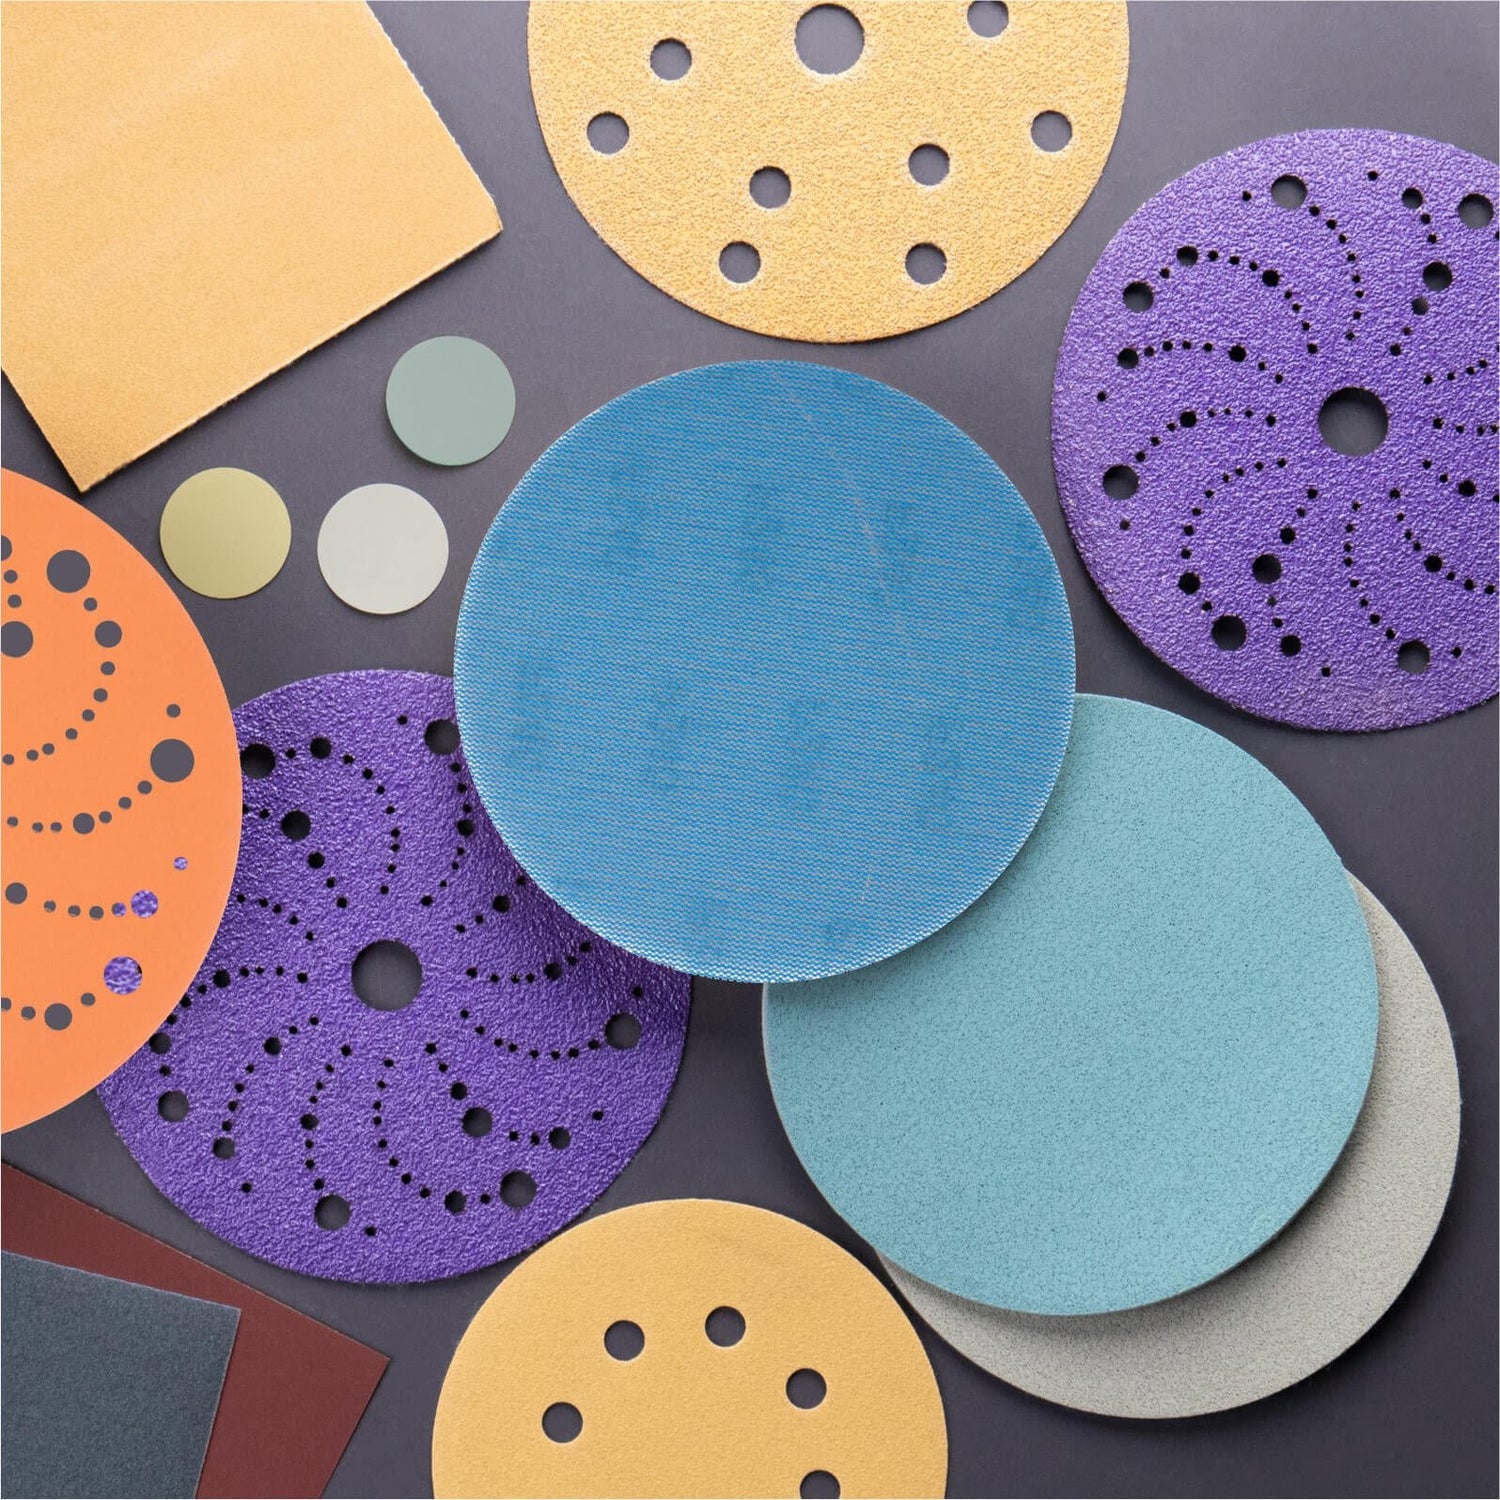
For most small wall repairs, sandpaper sheets are the easiest and most versatile option. They can be used with a sanding block or folded by hand to reach corners, edges, and small repaired areas.
They are suitable for:
- Nail hole repairs
- Screw hole filling
- Smoothing wall filler
- Final surface preparation before painting
The flexibility and available grit options make sandpaper sheets a reliable choice for homeowners and DIY enthusiasts working on small projects.
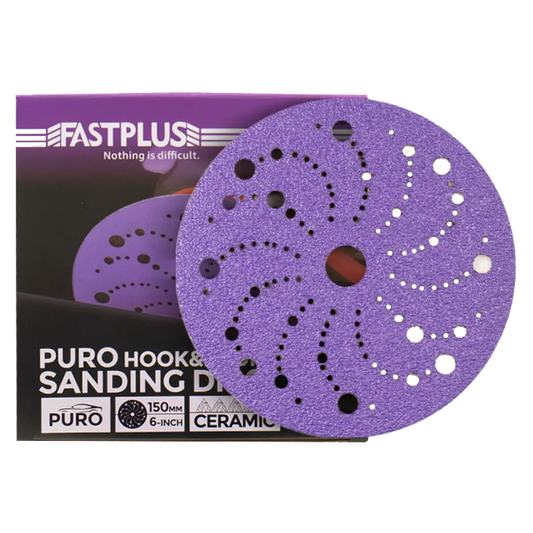
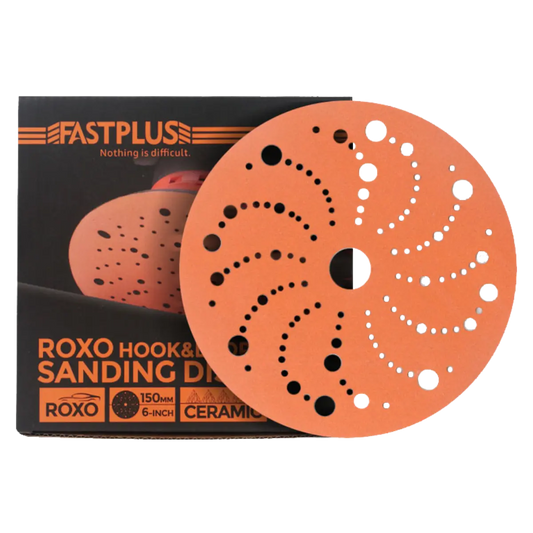
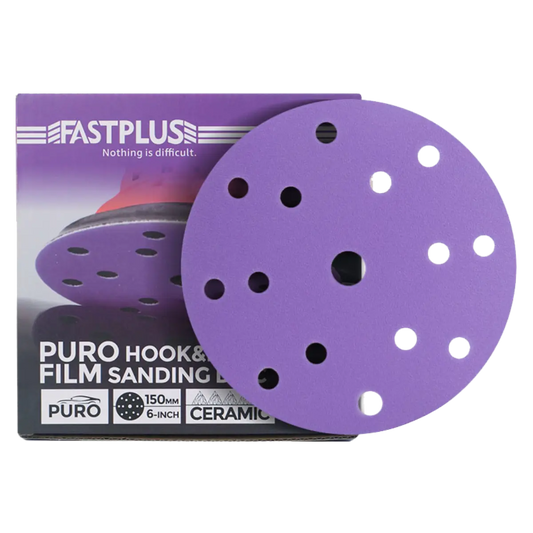
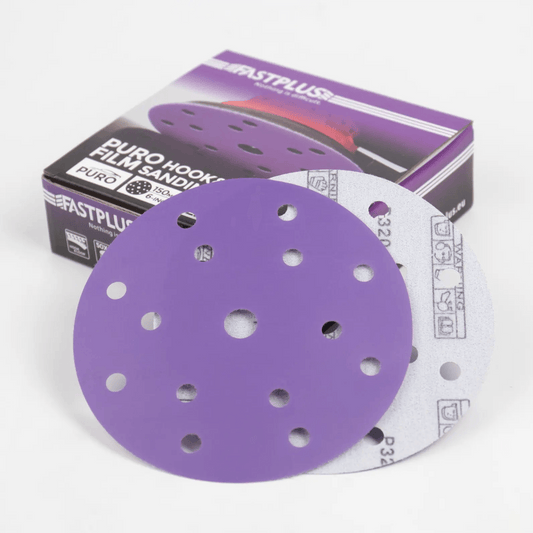
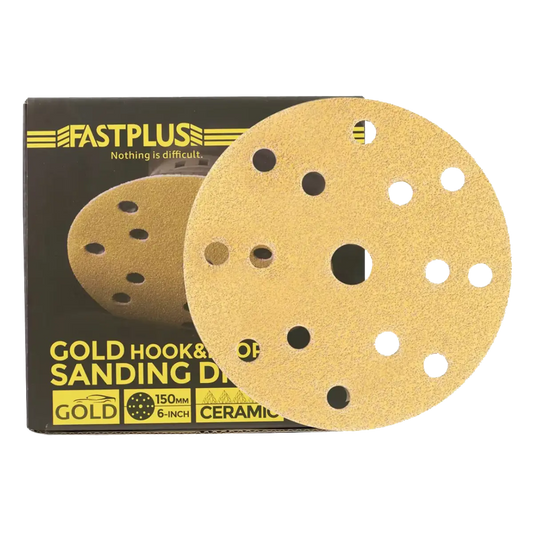
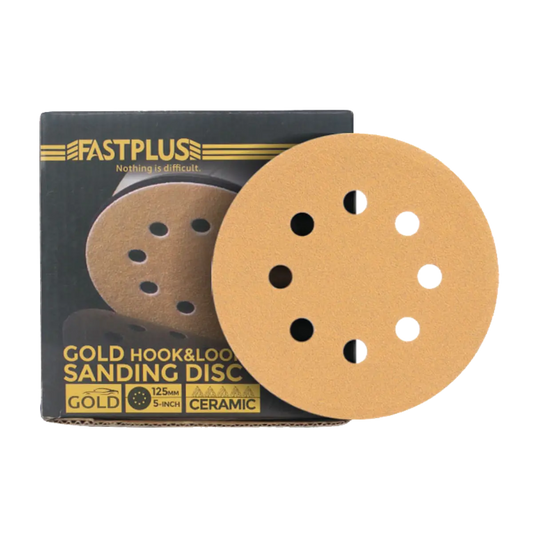
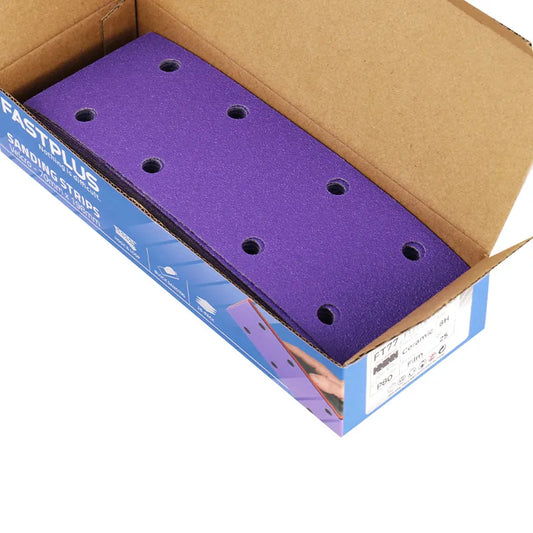
Film Sanding Discs – For Larger Wall Repairs
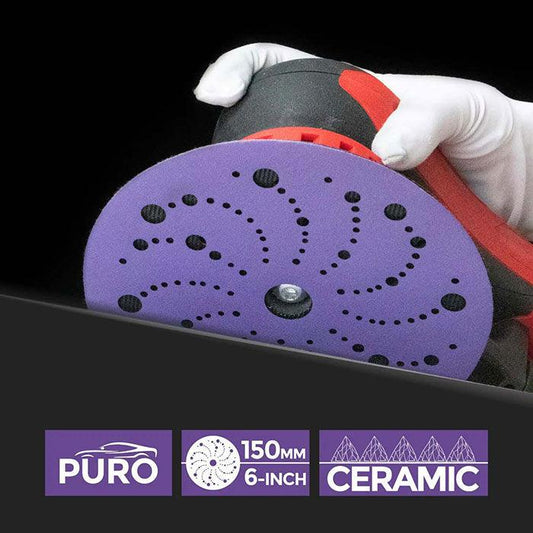
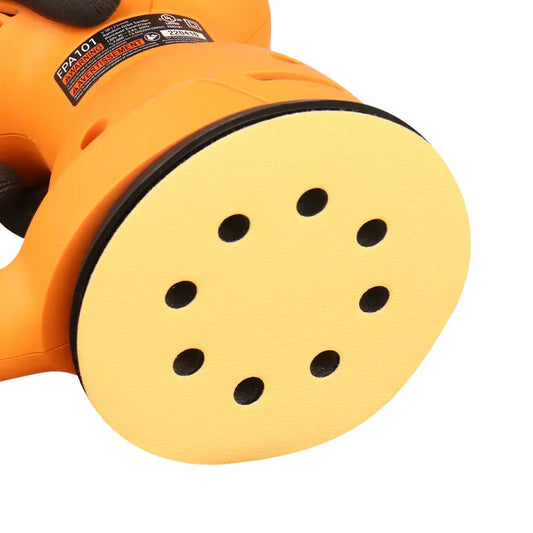
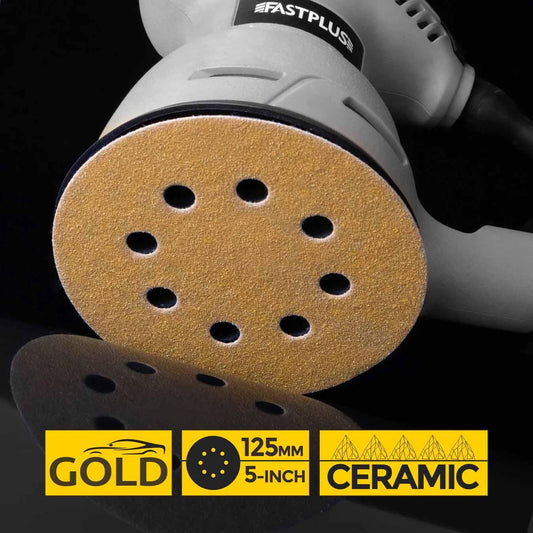
If you are repairing a larger drywall area and using a random orbital sander, film sanding discs can help speed up the process.
Their durable film backing provides a consistent sanding pattern and better resistance against tearing during extended use.
They are better suited for:
- Large drywall preparation projects
- Surface smoothing before repainting an entire room
- Power sanding applications
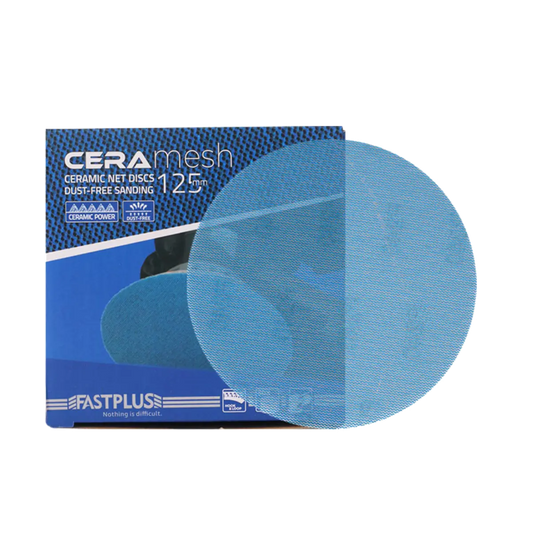
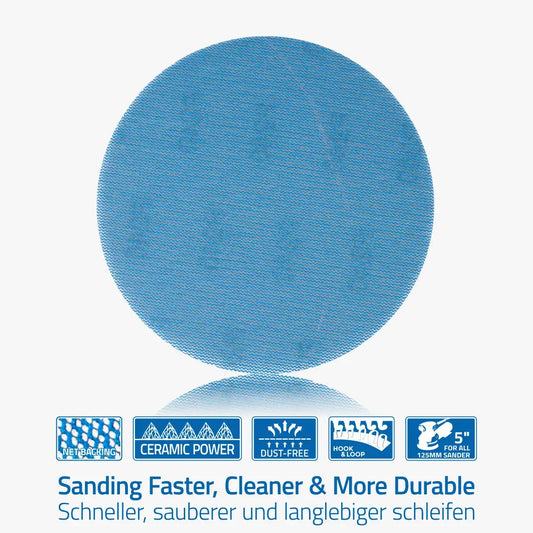
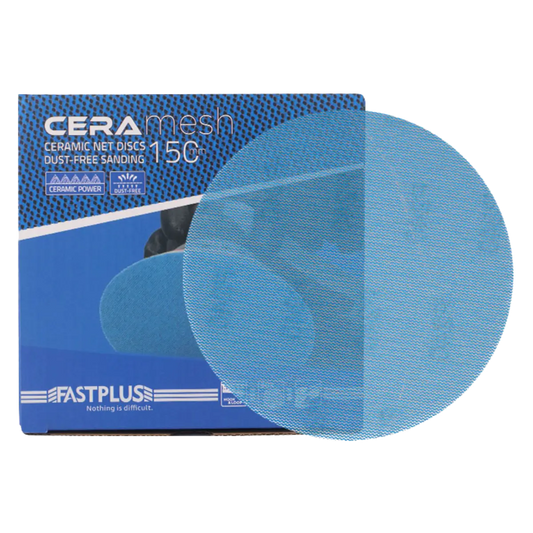
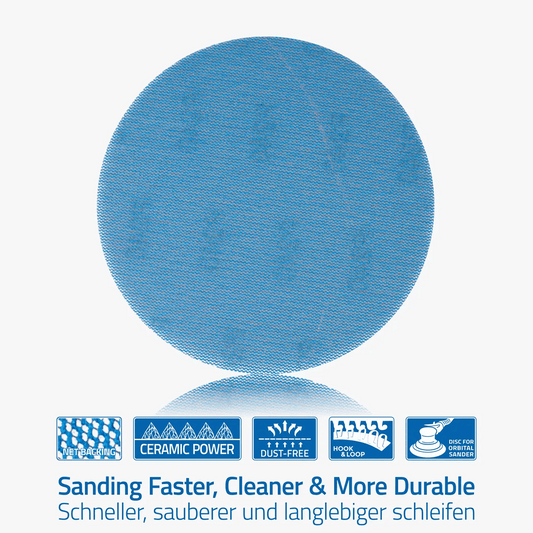
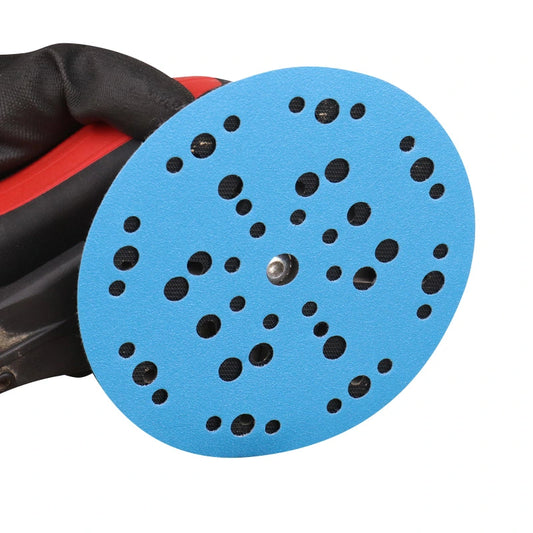
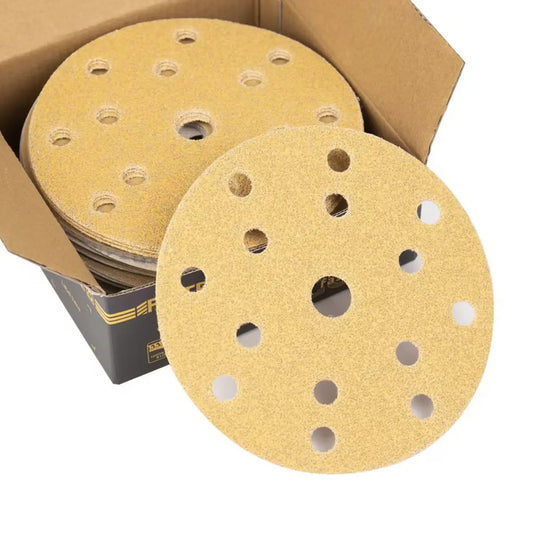
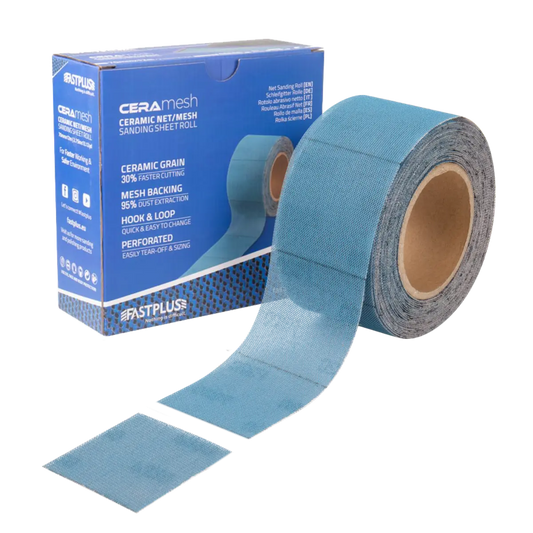
Mesh Sanding Discs – For Cleaner Dust Control
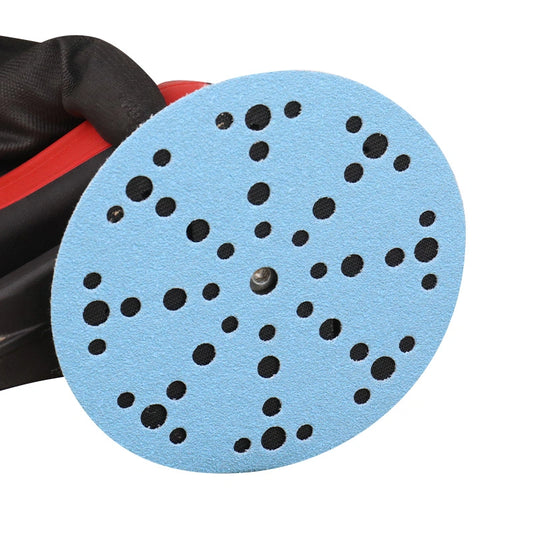
For larger renovation projects where dust collection is available, mesh sanding discs are an excellent option.
The open mesh structure allows dust to pass through the abrasive surface, helping reduce clogging and maintaining consistent sanding performance.
They are especially useful when working with power sanders and larger wall areas.

Common DIY Wall Sanding Mistakes
1. Sanding Before the Filler Is Fully Dry
One of the most common mistakes is sanding too early. Soft filler can clog abrasives and create an uneven surface.
Always allow enough drying time before sanding.
2. Using Sandpaper That Is Too Rough
Very coarse sandpaper can remove too much material and leave deep scratches.
For wall repairs, start with medium grit and gradually move to finer grits for the best finish.
3. Applying Too Much Pressure
Heavy pressure does not make sanding faster. It can create dips and uneven areas around the repair.
Let the abrasive do the work and use controlled movements.
4. Skipping Fine Sanding
Stopping after rough sanding may leave scratches that become visible after painting.
Always finish with a finer grit such as P180–P220 for a professional appearance.
5. Forgetting Primer
Fresh filler absorbs paint differently from painted walls. Without primer, repaired areas may appear darker, lighter, or have a different texture.
Applying primer before painting helps create a uniform finish.
Professional Tips for a Smooth Wall Finish
- Apply multiple thin layers of filler instead of one thick application.
- Use progressive sanding: move from medium grit to fine grit.
- Check your repair under different lighting conditions.
- Replace worn sandpaper sheets when they stop cutting effectively.
- Remove dust completely before applying primer and paint.
Using quality abrasives makes the sanding process easier and helps create more consistent results. For most DIY wall repairs, sandpaper sheets provide the control needed for smooth hand sanding and detailed finishing work.
Frequently Asked Questions About Fixing Small Wall Holes
What sandpaper grit should I use for wall repairs?
For most small wall repairs, start with P120 or P150 grit to smooth dried filler and blend the repair area. Finish with P180–P220 grit sandpaper sheets to create a smooth, paint-ready surface.
Can I paint directly over a repaired wall?
It is recommended to apply primer before painting over repaired areas. Wall filler absorbs paint differently from the surrounding surface, and primer helps create an even color and texture.
How long should wall filler dry before sanding?
Drying time depends on the type and thickness of the filler. Small repairs may dry within 30–60 minutes, while deeper repairs may require several hours or overnight. Always make sure the filler feels completely hard before sanding.
Can I use a power sander for drywall repairs?
Yes, power sanders can be useful for larger wall repair projects. For small holes and touch-ups, hand sanding with sandpaper sheets usually provides better control and reduces the risk of removing too much material.
How do I know if my wall repair is ready for painting?
The repaired area should feel smooth when touched and should blend evenly with the surrounding wall. Inspect the surface under side lighting to make sure there are no visible edges, scratches, or uneven areas.
Final Thoughts
Repairing small holes and sanding walls is one of the easiest DIY home improvement projects, but achieving professional results requires attention to detail. The filler application is only part of the process — proper sanding determines how invisible your repair will look after painting.
By choosing the right sanding grit, using smooth sanding techniques, and taking time to properly blend the repaired area, you can restore damaged walls without hiring a professional.
For most DIY touch-ups, sandpaper sheets provide excellent control for smoothing wall filler, refining edges, and preparing surfaces before primer and paint. For larger wall renovation projects, film sanding discs and mesh sanding discs can help improve efficiency when used with compatible power sanders.
Whether you are repairing a few nail holes or refreshing an entire room, using the right abrasive tools can make the process faster, cleaner, and easier.
Achieve a Smooth Finish with the Right Sanding Tools
Explore quality sanding solutions from FastPlus and find the right abrasive for your next DIY repair, renovation, or finishing project.
Shop Sandpaper Sheets