
How to Polish Resin After Sanding?
Resin art and craft projects often leave you marveling at the beauty of clear, glossy surfaces. However, achieving that polished, mirror-like finish requires meticulous care—especially after sanding. If you're wondering how to polish resin after sanding, you're in the right place. This guide will cover everything you need to know, step-by-step, to transform dull, sanded resin into a shiny masterpiece.
Why Polishing Resin is Essential
After sanding resin, you may notice a cloudy or scratched appearance. While sanding is crucial for removing imperfections or leveling the surface, polishing restores the resin’s clarity and luster. Polishing enhances the aesthetic appeal of your project, ensuring a professional-grade finish.
Tools and Materials Needed
Before you begin polishing resin, gather the following supplies:
- Sanding materials: Sandpaper (grit levels 400 to 3000 or higher) or mesh sanding discs.
- Polishing compound: Specifically designed for resin or plastic polishing.
- Microfiber cloths: For buffing the surface.
- Polishing pad or drill attachment: Optional, for faster results.
- Water spray bottle: For wet sanding.
- Protective gear: Gloves and safety glasses.
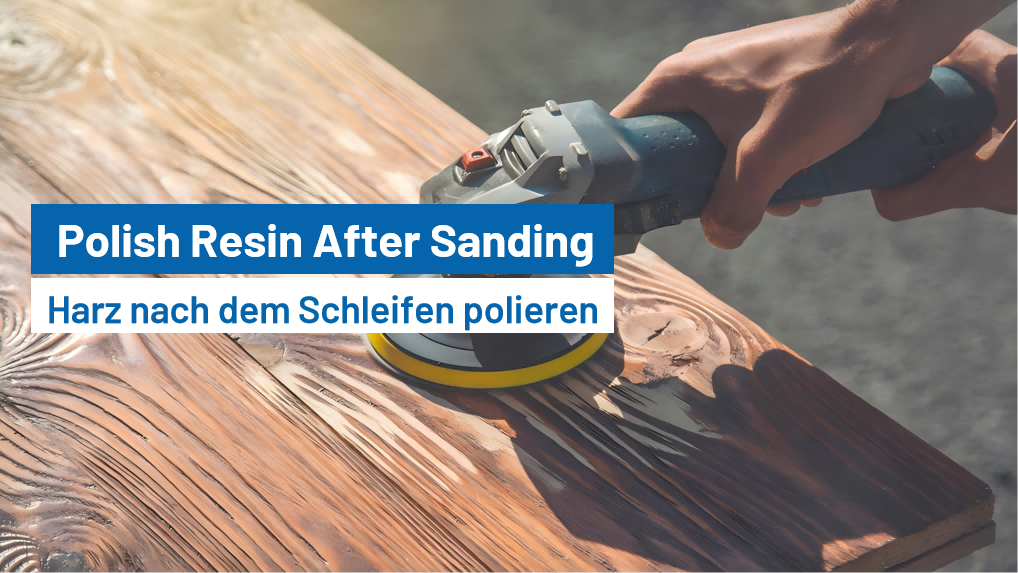
Step-by-Step Guide to Polishing Resin After Sanding
Step 1: Sand the Surface Smoothly

The first step to polishing resin is ensuring the surface is properly sanded. Follow these tips for effective sanding:
- Start with low-grit sandpaper (e.g., 400): Use this to remove bumps, uneven areas, or imperfections.
- Progress to higher grits: Gradually increase the grit level (600, 800, 1200, 1500, 2000, and beyond). This ensures a smooth surface without deep scratches.
- Wet sanding: Always wet sand resin to minimize dust and achieve finer results. Spray the surface with water as you sand, and wipe frequently to check your progress.
Tip: Use a sanding block for flat surfaces to maintain even pressure. For intricate or curved pieces, flexible mesh sanding discs work well.
Step 2: Clean the Surface
After sanding, thoroughly clean the resin to remove dust, residue, or particles. Use a damp microfiber cloth and ensure the surface is dry before moving on to polishing.
Step 3: Apply Polishing Compound
Polishing compound is the magic ingredient for restoring shine. Follow these steps:
- Choose the right compound: Look for a product specifically formulated for resin or plastics. Some general-purpose compounds may not produce optimal results.
- Apply a small amount: Dab a pea-sized amount of compound onto a microfiber cloth or polishing pad.
- Buff the surface: Using circular motions, buff the resin gently. Apply consistent pressure and ensure even coverage.
Optional: For large projects, use a polishing pad attached to a drill or rotary tool. This speeds up the process and provides a uniform finish.
Step 4: Inspect and Repeat
After the first round of polishing, inspect the surface under good lighting. If you notice any dull spots, reapply the polishing compound and buff again until the desired clarity is achieved.
Step 5: Final Buffing
Once satisfied with the polish, give the resin a final buff using a clean, dry microfiber cloth. This removes any residual compound and enhances the gloss further.
Advanced Tips for Polishing Resin

- Use Resin-Specific Polishers: Some polishing kits are designed exclusively for epoxy or UV resin. These often include everything you need for a professional finish.
- Prevent Overheating: When using a drill or rotary tool, avoid applying too much pressure as it can generate heat, potentially damaging the resin.
- Polish in Layers: For thick resin pieces, consider polishing layer by layer for the best results.
- Seal the Surface: For added durability, apply a thin coat of resin or a clear topcoat after polishing.
Troubleshooting Common Issues
- Cloudy Finish After Polishing: Ensure you’ve progressed through all sanding grits properly. Skipping grits can leave scratches that polishing alone won’t fix.
- Uneven Shine: Recheck the sanding process and use consistent pressure while polishing.
- Surface Cracks or Pits: Sand the area again with low-grit sandpaper to even out the imperfections, then polish.
Alternative Methods to Polish Resin
While polishing compound is the go-to method, you can also use these alternatives:
- Toothpaste: A mild abrasive toothpaste can work in a pinch for small resin projects.
- Automotive Polish: Designed for plastic headlights, this polish works well on resin.
- Furniture Polish: Adds a temporary shine but is not as effective for long-term clarity.
Maintaining the Polished Resin
To keep your resin projects looking their best:

- Avoid abrasive cleaners: Use a soft cloth for routine cleaning.
- Protect from UV light: Prolonged exposure to sunlight can cause yellowing or dullness.
- Handle with care: Minimize contact with sharp objects to avoid scratches.
Final Thoughts
Polishing resin after sanding may seem like a meticulous process, but the results are well worth the effort. Whether you’re creating jewelry, tabletops, or artistic decor, achieving a clear and glossy finish elevates the overall quality of your work.
By following the steps outlined in this guide, you’ll transform your resin pieces into stunning, professional-looking creations. Take your time, enjoy the process, and let your polished resin shine!


