

How to Sand a Floor Before Painting?
Painting a floor can completely transform the look of a room, garage, workshop, or outdoor area. However, applying paint directly onto a dirty, uneven, or glossy surface can lead to peeling, cracking, and an uneven finish.
Sanding a floor before painting creates a clean and prepared surface, helping paint and primer bond properly. Whether you are refreshing a wooden floor, repainting a concrete surface, or preparing an old painted floor, choosing the right sanding method and grit is essential.
Why Should You Sand a Floor Before Painting?
1. Improve Paint Adhesion
Many floors have smooth or glossy surfaces that prevent paint from bonding effectively. Light sanding creates a slightly textured surface, allowing primer and paint to adhere better.
Without proper sanding, new paint may peel, crack, or wear unevenly, especially in high-traffic areas.
2. Remove Old Paint and Coatings
Over time, floors can develop old paint layers, varnish, sealers, wax coatings, and surface stains. Sanding helps remove damaged layers and prepares the surface for a fresh coat of paint.
3. Create a Smoother Surface
Small scratches, rough patches, and repaired areas can become more visible after painting. Proper sanding helps create a more even foundation for a professional-looking finish.
Step 1: Inspect and Prepare the Floor
Before sanding, carefully check the condition of the floor. Different surface problems require different sanding approaches.
- Peeling paint
- Deep scratches
- Cracks or damaged areas
- Uneven surfaces
- Oil or grease contamination
A floor with loose paint may require aggressive sanding, while a floor with good existing paint may only need light surface preparation.
Step 2: Clean the Floor Before Sanding
Cleaning is an important step before sanding. Dust, dirt, oil, and grease can reduce sanding performance and affect paint adhesion.
Before starting:
- Remove loose debris
- Clean stains and grease
- Allow the floor to dry completely
Step 3: Choose the Right Sandpaper Grit for Floor Sanding
The correct grit depends on the condition of your floor. Coarse abrasives remove material quickly, while finer grits create a smoother surface before painting.
Coarse Grit Sandpaper (P40-P80)
Use coarse grit when removing old paint, thick coatings, or uneven surfaces.
- Remove old floor paint
- Remove damaged coatings
- Smooth rough areas
Medium Grit Sandpaper (P100-P150)
Medium grit is used after initial sanding to smooth the surface and remove deeper sanding marks.
Fine Grit Sandpaper (P180-P240)
Fine grit provides the final preparation before painting. It helps create a smooth surface and improves primer adhesion.
Floor Sanding Grit Guide
| Floor Preparation Task | Recommended Grit |
|---|---|
| Remove old paint or coating | P40-P80 |
| Smooth rough areas | P80-P120 |
| Prepare repaired areas | P120-P180 |
| Final sanding before painting | P180-P240 |
Step 4: Choose the Right Sanding Tool
The best sanding tool depends on the size of your project and the condition of your floor. Choosing the right equipment helps you achieve a more consistent finish while reducing sanding time.
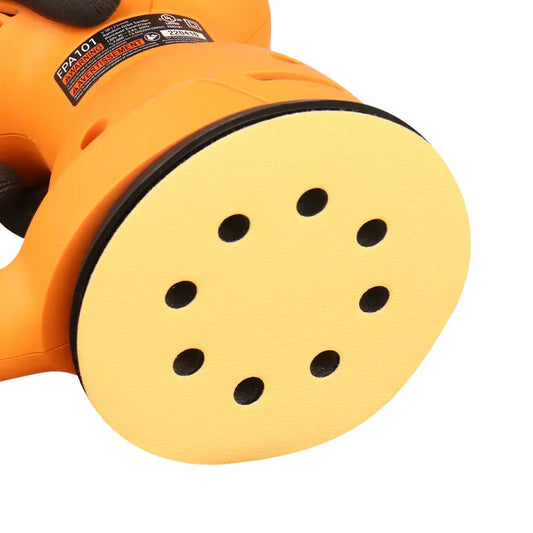
Random Orbital Sanders
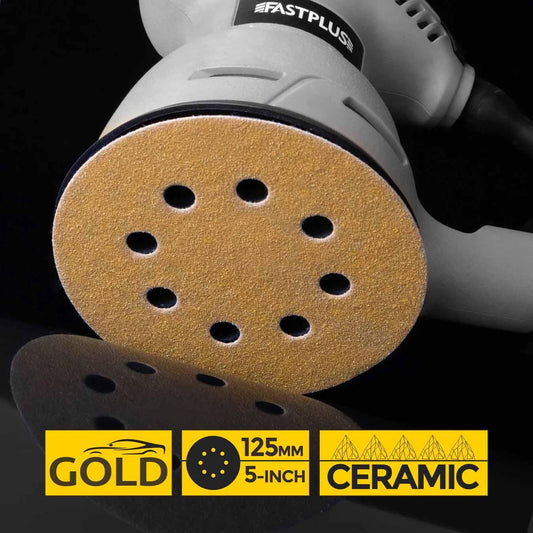
Random orbital sanders are suitable for smaller floor areas, edges, repair sections, and detailed surface preparation. They create a smooth sanding pattern and help reduce visible sanding marks.
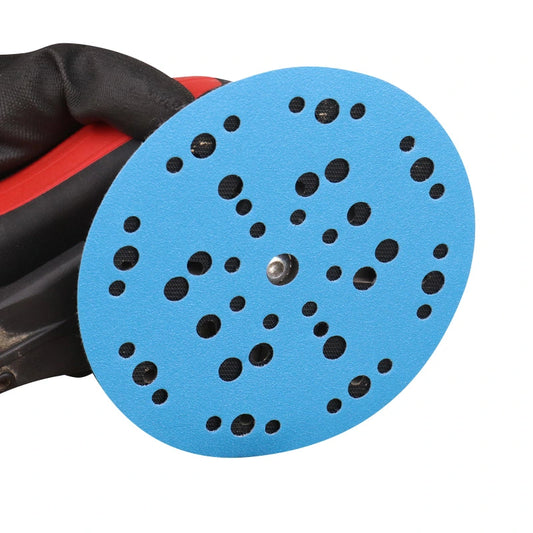
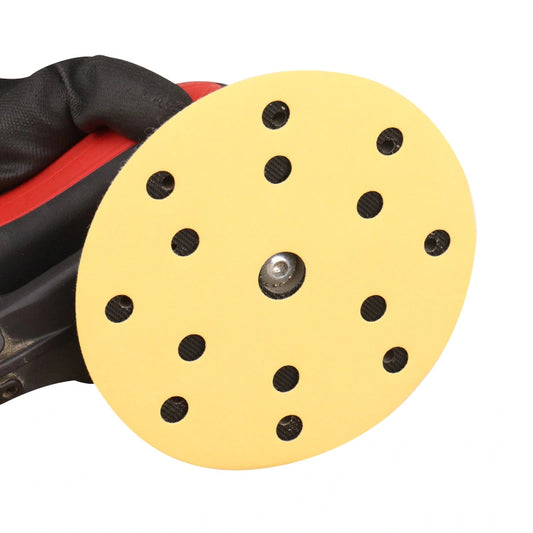
225mm Sanding Discs for Large Surface Preparation
For larger surface preparation projects, 225mm sanding discs provide a wider sanding area compared with traditional hand sanding sheets. They are commonly used with long-reach sanders for renovation and surface preparation applications.
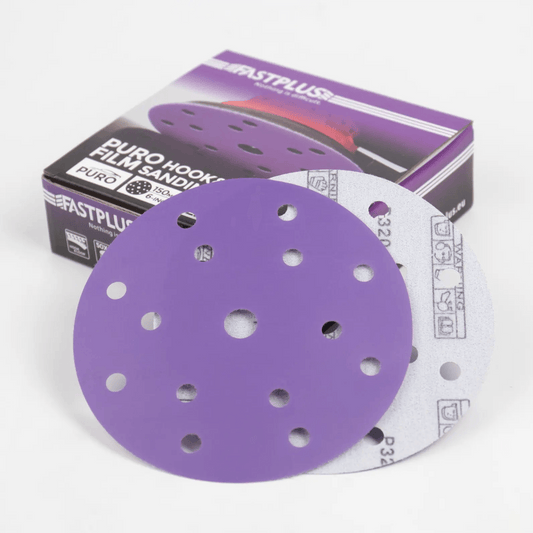
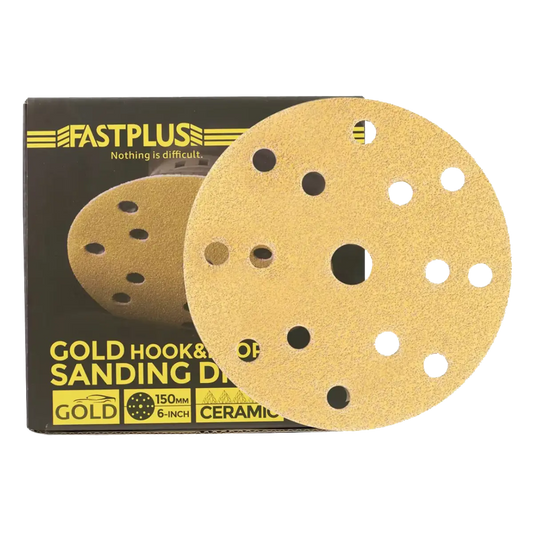
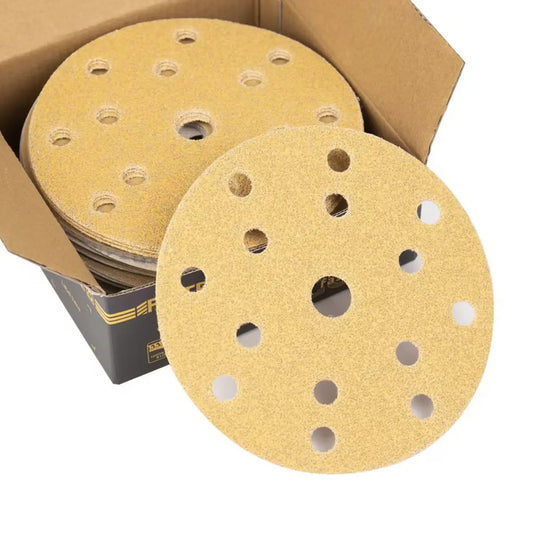
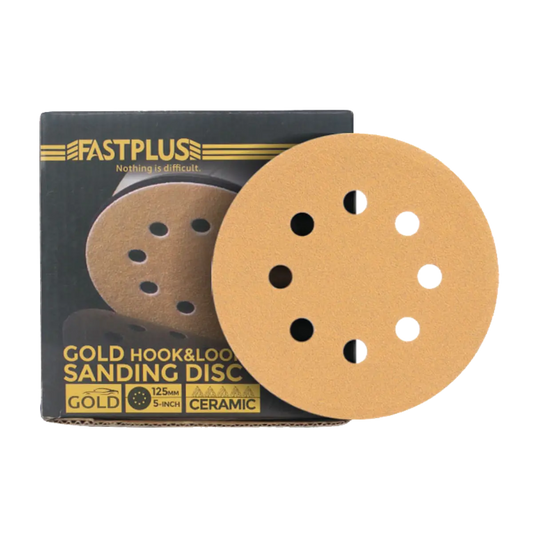
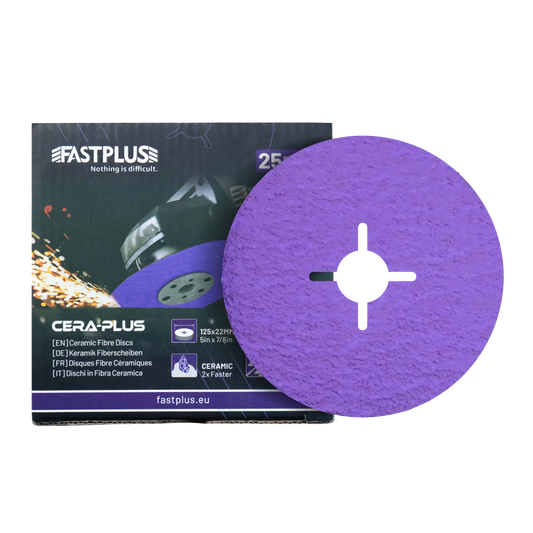
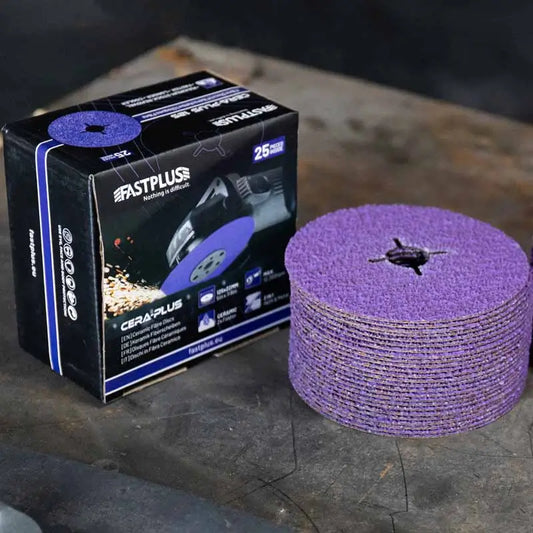
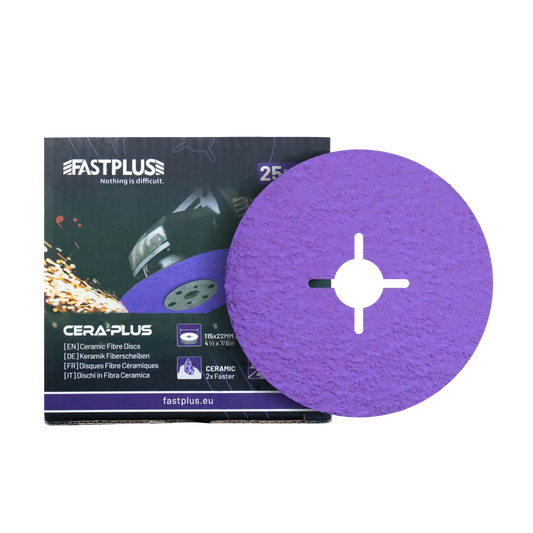
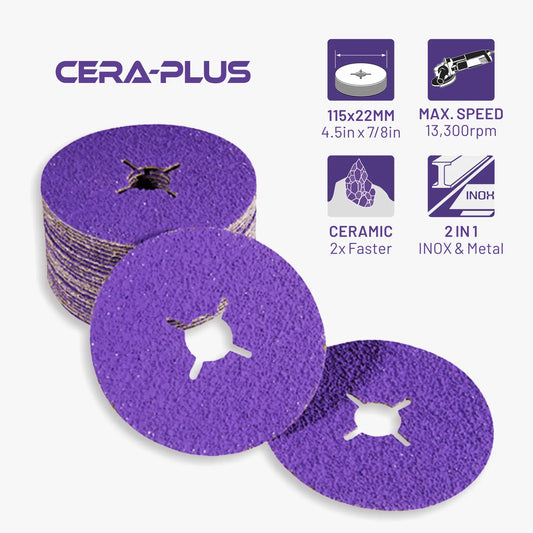
FastPlus 225mm Ceramic Sanding Discs

FastPlus 225mm Ceramic Sanding Discs are designed for efficient material removal and consistent sanding performance. They are suitable for applications such as:
- Floor surface preparation
- Removing old paint and coatings
- Smoothing filler and repaired areas
- Renovation and remodeling projects
With ceramic abrasive grains and durable backing, they provide a reliable solution for users who need efficient sanding on larger surfaces.
Step 5: How to Sand a Floor Properly
Start With the Correct Grit
Always select sandpaper based on the condition of the floor. A rough surface with old coatings requires a coarser grit, while a clean surface may only need light sanding before painting.
Keep the Sander Moving
Avoid holding the sanding tool in one position for too long. Staying in one area can create uneven spots or deep sanding marks.
Move slowly and evenly across the floor to achieve a consistent finish.
Sand in Multiple Stages
For better results, use several sanding steps instead of trying to achieve the final finish with one grit.
- Start with coarse grit for material removal
- Move to medium grit for smoothing
- Finish with fine grit before painting
Remove Dust Between Sanding Steps
Dust left on the surface can affect the final paint finish. After sanding, always vacuum the floor and remove remaining particles before applying primer or paint.
How to Sand Different Types of Floors Before Painting
Sanding a Wooden Floor Before Painting
Wood floors require careful sanding because removing too much material can damage the surface. The goal is to remove imperfections while creating a clean base for paint.
Recommended sanding process:
- P80-P100 for damaged areas and old coatings
- P120-P150 for smoothing the surface
- P180-P220 for final preparation before painting
Whenever possible, sand following the direction of the wood grain to create a smoother appearance.

Sanding a Concrete Floor Before Painting
Concrete floors often require sanding to remove old coatings, stains, and surface imperfections before painting.
Recommended grit:
- P40-P80 for removing old coatings
- P80-P120 for surface smoothing
- P150-P220 for final preparation
Make sure the concrete surface is clean and completely dry before applying floor paint.
Sanding a Previously Painted Floor
If existing paint is still firmly attached, you may only need light sanding to improve adhesion.
For floors with peeling or damaged paint:
- Remove loose paint first
- Sand uneven areas
- Clean the surface thoroughly
- Apply primer before painting
Common Floor Sanding Mistakes to Avoid
Using the Wrong Sandpaper Grit
Using a grit that is too fine may not remove enough material, while using a grit that is too coarse can create unnecessary scratches. Choose the grit according to your floor condition.
Skipping Cleaning Before Painting
Paint will not bond properly to surfaces covered with dust, grease, or dirt. Cleaning should always be part of your preparation process.
Applying Too Much Pressure
Let the abrasive do the work. Excessive pressure can wear the sanding disc faster and create an uneven surface.
Painting Immediately After Sanding
Always remove sanding dust before applying primer or paint. A clean surface helps achieve a smoother and longer-lasting finish.
Frequently Asked Questions About Sanding Floors Before Painting
What grit sandpaper should I use before painting a floor?
For final preparation before painting, P180-P220 is commonly used. If the floor has old paint or damaged coatings, start with a coarser grit such as P40-P80 and gradually move to finer grits.
Can I paint a floor without sanding?
Some specialty paints are designed for direct application, but sanding is usually recommended because it improves paint adhesion and helps create a more durable finish.
Can I use a 225mm sanding disc for floor sanding?
Yes. A 225mm sanding disc can be used for many floor preparation tasks, including removing old coatings, smoothing repaired areas, and preparing surfaces before painting.
How long should I sand a floor before painting?
The sanding time depends on the floor condition, surface size, and equipment used. A lightly worn floor may only require a quick preparation pass, while floors with multiple coating layers require several sanding stages.
Final Thoughts
Sanding a floor before painting is an essential step for creating a smooth and durable finish. The right preparation method, sanding technique, and grit selection can significantly improve the final result.
Before painting your floor, remember to:
- Inspect the surface condition
- Select the correct sandpaper grit
- Remove dust between sanding stages
- Use suitable sanding tools for your project
Whether you are preparing a wooden floor, concrete surface, or renovation project, quality abrasives help create a clean foundation for your new paint finish.
Explore FastPlus Sanding Solutions
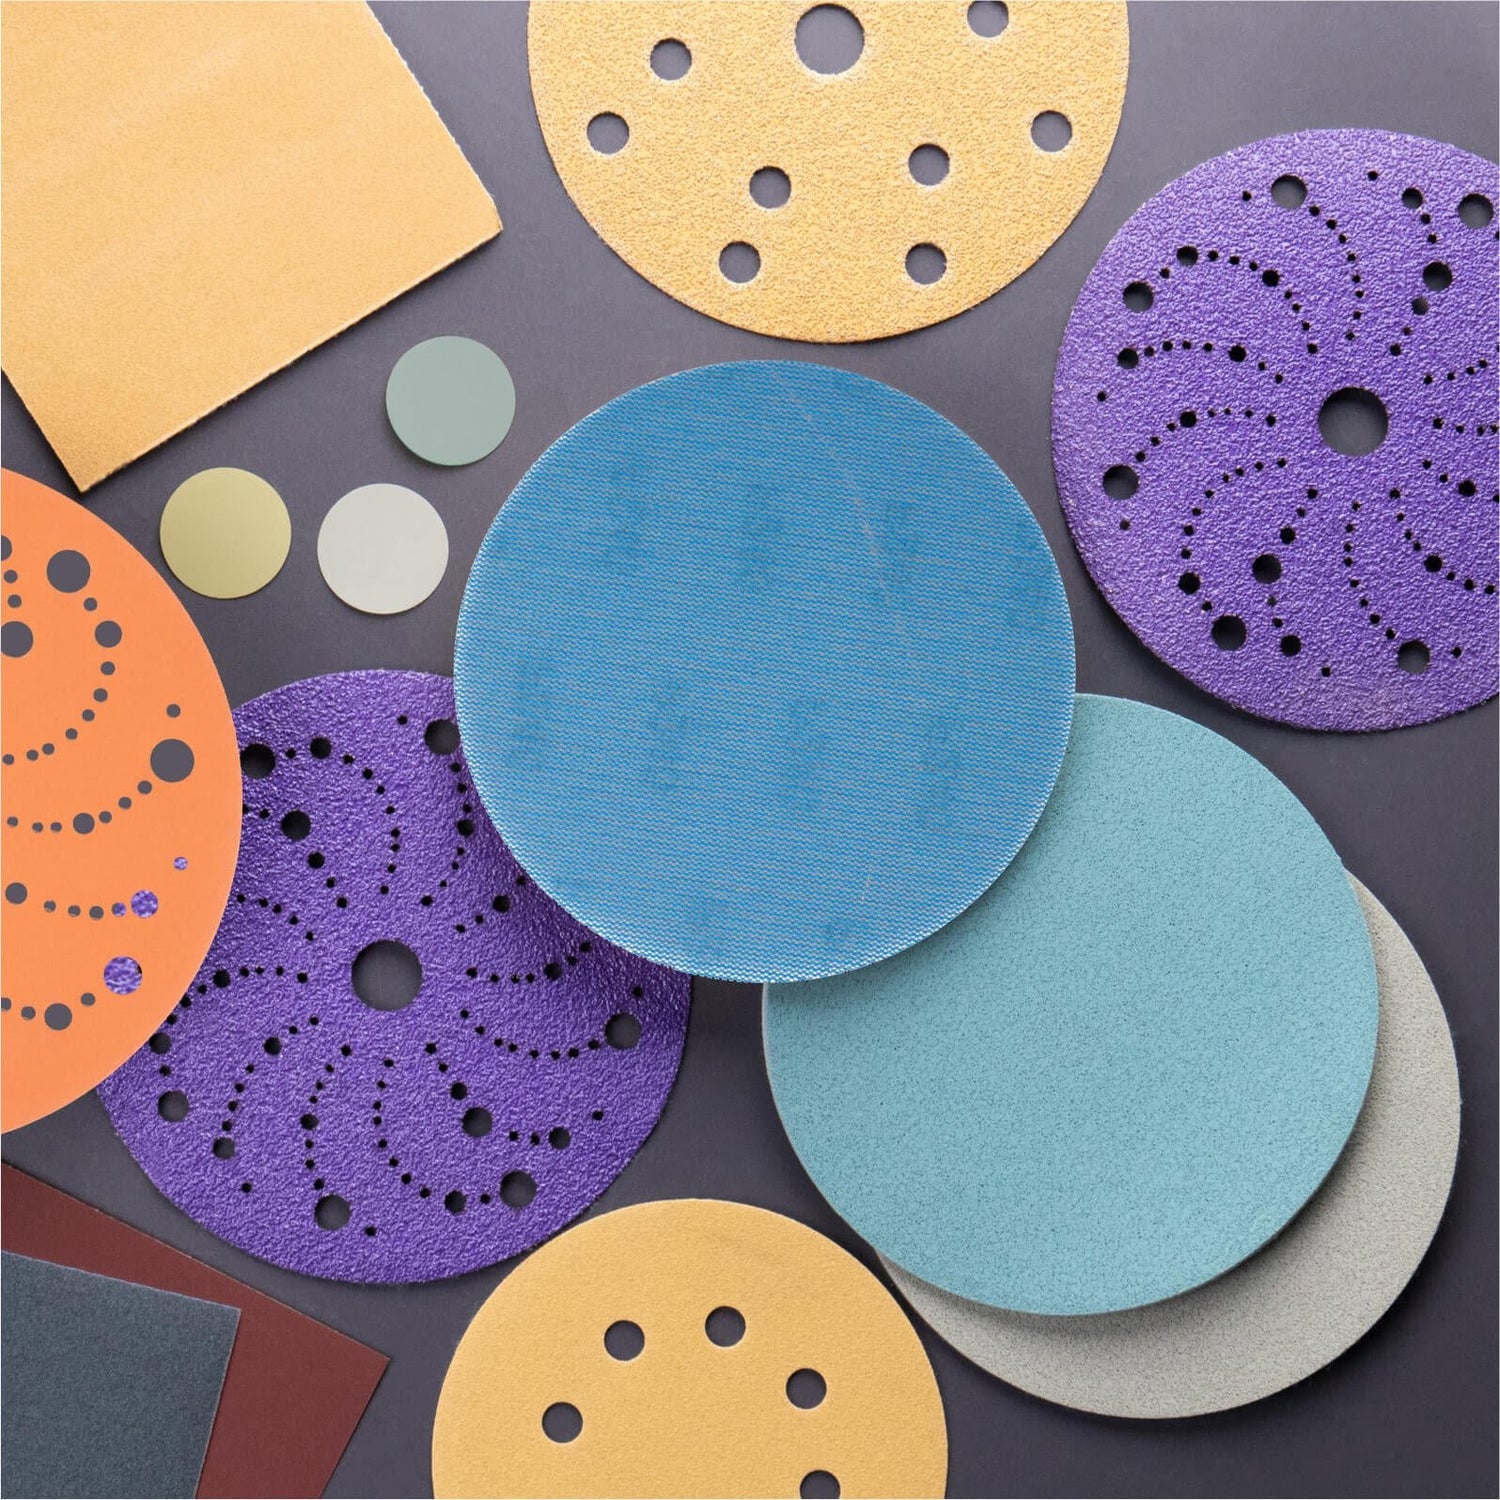
FastPlus offers ceramic sanding discs, 225mm sanding discs, and other abrasive solutions designed for efficient surface preparation, renovation, automotive, and DIY projects.