

How to Sand Gelcoat on a Fiberglass Boat Hull for Refinishing?
Whether you're restoring a weathered fishing boat, preparing a yacht for fresh paint, or bringing back the shine of an aging fiberglass hull, sanding the gelcoat correctly is the foundation of a successful refinishing project. A smooth, evenly sanded surface ensures better paint adhesion, eliminates oxidation, and creates the professional finish every boat owner hopes to achieve.
Unlike automotive paint, gelcoat is considerably thicker and designed to withstand years of exposure to sunlight, saltwater, and harsh marine environments. However, even the toughest gelcoat gradually develops oxidation, scratches, stains, and surface imperfections. Proper sanding removes these defects while preserving as much of the original gelcoat as possible.
In this comprehensive guide, you'll learn how professionals sand fiberglass boat hulls, which grit sequence delivers the best results, when to switch from dry sanding to wet sanding, and how to avoid the common mistakes that often ruin an otherwise promising refinishing project.

Table of Contents
What Is Gelcoat?
Gelcoat is a durable polyester resin coating applied to the outer surface of most fiberglass boats during manufacturing. Unlike conventional paint, gelcoat forms a thick protective layer that shields the fiberglass laminate from UV rays, moisture, abrasion, and chemical exposure. Its durability is one of the reasons fiberglass boats remain popular throughout Europe for recreational boating, sailing, and fishing.
Although gelcoat is remarkably tough, continuous exposure to sunlight, saltwater, freshwater minerals, and environmental pollutants gradually causes oxidation. Over time, the once glossy surface becomes dull, chalky, rough, and discolored. In more severe cases, scratches, dock impacts, and previous repairs can leave the hull looking uneven and worn.
Before removing large amounts of material, inspect the hull carefully. In many cases, moderate oxidation only requires light sanding followed by polishing, while deeper scratches or repaired areas may need a more aggressive grit progression.
Why Sand Gelcoat Before Refinishing?
Sanding does much more than improve appearance. It creates the mechanical bond that allows primers, marine paints, and protective coatings to adhere securely to the hull. Without proper surface preparation, even premium marine coatings can begin peeling or flaking within a relatively short period.
Proper sanding also removes surface contamination, levels repaired areas, smooths scratches, eliminates oxidation, and creates an even substrate for painting or polishing. Whether you're restoring a sailboat, speedboat, or small fishing vessel, investing time in correct sanding dramatically improves the durability and appearance of the final finish.
Essential Tools and Materials
Having the right equipment not only produces better results but also makes the entire refinishing process faster and more comfortable.
- Random orbital sander
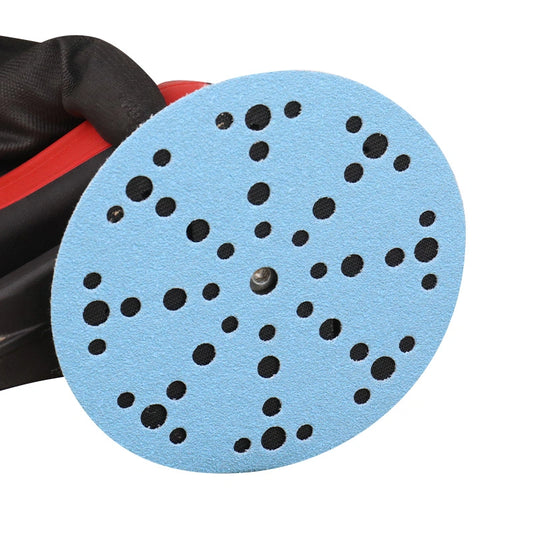
- Soft interface pad
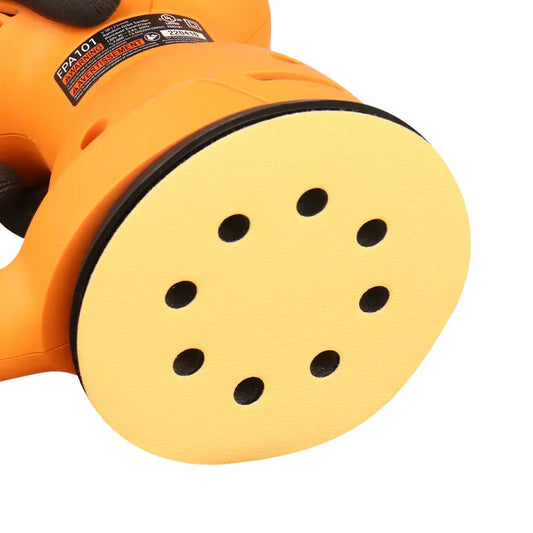
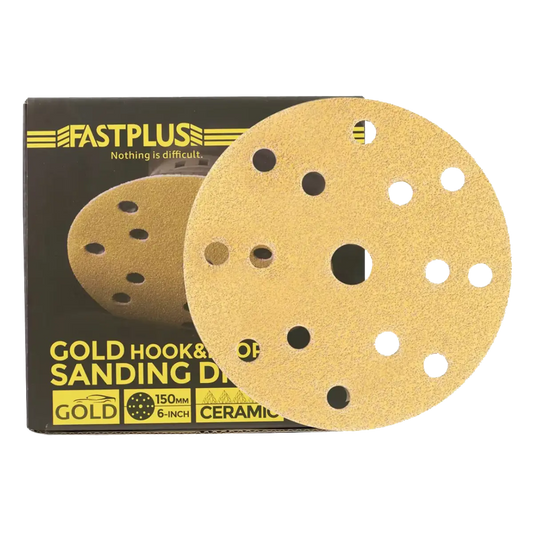
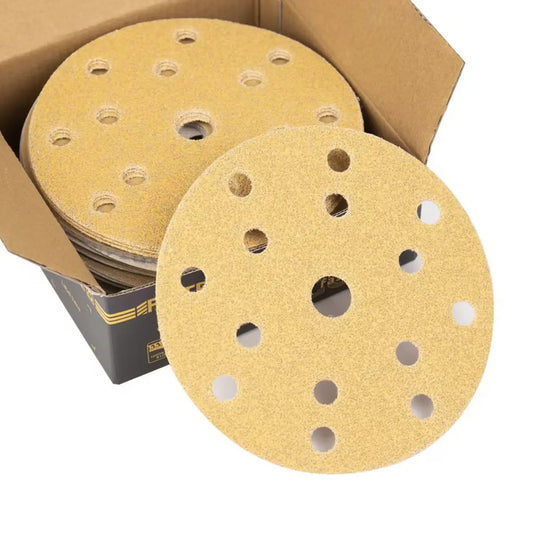
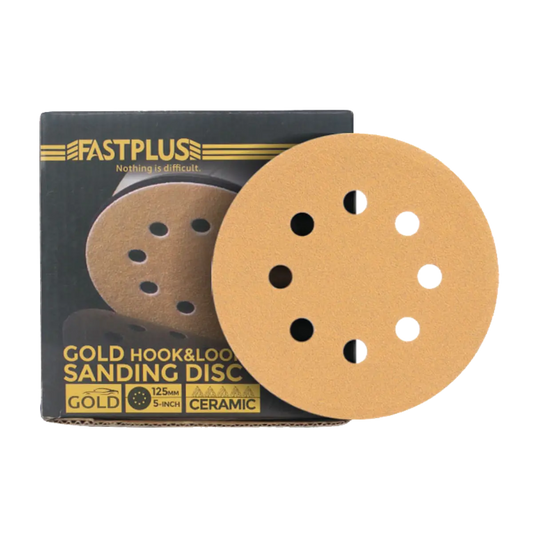
- Hook and loop sanding discs
- Waterproof sanding paper
- Foam sanding block
- Dust extraction vacuum
- Spray bottle with clean water
- Microfiber towels
- Marine wax and grease remover
- Safety glasses, respirator, and hearing protection
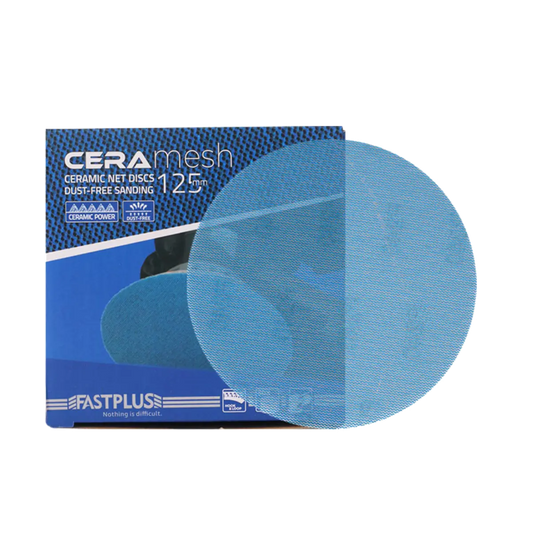
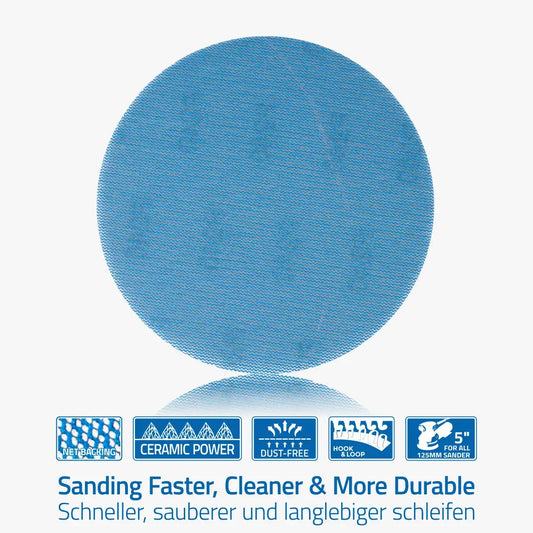
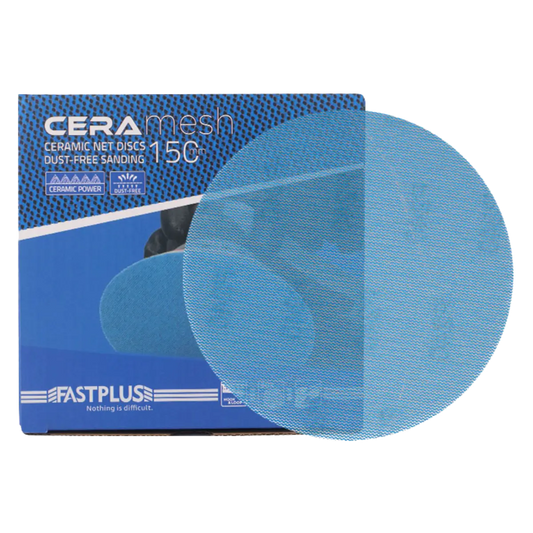
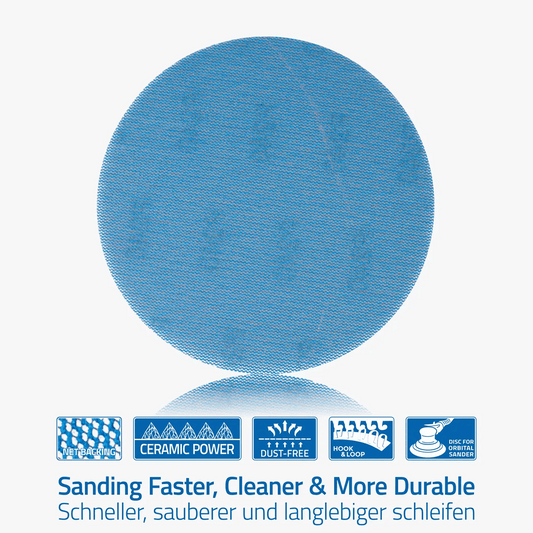
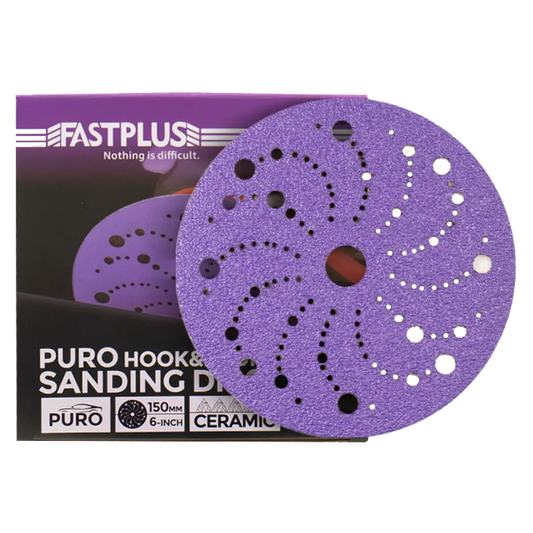
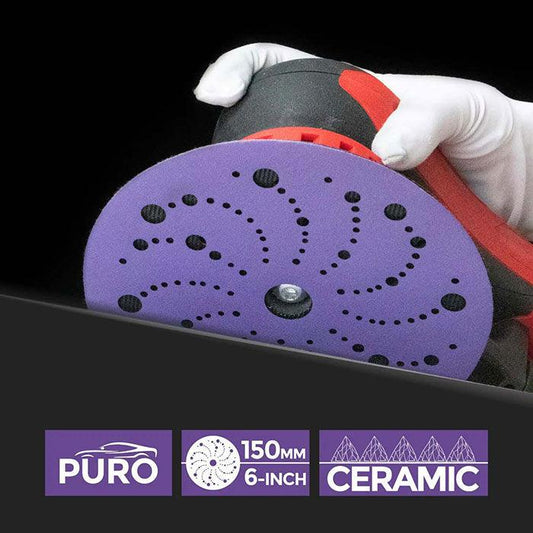
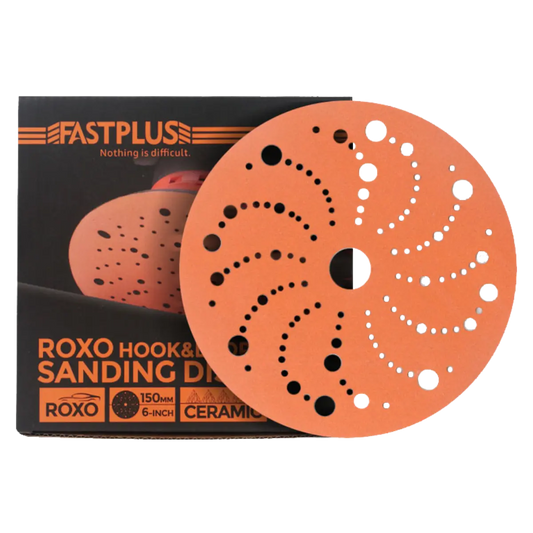
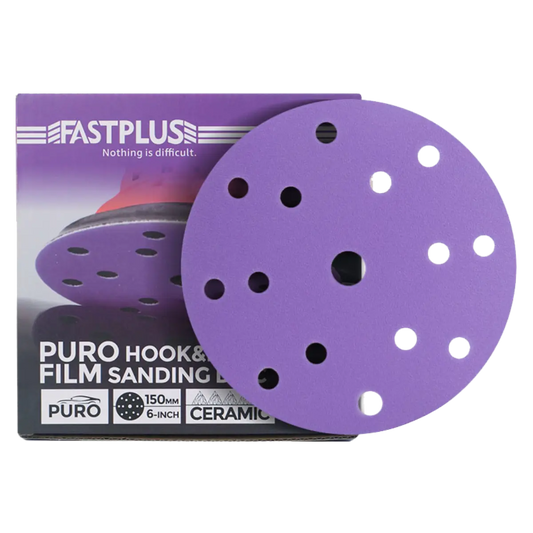
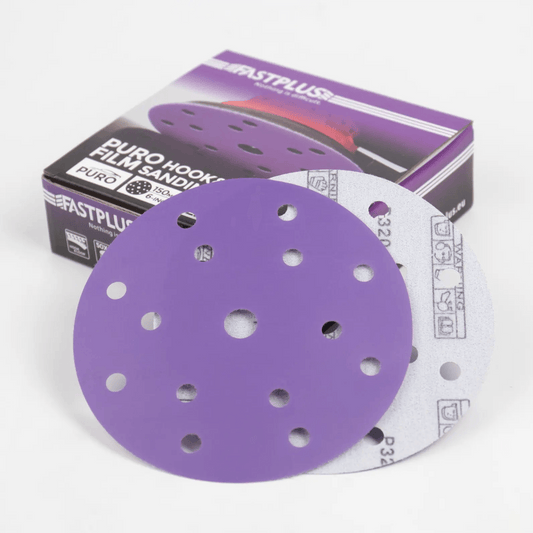
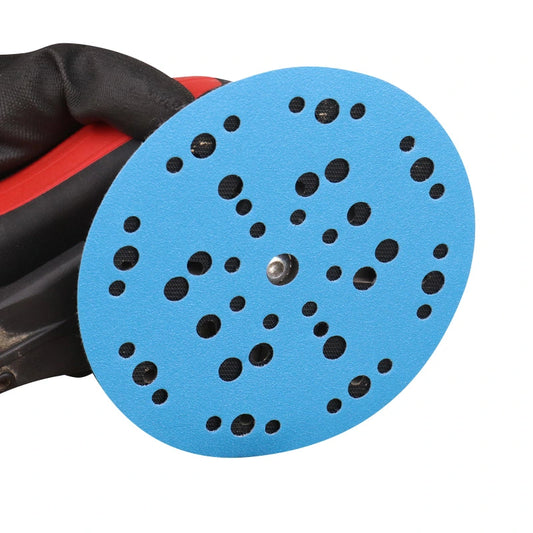
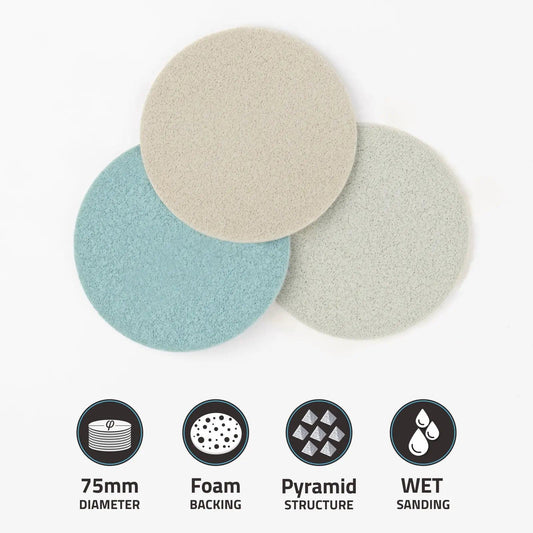
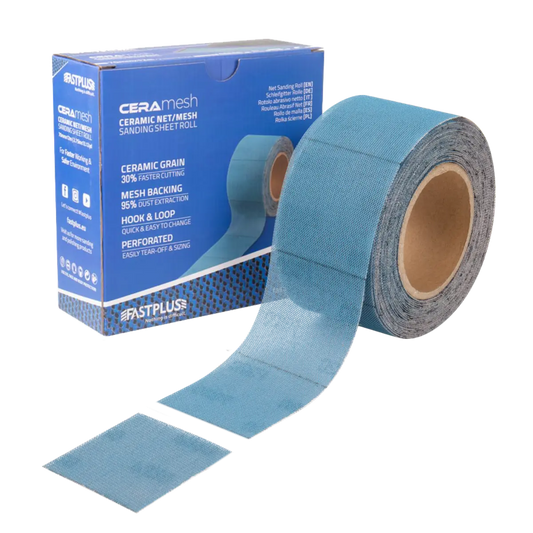
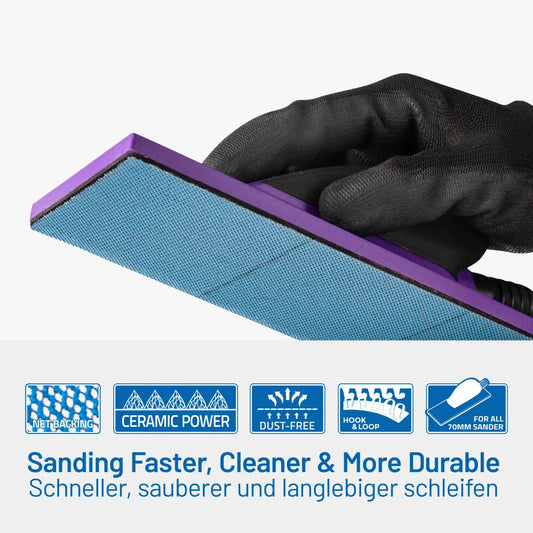
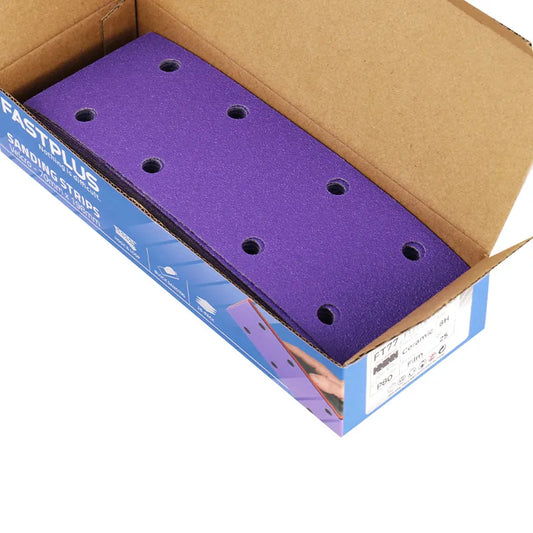
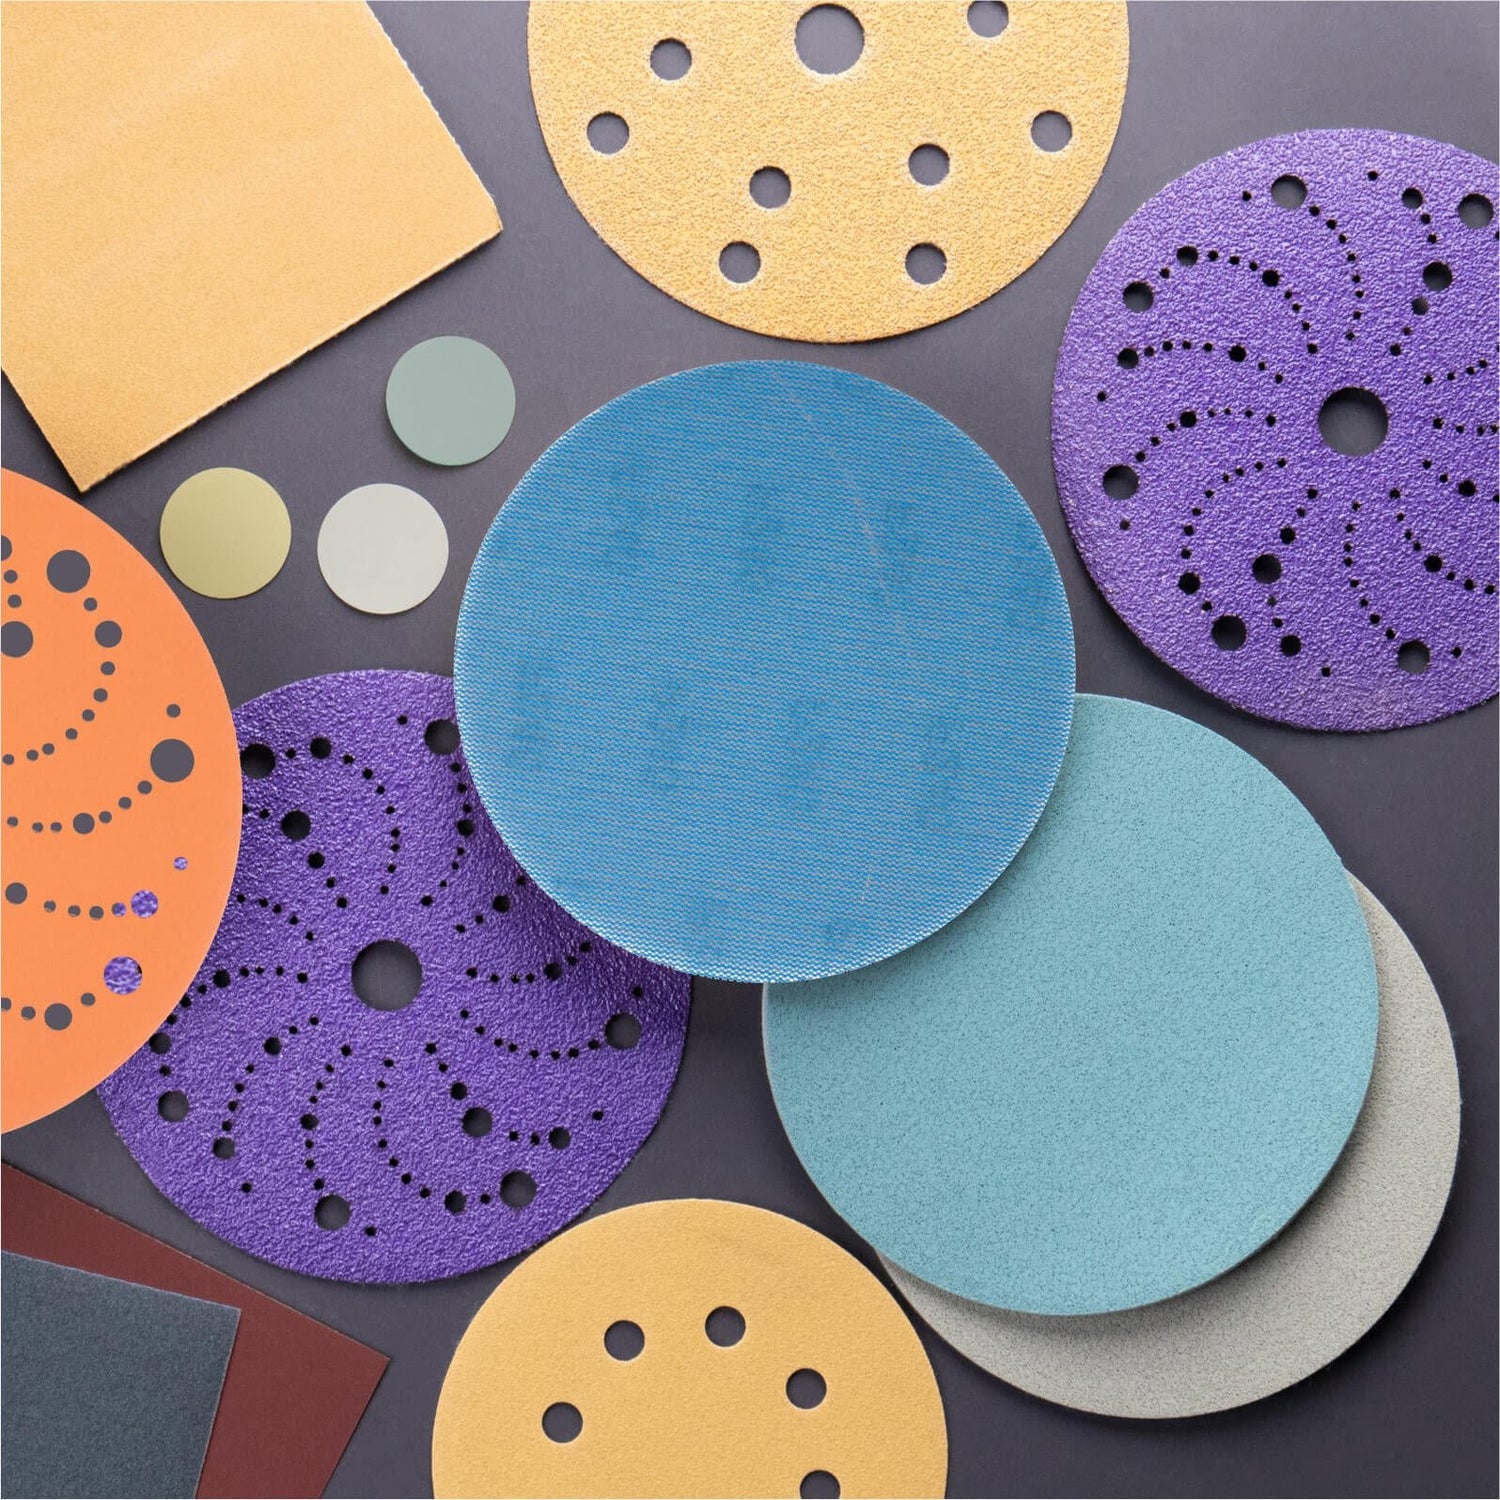
For machine sanding, premium film-backed sanding discs are often preferred because they resist tearing, maintain consistent cutting performance, and last significantly longer than traditional paper abrasives. When connected to a dust extraction system, mesh sanding discs can further reduce airborne fiberglass dust while improving visibility during sanding.
Choosing the Right Sandpaper Grit for Gelcoat
Selecting the correct grit is one of the most important decisions during boat hull refinishing. Starting with a grit that is too coarse can remove unnecessary material and leave deep scratches, while starting too fine often wastes time because oxidation and defects are not removed efficiently.
The ideal grit progression depends on the condition of your fiberglass boat. Always begin with the least aggressive grit that will remove the existing damage, then gradually move through finer grits to refine the surface.
| Hull Condition | Recommended Starting Grit | Finish Grit |
|---|---|---|
| Heavy oxidation | P120–P150 | P600 |
| Moderate oxidation | P180 | P800 |
| Light oxidation | P220 | P1000 |
| Preparing for primer | P180 | P320 |
| Preparing for polishing | P400 | P1500–P2000 |
| Removing sanding scratches before buffing | P800 | P2000 |
Following a gradual grit progression allows each abrasive to remove the scratches left by the previous grit, resulting in a flatter and more uniform surface. Skipping grit sizes may save time initially, but it often creates extra work later because deeper scratches become difficult to remove during polishing.
Step-by-Step Guide: How to Sand Gelcoat on a Boat Hull
Step 1 – Wash the Hull Thoroughly

Before touching the hull with sandpaper, remove all dirt, salt deposits, grease, algae, wax, and marine contaminants. Any debris trapped beneath the abrasive can create deep scratches that require additional sanding later.
Wash the boat with a marine-grade boat soap, rinse thoroughly with clean water, and allow the surface to dry completely. If the hull has previously been waxed, wipe it down with a wax and grease remover to eliminate any residue that could clog the abrasives.
Step 2 – Inspect the Surface Carefully
Walk around the entire hull and identify any defects before sanding begins. Mark damaged areas with masking tape so they can receive additional attention during the refinishing process.
- Oxidation
- Deep scratches
- Dock rash
- Spider cracks
- Filled repair areas
- Previous paint failures
- Waterline staining
If structural damage or exposed fiberglass is present, complete all repairs before sanding the surrounding gelcoat.
Step 3 – Begin Dry Sanding
Dry sanding is generally the fastest way to remove oxidation and level imperfections. For large, flat areas of the hull, a random orbital sander delivers the most consistent finish while reducing visible sanding patterns.
Attach a premium sanding disc and allow the machine to do the work. Applying excessive pressure only generates heat, wears out the abrasive faster, and increases the risk of uneven sanding.
- Keep the sander moving continuously.
- Overlap each pass by approximately 50%.
- Avoid tilting the backing pad.
- Check the surface frequently under good lighting.
Working methodically across one section at a time helps maintain a uniform finish and prevents missed areas.
Step 4 – Sand Curved Sections by Hand

Although orbital sanders are excellent for broad surfaces, they cannot follow every contour of a fiberglass boat. Areas such as the bow, chines, transom corners, and around hardware require hand sanding using a flexible foam sanding block.
Hand sanding allows better control over pressure and helps preserve the original hull shape without flattening rounded edges.
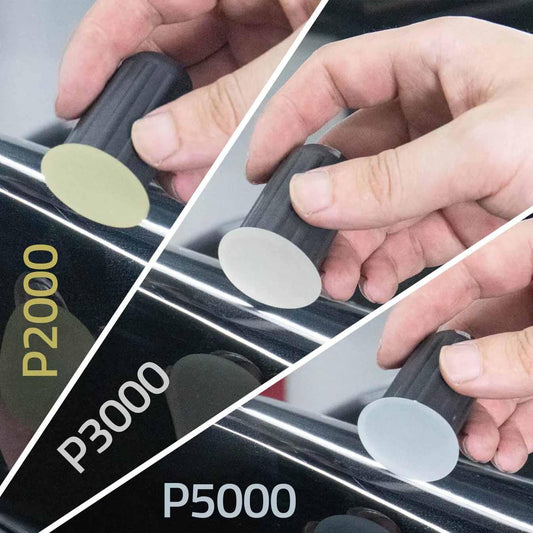
Step 5 – Progress Through Finer Grits
Once oxidation and major imperfections have been removed, gradually move to finer abrasives. Every sanding stage should completely eliminate the scratches left by the previous grit before progressing further.
- P120
- P180
- P220
- P320
- P400
- P600
- P800
- P1000
- P1500
- P2000
Rushing through this sequence is one of the most common reasons swirl marks remain visible after polishing.
Step 6 – Switch to Wet Sanding
Once the surface reaches approximately P600 grit, many professional marine refinishers transition to wet sanding. Water acts as a lubricant, reduces heat, flushes away sanding residue, and dramatically decreases abrasive clogging.
Spray clean water onto the surface while sanding. Some technicians add a small amount of mild dish soap to improve lubrication even further.
Premium waterproof sanding paper or film-backed abrasives perform exceptionally well during this stage because they maintain their cutting ability while resisting edge wear.
Step 7 – Inspect Between Every Grit
Never assume the previous grit has removed every scratch. Dry the surface with a microfiber towel and inspect it from multiple angles using bright lighting.
Look for:
- Remaining glossy spots
- Deep sanding scratches
- Uneven repair areas
- Low spots
- Orange peel texture
Correcting these issues immediately is much easier than discovering them after primer or paint has already been applied.
Achieve Professional Marine Finishing Results
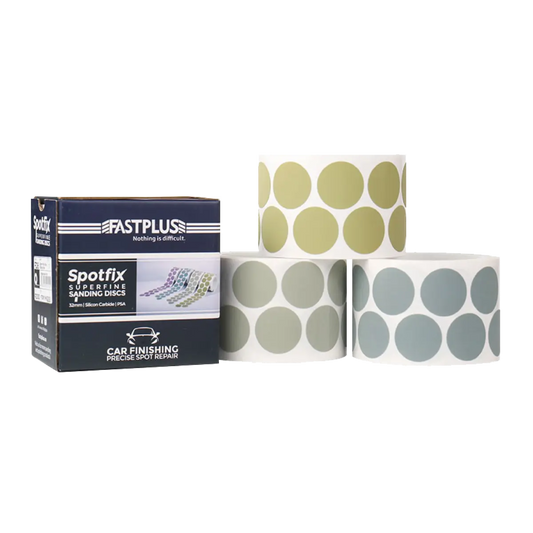
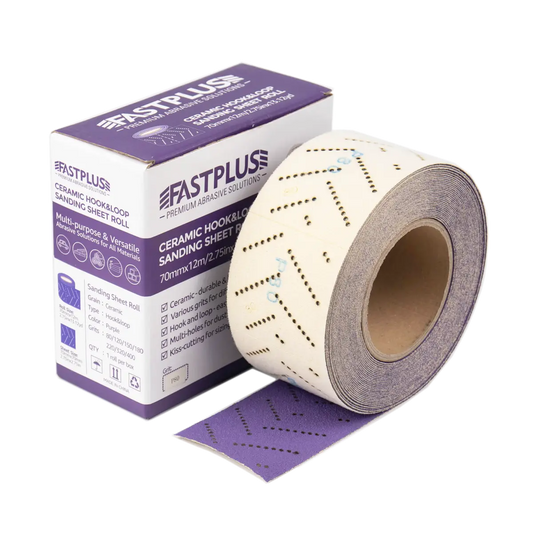
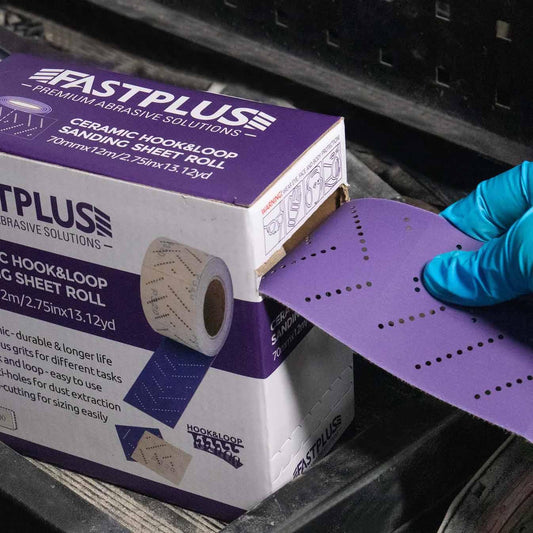
Whether you're restoring a small fishing boat or refinishing a luxury yacht, using high-quality abrasives makes every sanding stage faster, cleaner, and more consistent. FastPlus offers premium film sanding discs, mesh sanding discs, and waterproof sanding sheets designed for demanding marine, automotive, and woodworking applications.
Shop FastPlus Sanding DiscsFilm Sanding Discs vs. Mesh Sanding Discs
| Feature | Film Sanding Discs | Mesh Sanding Discs |
|---|---|---|
| Dust Extraction | Very Good | Excellent |
| Resistance to Clogging | High | Excellent |
| Surface Finish | Excellent | Excellent |
| Durability | Very High | Very High |
| Best Applications | Marine refinishing, automotive paint, wood | Heavy dust environments, gelcoat sanding, composites |
Professional Tips for Better Results
- Always sand in manageable sections rather than the entire hull at once.
- Replace worn abrasives promptly to maintain a consistent scratch pattern.
- Keep the sanding pad flat against the hull to avoid creating low spots.
- Use dust extraction whenever possible to improve visibility and extend abrasive life.
- Avoid sanding under direct sunlight, as excessive heat can soften gelcoat and reduce sanding efficiency.
- Allow each grit to remove all previous scratches before moving to the next step.
Common Mistakes When Sanding Gelcoat
Even experienced DIY boat owners occasionally make mistakes during surface preparation. While most errors can be corrected, they often require additional sanding, polishing, or even reapplying primer and paint. Understanding these common pitfalls will help you achieve a smoother finish while saving both time and materials.
1. Starting with a Grit That's Too Coarse
Many beginners believe coarse abrasives remove oxidation faster, but they also leave deep scratches that require several additional sanding stages to eliminate. Unless you're repairing severe damage, avoid starting below P120.
2. Skipping Grit Sizes
Jumping directly from P180 to P600 may seem like a shortcut, but finer abrasives cannot efficiently remove deep scratches left by coarser grits. The result is visible sanding marks after polishing or painting.
3. Applying Too Much Pressure
Allow the abrasive to cut naturally. Excessive pressure generates unnecessary heat, shortens abrasive life, and increases the risk of creating uneven low spots across the hull.
4. Sanding Through the Gelcoat
Gelcoat is thicker than automotive paint but not unlimited. If fiberglass fibers become visible, you've removed too much material. Repairing exposed laminate requires significantly more work than simply restoring oxidized gelcoat.
5. Forgetting to Clean Between Sanding Stages
Dust trapped beneath the next abrasive can create random scratches that become obvious under gloss paint or polish. Vacuum the hull and wipe it with a clean microfiber cloth after every grit change.
Boat Hull Sanding Checklist
Before You Begin
- ✔ Wash the boat thoroughly
- ✔ Remove wax and grease
- ✔ Inspect for cracks and repairs
- ✔ Prepare all sanding grits
- ✔ Wear proper PPE (respirator, goggles, hearing protection)
- ✔ Connect a dust extraction system if available
Frequently Asked Questions
Can I use a random orbital sander on a fiberglass boat hull?
Yes. A random orbital sander is the preferred tool for large flat surfaces because it produces a more uniform scratch pattern while reducing visible swirl marks. Use an interface pad when working on slightly curved sections.
Should I wet sand or dry sand first?
Start with dry sanding to remove oxidation, scratches, or repair marks. Once you reach approximately P600 grit, switch to wet sanding to refine the surface before polishing or painting.
What grit should I finish with before painting?
Most marine primers and topcoats perform well over a surface finished between P220 and P320, but always follow the coating manufacturer's recommendations.
How do I restore oxidized gelcoat without repainting?
If the gelcoat is structurally sound, sand through progressively finer grits before polishing with a cutting compound and finishing polish. Severe oxidation may require more aggressive initial sanding.
What is the best sandpaper for gelcoat?
Premium film sanding discs are ideal for machine sanding because they resist tearing and provide a consistent finish. Waterproof sanding sheets are recommended for wet sanding, while mesh sanding discs offer excellent dust extraction when connected to a vacuum system.
Final Thoughts
Learning how to sand gelcoat correctly is the foundation of every successful boat restoration project. Whether you're preparing a fiberglass fishing boat for fresh marine paint or restoring the shine of an aging yacht, careful surface preparation will always deliver better long-term results.
Work patiently, use a logical grit progression, inspect your work between every sanding stage, and choose high-quality abrasives designed for marine refinishing. These simple practices not only produce a smoother surface but also improve coating adhesion, reduce polishing time, and help create a finish that lasts for years in demanding marine environments.
Ready to Upgrade Your Sanding Results?
FastPlus offers premium film sanding discs, mesh sanding discs, waterproof sanding paper, and foam abrasives designed for professional-quality marine, automotive, and woodworking applications. Choose long-lasting abrasives that cut faster, resist clogging, and deliver a consistently smooth finish.
Explore FastPlus Sanding Products