

How to Use Scuff Pads for Paint Prep: A Complete Guide
In This Guide
What Is a Scuff Pad?
A scuff pad is a flexible abrasive product designed primarily for light surface abrasion and paint preparation. Unlike traditional sandpaper, which is commonly used to remove material, level surfaces, or refine scratches, a scuff pad is especially useful when you need to dull an existing coating and create a consistent surface texture before applying a new coating.
Scuff pads are generally made from a flexible non-woven material containing abrasive particles. Their open structure and flexibility allow them to follow irregular surfaces more easily than a flat sheet of sandpaper.
This makes them useful for preparing:
- Previously painted automotive panels
- Bumpers and plastic components
- Door jambs
- Curved panels
- Body lines
- Edges and corners
- Recessed areas
- Areas around trim or hardware
- Metal components before repainting
The goal is generally to create a clean and uniform surface rather than aggressively remove large amounts of material.
Why Scuff a Surface Before Painting?
Paint requires proper surface preparation to achieve reliable adhesion. A smooth and glossy existing finish may not provide enough surface texture for the next coating to bond effectively.
Scuffing lightly abrades the surface and creates a consistent scratch pattern. This helps improve mechanical adhesion between the existing surface and the new coating system.
A properly scuffed surface can help:
- Remove surface gloss
- Create a more uniform surface profile
- Improve coating adhesion
- Prepare complex shapes and contours
- Reach difficult areas more easily
- Reduce the risk of missed preparation spots
Scuff Pads vs. Sandpaper: What's the Difference?
Scuff pads and sandpaper both play an important role in paint preparation, but they are not designed for exactly the same tasks.
| Task | Best Option |
|---|---|
| Remove deep scratches | Sanding discs or sanding sheets |
| Level body filler | Sanding discs or sanding sheets |
| Feather paint edges | Appropriate grit sandpaper |
| Remove surface gloss | Scuff pad |
| Prepare curves and contours | Scuff pad |
| Prepare edges and recesses | Scuff pad or hand sanding product |
| Final light surface preparation | Fine abrasive or scuff pad |
For this reason, professional paint preparation often uses multiple abrasives during different stages of the job.
For example, a damaged panel may first require sanding to remove defects and level the repair area. Once the surface is properly repaired, a scuff pad can be used to prepare surrounding coated areas before painting.
Build Your Paint Prep Workflow with FastPlus
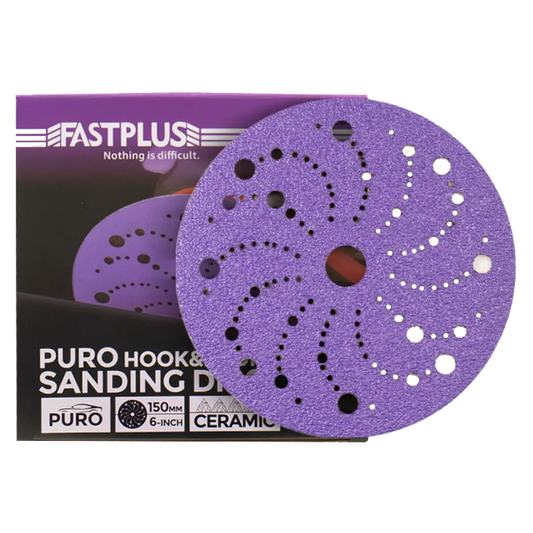
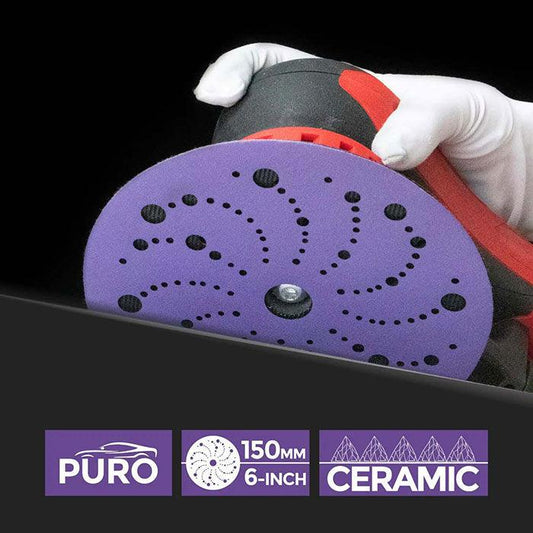
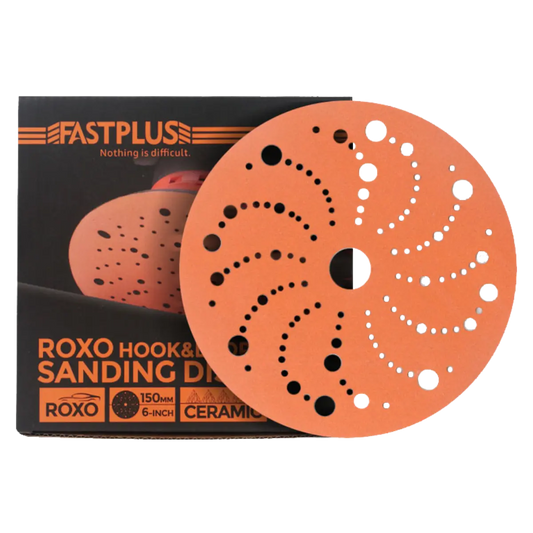
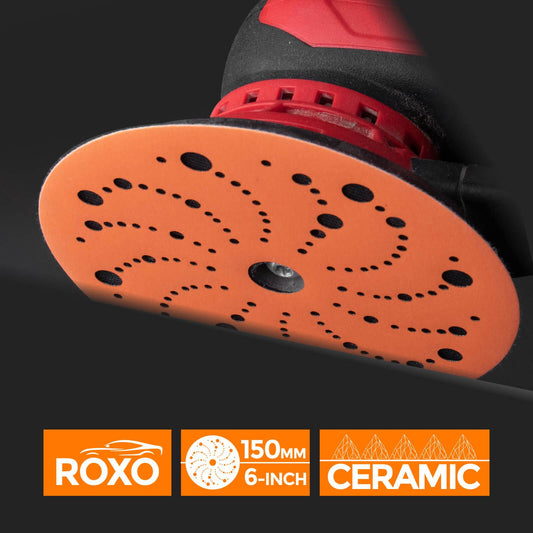
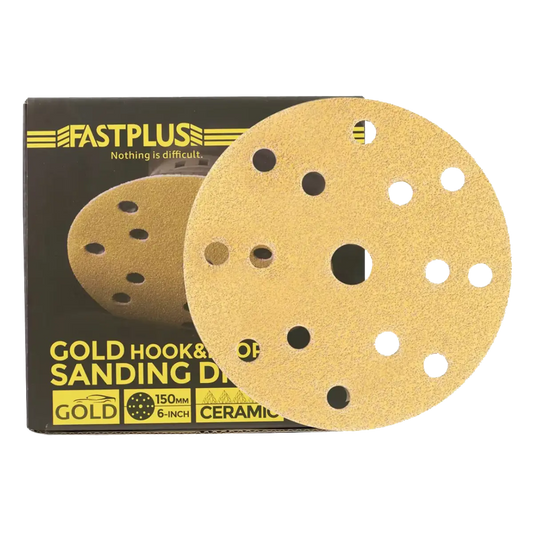
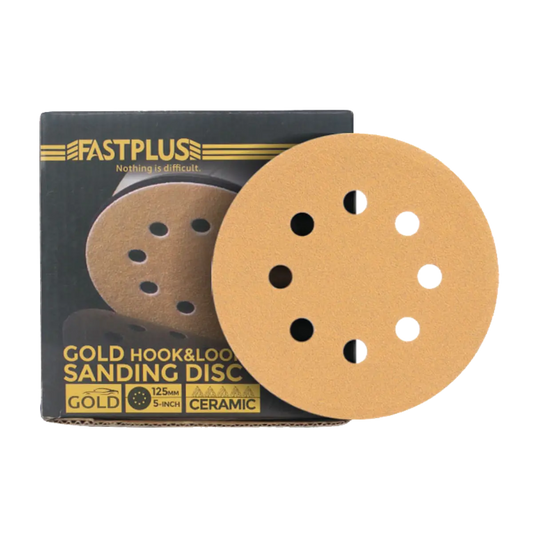
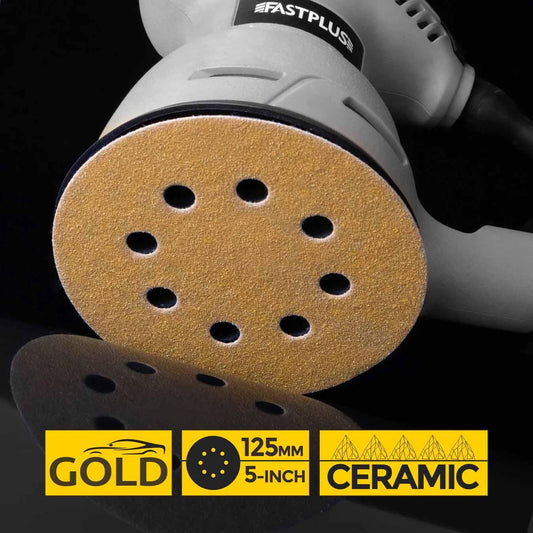
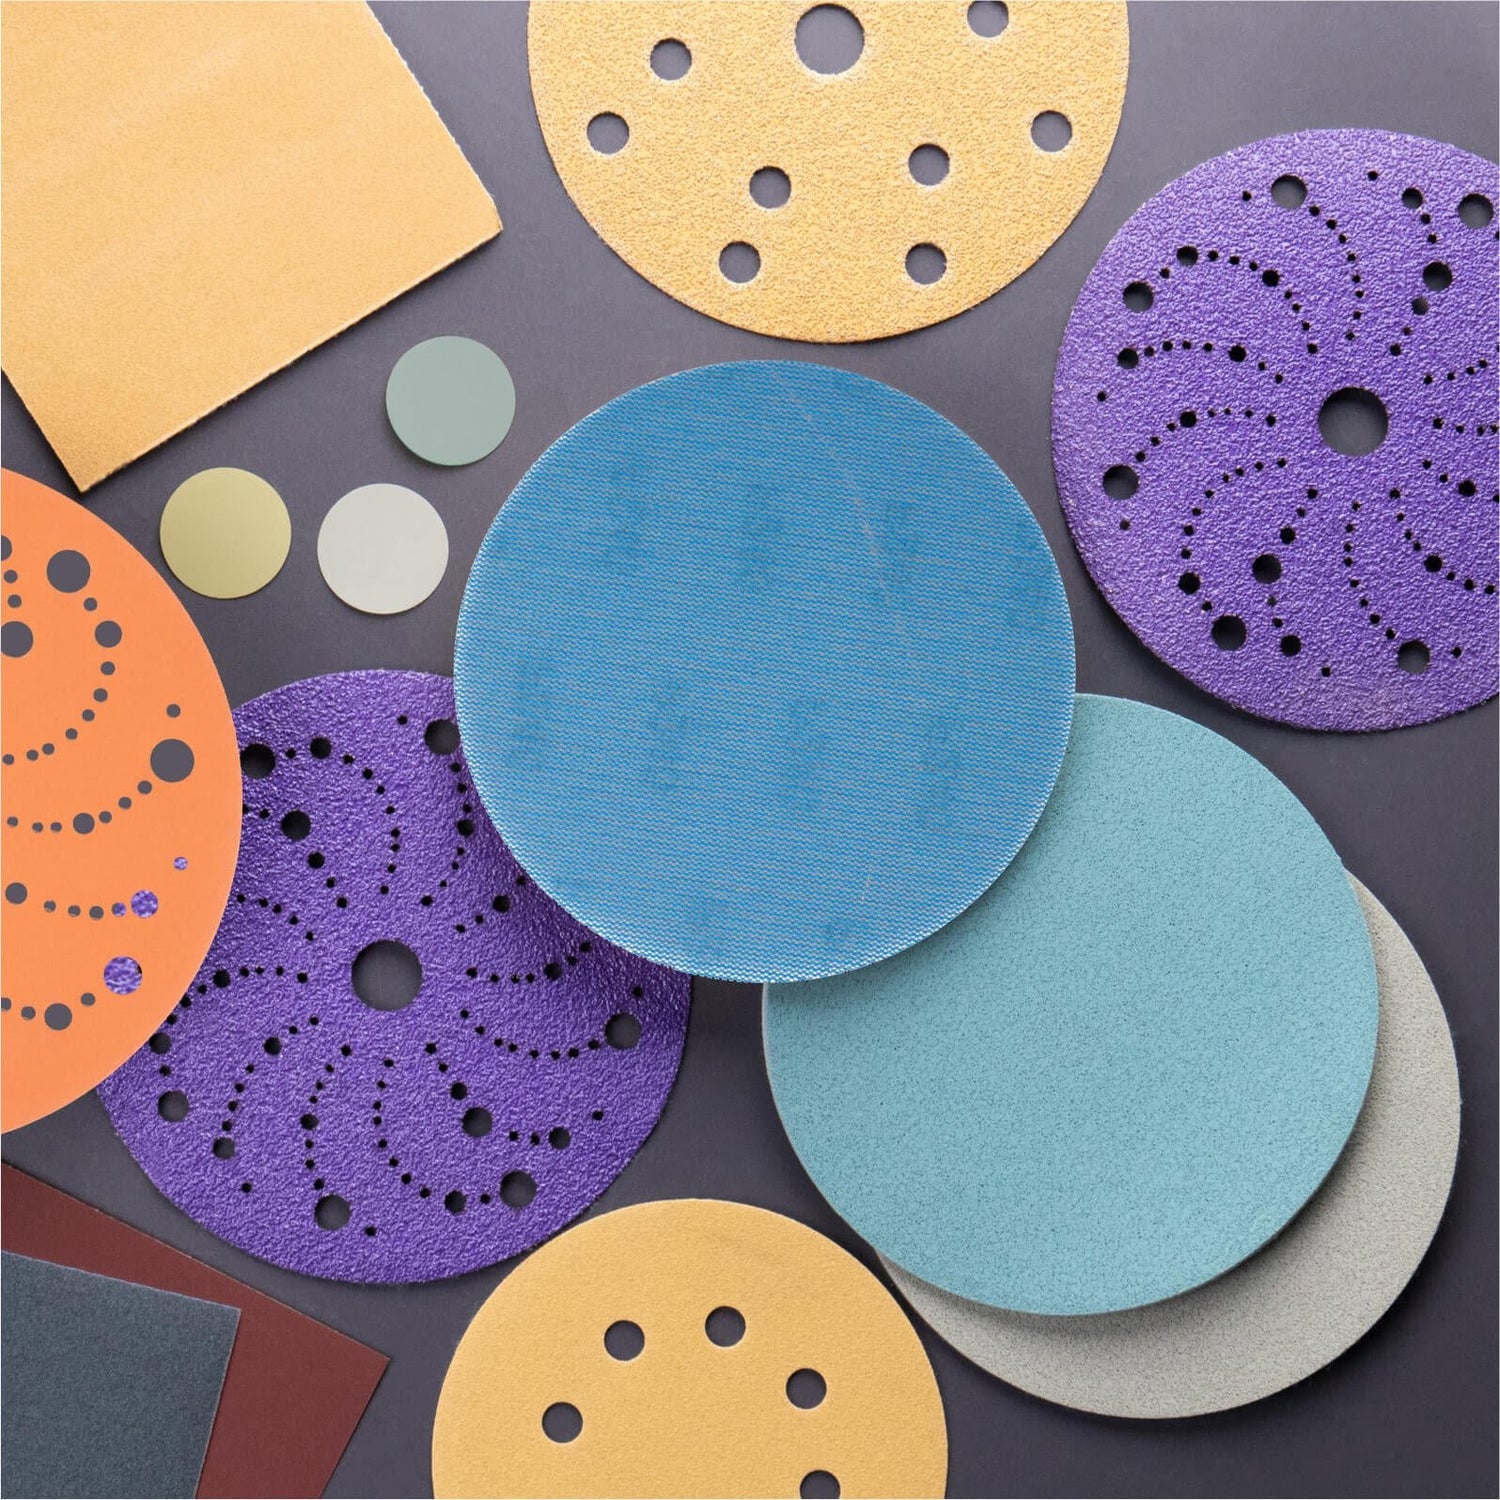
When deeper scratches, repair areas, or old coatings need to be leveled before scuffing, start with the right sanding abrasive. FastPlus offers sanding discs and other abrasive solutions for automotive refinishing, metalworking, woodworking, and general surface preparation.
Shop FastPlus Sanding Discs →How to Use Scuff Pads for Paint Prep
1Clean the Surface First
Always start with a clean surface. Remove dirt, grease, wax, silicone, oil, and other contaminants before beginning the scuffing process.
Scuffing a dirty surface can spread contaminants rather than remove them. Use an appropriate cleaner for the surface and coating system you are working with, then allow the surface to dry completely before continuing.
2Inspect the Existing Finish
Before scuffing, inspect the surface for peeling paint, rust, deep scratches, dents, stone chips, cracks, or other damage.
A scuff pad is designed for light abrasion. It is not intended to repair major surface damage. If the coating is unstable or the surface requires leveling, complete those repairs first using the appropriate abrasive process.
3Choose the Right Scuff Pad
Different scuff pads provide different levels of abrasion. The correct choice depends on the existing surface and the requirements of the primer or paint system.
As a general rule, use the least aggressive abrasive capable of creating the surface profile you need. An overly aggressive abrasive can create deep scratches that may require additional sanding before painting.
4Use Light and Consistent Pressure
One of the biggest mistakes during hand preparation is applying too much pressure.
Use light to moderate pressure and allow the abrasive material to do the work. Excessive pressure can create deeper scratches, wear the pad faster, and increase the risk of damaging edges or high points.
5Work in Overlapping Passes
Move across the surface using overlapping strokes to ensure complete coverage. You can use straight strokes, cross-hatch patterns, or controlled circular movements depending on the shape of the part.
The important thing is consistency. Avoid working one small area repeatedly while leaving other sections untouched.
6Check for Glossy Areas
Inspect the panel under good lighting from different angles. Areas that remain glossy may not have received sufficient abrasion.
A properly prepared surface should show consistent dulling and a uniform appearance across the entire area that will receive the new coating.
How to Scuff Curves, Edges and Recesses
This is one of the biggest advantages of scuff pads. Their flexible construction allows them to conform naturally to shapes that are difficult to prepare with conventional sanding discs.
When working on curves, avoid pressing the pad flat with excessive force. Let it follow the shape of the panel naturally.
For recessed areas, fold or shape the pad to reach the surface. Use controlled pressure and avoid concentrating abrasion on one small point.
Pay particular attention to sharp edges. Paint and coatings are often thinner on edges, making them easier to sand through.
Need Better Control for Hand Sanding?
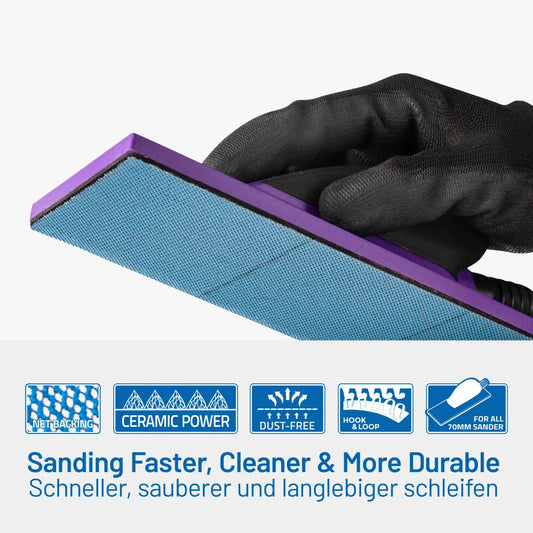
For flat areas, edges, and detailed surface preparation, using a hand sanding block can provide more even pressure and better control. Combine hand sanding products with the appropriate abrasive for a more consistent scratch pattern during paint preparation.
Explore FastPlus Hand Sanding Blocks →Using Scuff Pads on Plastic Parts
Scuff pads are commonly used when preparing automotive plastic parts such as bumpers, mirror covers, trim pieces, spoilers, and other components.
Plastic surfaces should be prepared carefully because aggressive abrasion can damage the surface or create scratches that are difficult to hide.
Use the correct abrasive for the application, apply controlled pressure, and follow the coating manufacturer's recommendations regarding cleaning, adhesion promoters, primers, and paint.
Do not assume that every plastic part should be prepared in exactly the same way as steel or aluminum. The correct process depends on the substrate and coating system.
Should You Use a Scuff Pad Wet or Dry?
This depends on the type of abrasive pad and the coating process you are using.
Some abrasive products can be used with water, while others are designed primarily for dry preparation. Always check the product instructions before using a scuff pad wet.
Wet preparation may help control dust and provide a different sanding action, but the complete paint preparation process should follow the recommendations for your specific coating system.
Clean the Surface After Scuffing
Scuffing is not the final preparation step. The surface must be cleaned again before applying primer or paint.
After abrasion, remove sanding residue, dust, loose particles, and contaminants according to the coating manufacturer's recommended process.
Avoid unnecessarily touching the prepared surface with bare hands. Oils and contaminants from the skin can transfer onto the panel.
Common Scuff Pad Mistakes to Avoid
1. Applying Too Much Pressure
Heavy pressure can create unnecessary scratches and reduce control. Use consistent, moderate pressure instead.
2. Choosing an Abrasive That Is Too Aggressive
More aggressive is not always better. Deep scratches can require additional finishing work before painting.
3. Missing Glossy Areas
Inspect the entire surface carefully. Edges, recesses, and curved areas are easy to miss.
4. Using a Contaminated Pad
Dirty abrasives can transfer contamination across the surface. Keep your preparation materials clean.
5. Skipping the Final Cleaning Step
Dust and abrasive residue should not be left on the surface before painting.
6. Trying to Repair Major Damage With a Scuff Pad
Rust, peeling paint, and deep scratches require a more appropriate repair and sanding process.
A Complete Paint Prep Workflow
Scuff pads work best when they are part of a complete surface-preparation system.
Choosing the Right Abrasive for Every Paint Prep Stage
A professional paint-preparation process rarely relies on one abrasive alone. Different stages require different products.
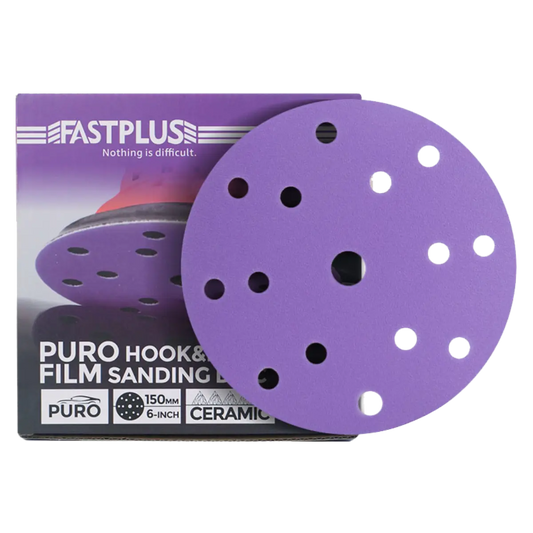
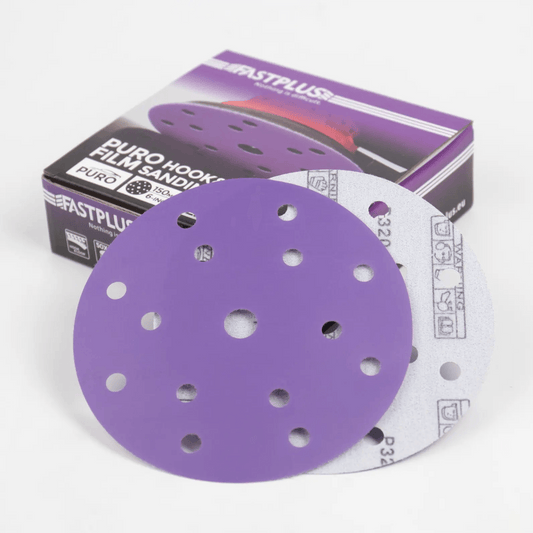
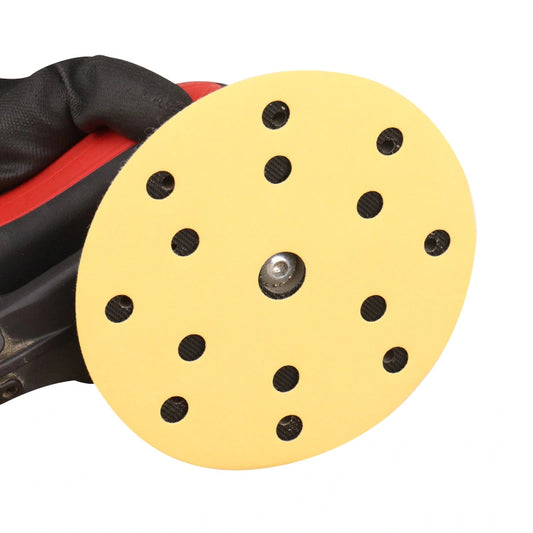
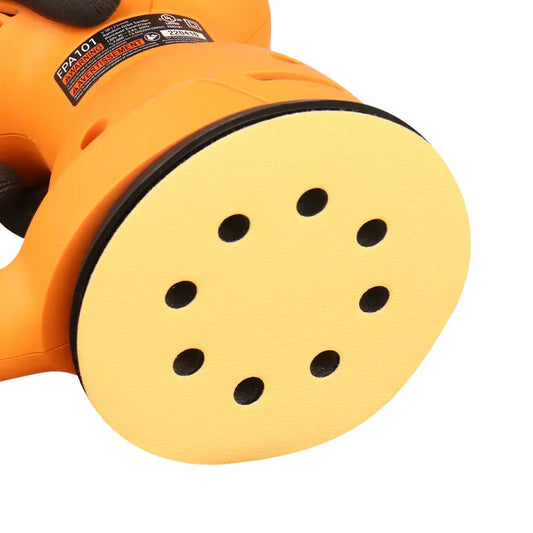
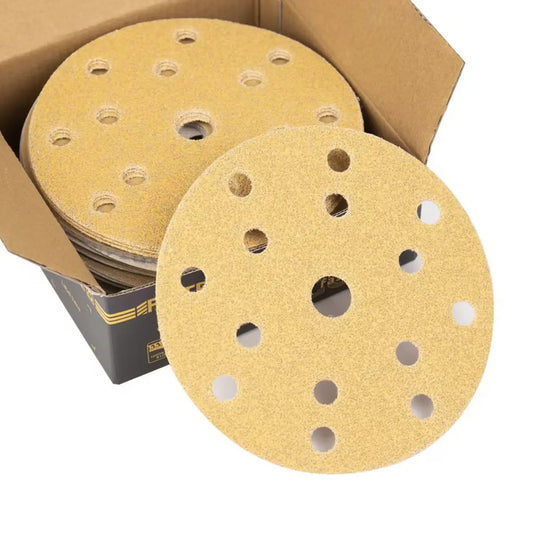
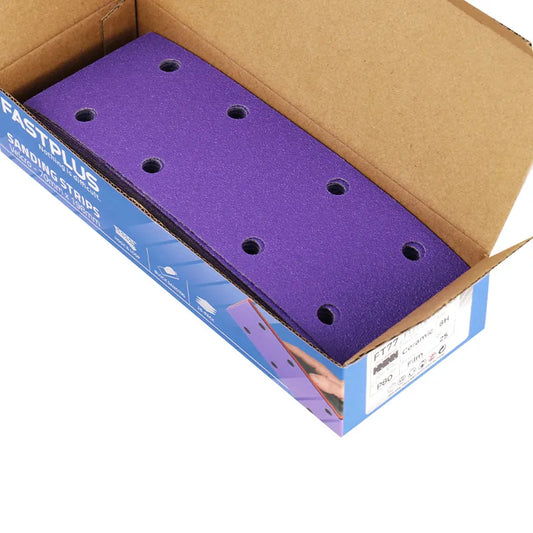
For material removal and leveling, sanding discs can provide fast and consistent cutting. Film sanding discs can offer a durable backing and consistent abrasive performance for many refinishing applications.
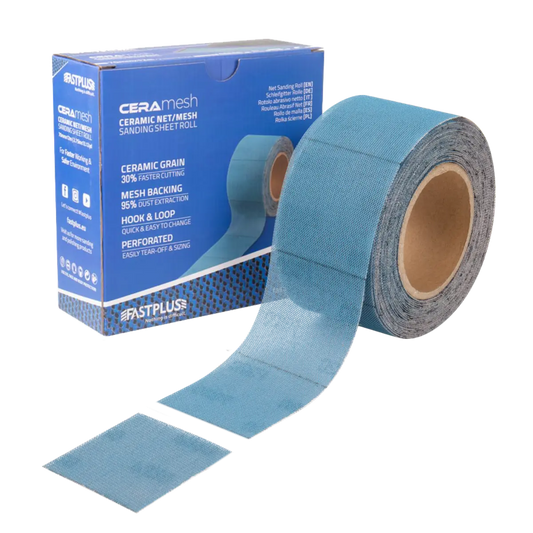
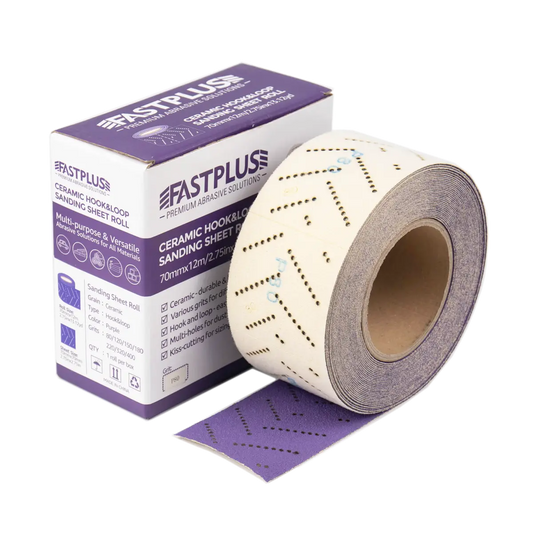
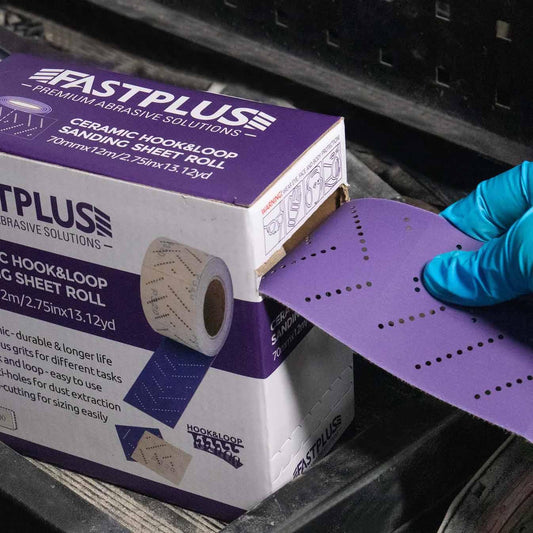
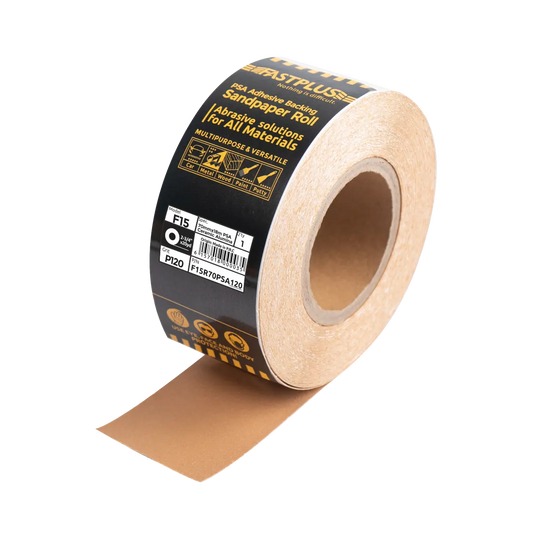
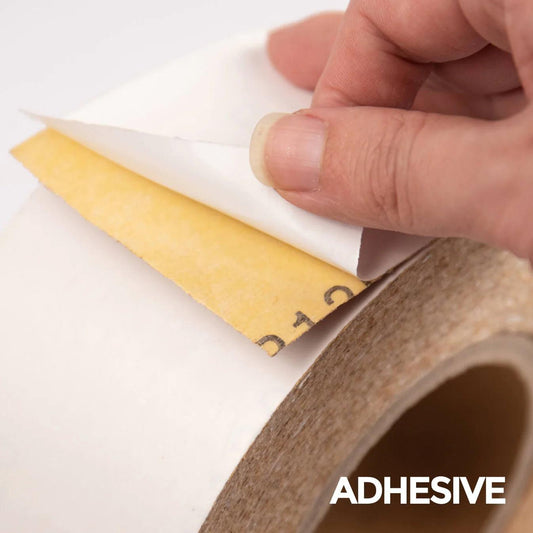
For detailed hand sanding and small areas, sanding sheets can provide more control. A sanding sheet roll can also be useful when you need to cut the abrasive to a specific size for blocks, contours, and smaller repair areas.
Finally, scuff pads can be used where flexibility and surface conformity are particularly important.
One Job. Different Surfaces. Different Abrasives.
From repair sanding to final surface preparation, choosing the right abrasive for each stage can improve efficiency and help create a more consistent finish. Explore FastPlus abrasive solutions for automotive paint prep and general sanding applications.
Shop Film Sanding Discs → Shop Sanding Sheet Rolls →Frequently Asked Questions
Can I use a scuff pad instead of sandpaper?
For light paint preparation and gloss removal, yes. However, scuff pads are not a complete replacement for sandpaper when you need to level surfaces, remove deep scratches, or repair damaged coatings.
How much pressure should I use with a scuff pad?
Use light to moderate and consistent pressure. Excessive pressure can create unnecessary scratches and reduce control.
How do I know if a surface is properly scuffed?
Check the surface under good lighting. The prepared area should have consistent dulling without obvious glossy patches or missed sections.
Can I use a scuff pad on automotive plastic?
Yes, scuff pads are commonly used on automotive plastic parts. Choose an appropriate abrasive and follow the preparation requirements of your specific coating system.
Should I clean the surface after scuffing?
Yes. Remove sanding dust, residue, and contaminants before applying primer or paint.
Conclusion
Knowing how to use scuff pads for paint prep can make a major difference when preparing previously coated surfaces, curves, edges, and difficult-to-reach areas.
The key is to use the correct abrasive, apply controlled pressure, and create consistent coverage across the entire surface. A scuff pad is especially valuable for dulling glossy coatings and preparing complex shapes, but it works best as part of a complete sanding and surface-preparation process.
For deeper defects, repair work, and leveling, use the appropriate sanding discs or sanding sheets first. Then use flexible abrasives such as scuff pads where their ability to conform to curves and contours provides a clear advantage.
Remember: a high-quality paint finish starts with high-quality surface preparation. Choosing the right abrasive for each stage helps make the entire process faster, more consistent, and more predictable.