

Why Do Sanding Marks Reappear After Painting? Causes and Fixes
Why Do Sanding Marks Reappear After Painting?
You finish sanding a car panel, run your hand across the surface, and everything feels smooth. Then the paint goes on, and suddenly those scratches are back. If this sounds familiar, the problem may not be the paint itself. In many cases, the scratches were never fully removed during surface preparation.
Sanding marks can show through primer, basecoat, or clearcoat, turning an otherwise good repair into another round of sanding and repainting. The frustrating part is that some defects are almost impossible to spot until the surface becomes glossy.
The good news? Most sanding marks can be prevented. Understanding why they appear, how to choose the right abrasive, and when to inspect the surface can save time and help you achieve a cleaner finish.
Sanding marks usually reappear because deeper scratches remain beneath the coating, the grit progression was too aggressive, or the primer and paint preparation were not appropriate for the coating system. Paint can make these defects more visible, while curing and coating shrinkage may reveal scratches that were difficult to see earlier.
1. Why Do Sanding Marks Show Through Paint?
Paint does not automatically hide every scratch underneath it. A coating follows the shape of the prepared surface, and deeper scratches can remain visible even after several layers have been applied.
Glossy automotive finishes make the problem particularly noticeable. When light reflects across a smooth panel, scratches interrupt the reflection and create lines, swirls, or dull patches. A surface that looked acceptable under ordinary workshop lighting may look very different in direct sunlight or beneath inspection lights.
Common causes include:
- Deep scratches left behind: The next sanding stage did not completely remove marks from the previous abrasive.
- Incorrect grit progression: Moving too quickly from coarse to fine sandpaper leaves scratches that the finer abrasive cannot efficiently eliminate.
- Uneven surface preparation: Finger pressure, poor sanding technique, or an unsuitable backing creates grooves and low spots.
- Primer issues: The primer was sanded too coarsely or the original repair was not properly leveled.
- Coating shrinkage: During drying and curing, some paint systems reveal imperfections that were less obvious immediately after application.
The important distinction is that a visible sanding mark is often a preparation defect, not simply a paint defect. Adding another coat without correcting the underlying scratch rarely solves the problem.
2. Choosing the Wrong Sandpaper Grit
Sandpaper grit determines how aggressively an abrasive removes material and how much scratch depth it leaves behind. Coarse grits are useful for shaping body filler or removing damaged material, but they leave deeper scratches than fine grits.
For example, if you sand a repair with P120 and move straight to P400, the finer abrasive may smooth the surface without removing every P120 scratch. The panel might look fine before painting, only for the deeper marks to become obvious under the new finish.
A practical guide to sanding grits for automotive refinishing
| Preparation stage | Typical grit range | Main purpose |
|---|---|---|
| Body filler shaping | P80–P120 | Remove excess material and shape the repair. |
| Refining body filler | P120–P180 | Refine the shape and reduce coarse scratches. |
| Feather-edging and surface refinement | P180–P320 | Blend repair edges and prepare the surface for the next stage. |
| Primer sanding | P320–P600 | Level the primer and prepare it for the specified coating system. |
| Final paint preparation | P600 and finer, where specified | Achieve the surface profile required by the paint manufacturer. |
These are general examples, not a universal sanding schedule. Required grits vary with the substrate, primer, basecoat, repair method, and paint manufacturer's technical data sheet. Some systems specify different preparation ranges.
Here's the rule worth remembering: Every sanding stage should remove the scratches left by the previous stage before you move to a finer grit. If the old scratches are still visible, keep refining the surface rather than moving ahead.
3. Skipping Intermediate Sanding Steps
Even when you choose suitable starting and finishing grits, skipping intermediate stages can leave scratches behind. A large jump in grit may make the process slower and less consistent, especially on body filler and repaired paintwork.
Think of sanding as a series of small corrections. Each abrasive removes the scratch pattern from the previous step and replaces it with a finer one. When an intermediate step is skipped, the final abrasive may struggle to remove the deeper marks evenly across the whole panel.
To keep the process under control:
- Remove dust before inspecting the surface.
- Check for deep scratches under good lighting.
- Use a compatible guide coat when appropriate to reveal remaining low spots and sanding marks.
- Continue with the current grit until the previous scratch pattern is removed.
- Move to the next abrasive only when the surface is ready.
Changing the sanding direction slightly between hand-sanding stages can also help you distinguish older scratches from the new sanding pattern. It is a simple way to spot defects before they become a problem under paint.
4. Uneven Sanding Pressure and Technique
Sometimes the abrasive is perfectly suitable, but the way it is used creates the problem. Pressing too hard can leave uneven grooves, particularly in softer body filler. Sanding with your fingertips instead of a suitable block can concentrate pressure in small areas and create dips in the panel.
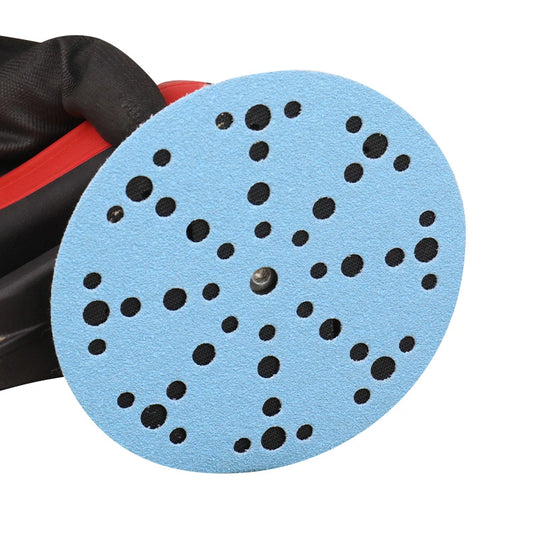
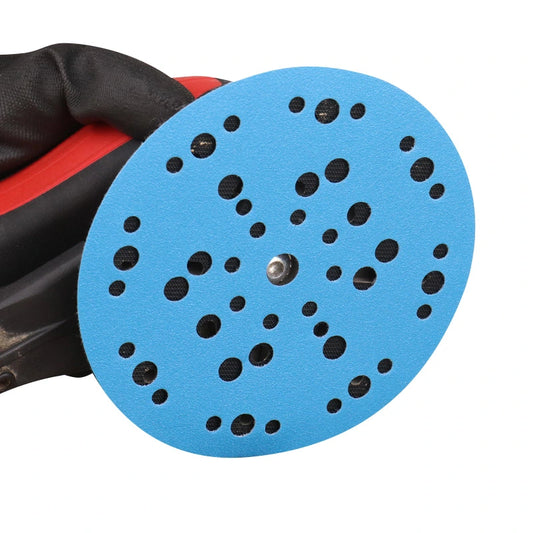
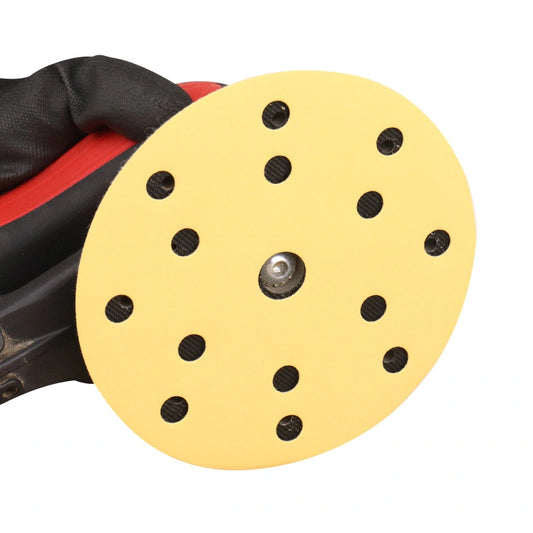
Powered sanders need attention, too. Lingering in one spot, using a damaged disc, or working with an incompatible backing pad can produce inconsistent scratch patterns.
On flat panels
Use an appropriate sanding block to distribute pressure and maintain a more consistent surface. Avoid relying on fingertip pressure alone.
On curved panels
Choose a suitable flexible block or interface pad so the abrasive follows the contour without creating isolated low spots.
With a machine sander
Use a compatible abrasive disc and backing pad. Keep the tool moving according to the manufacturer's recommended technique.
When changing grits
Inspect the scratch pattern instead of judging progress by sanding time alone. A finer grit cannot reliably compensate for poor preparation.
5. Primer Preparation Problems
Primer creates a foundation for the topcoat, but it cannot reliably hide every scratch or leveling problem underneath it. If the repair has deep scratches, uneven feather edges, or poorly blended transitions, those defects may remain visible after painting.
Sanding the primer too coarsely can introduce another set of scratches. On the other hand, using an abrasive that is too fine for the specified process may fail to create the surface profile required by the next coating.
Before applying the next layer:
- Allow the primer to cure according to its technical data sheet.
- Use the specified abrasive and sanding method.
- Inspect repaired areas, feather edges, and changes in primer thickness.
- Use a compatible guide coat when appropriate to identify low spots and remaining scratches.
- Correct defects before applying the next coating layer.
If the primer still shows deep scratches or an uneven surface, adding more material without addressing the underlying problem may only postpone the repair.
6. Dust, Moisture, and Surface Contamination
Sanding dust can settle into scratches and make them harder to see. Once the surface is cleaned and painted, the original defects may become much more obvious. Moisture, oil, silicone, and incompatible cleaning products can create additional coating problems.
Before painting, remove sanding dust and clean the panel using products approved for the coating system. If you wet-sand, make sure the panel, seams, and other areas where water can collect are completely dry before applying the next product.
- Remove loose sanding dust with an appropriate cleaning method.
- Use a compatible automotive surface cleaner.
- Use clean, lint-free cloths where the process requires them.
- Allow the surface to dry fully before coating.
- Avoid touching the prepared surface with bare hands.
- Follow the paint manufacturer's final-cleaning instructions.
Cleaning does not remove scratches, but it helps you see the surface clearly and prevents contaminants from interfering with the finish.
7. Why Do Scratches Appear After the Paint Cures?
Have you ever finished painting a panel only to notice sanding marks several hours or days later? Depending on the coating system, this can happen as the paint dries and cures.
Some coatings shrink or settle during curing, making underlying surface imperfections more noticeable. Application thickness, flash times, drying conditions, and the preparation beneath the coating can all influence the final appearance.
This is why a surface that looks smooth immediately after application may not look the same later. The best defense is to remove scratches before painting rather than relying on extra coats to conceal them.
If marks appear after curing, first determine their depth. Minor defects confined to the clearcoat may be correctable with an approved finishing process if sufficient clearcoat remains. Scratches extending into the basecoat, primer, or substrate generally require a more extensive repair.
Follow the coating manufacturer's recommended film thickness, flash times, and curing conditions. Applying excessive material in an attempt to cover scratches is not a reliable solution.
8. How to Prevent Sanding Marks Before Painting
A smooth paint finish starts well before the spray gun comes out. A consistent preparation process makes it easier to identify problems early and reduces the risk of repeating the same repair.
Identify the substrate
Determine whether you are working on bare metal, body filler, existing paint, primer, or plastic. Each requires an appropriate preparation method.
Choose the right abrasive
Select a grit that suits the repair stage and the coating manufacturer's requirements rather than using the same abrasive for every task.
Follow a controlled progression
Use intermediate grits where necessary and make sure each stage removes the scratches left by the previous one.
Inspect before moving on
Check the surface under good lighting. A guide coat can help reveal defects that are difficult to see on bare primer.
The final inspection matters just as much as the sanding itself. Look at the panel from different angles and pay attention to repaired areas, edges, curves, and transitions between old and new coatings.
If the surface is not ready, take the time to correct it. A few extra minutes of careful preparation are usually preferable to sanding and repainting an entire panel later.
9. How to Fix Sanding Marks After Painting
If sanding marks are already visible, do not immediately add another coat of paint. First, determine whether the defect is in the clearcoat, basecoat, primer, or underlying repair.
When the marks are only in the clearcoat
If the scratches are shallow enough and sufficient clearcoat remains, an approved polishing or finishing process may correct them. Avoid aggressive polishing when the depth of the defect or the remaining coating thickness is unknown.
When the scratches extend into the basecoat or primer
Polishing the clearcoat will not remove a scratch that extends into a lower layer. The affected area may need to be sanded and refinished using the repair procedure specified for the coating system.
When the panel looks uneven
Low spots, deep scratches, and poorly blended repair edges may require further leveling, additional primer, or more extensive refinishing. Correct the underlying surface before rebuilding the coating layers.
If you cannot confidently identify the depth of the defect, consult a qualified refinishing professional. Sanding too aggressively can remove more coating than necessary and make the repair more complicated.
Frequently Asked Questions
Can paint hide sanding scratches?
Paint may make shallow scratches less noticeable in some circumstances, but it should not be relied on to hide deep sanding marks. Glossy coatings can make existing scratches easier to see. Correct surface preparation is the more reliable approach.
What grit sandpaper should I use before painting a car?
It depends on the substrate and coating system. Body filler shaping may begin with coarse grits, while primer preparation often uses finer abrasives. Follow the primer and paint manufacturer's specified grit range rather than choosing a grit based on the final appearance alone.
Why do sanding scratches appear after clearcoat?
Clearcoat creates a glossy, reflective surface that can make scratches in the underlying layers easier to see. Coating shrinkage during curing can also reveal defects that were difficult to notice immediately after painting.
Will polishing remove sanding marks?
Polishing can remove some fine defects confined to the clearcoat, provided the coating has sufficient thickness and the process is appropriate. It will not correct deep scratches in the basecoat, primer, or substrate.
How can I check for sanding scratches before painting?
Inspect the surface under bright, angled lighting and look from several directions. Remove dust before inspection and consider using a compatible guide coat during primer sanding. Check repaired areas and feather edges carefully before applying the next coating.
Do I need to sand between every coat of paint?
Not necessarily. Whether sanding is required between coats depends on the coating system, recoat window, and manufacturer's instructions. Some products are designed for application within a specified window without intermediate sanding, while others require additional surface preparation.
Final Thoughts: A Better Finish Starts Before Painting
Sanding marks that reappear after painting are usually a sign that the surface preparation needs another look. Incorrect grit selection, skipped sanding stages, inconsistent pressure, and insufficient primer preparation can all leave defects that become obvious under a glossy finish.
The most reliable approach is straightforward: choose the right abrasive, follow a controlled grit progression, inspect the surface at every stage, and prepare the coating according to the manufacturer's instructions.
Taking care of these details before painting can help reduce rework and produce a smoother, more consistent finish.
Prepare Your Surface for a Smoother Finish
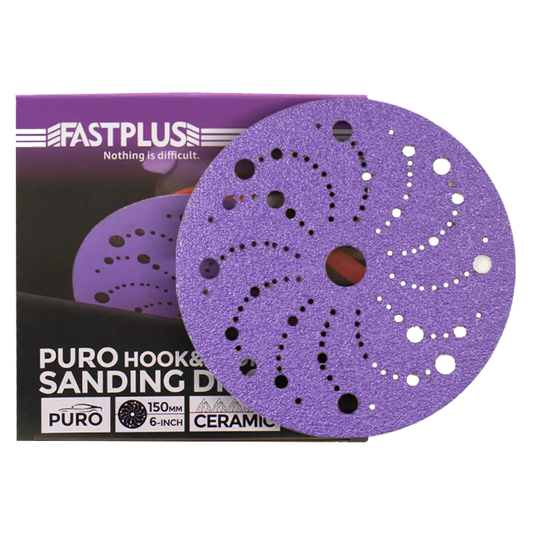
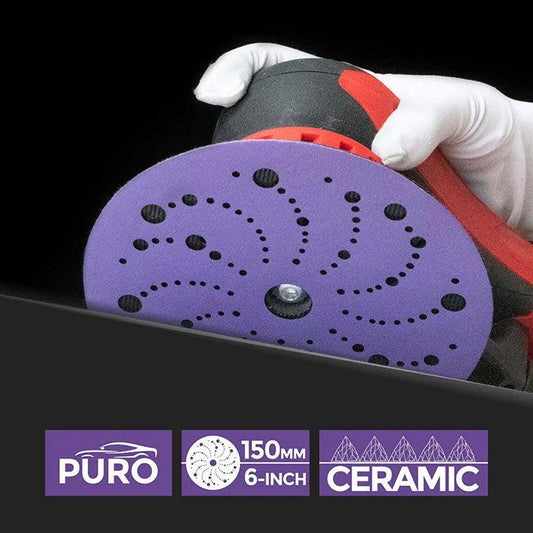
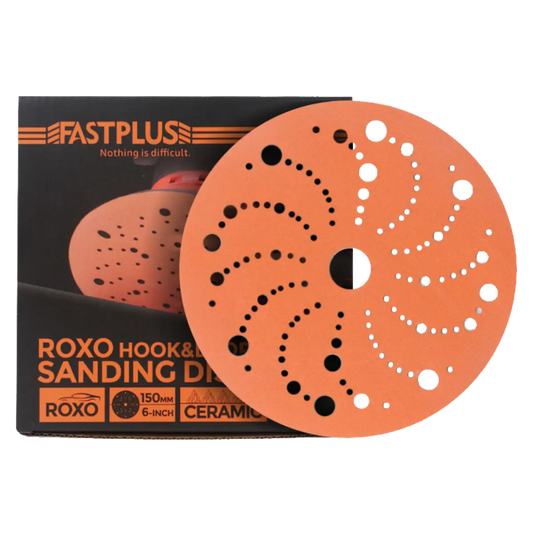
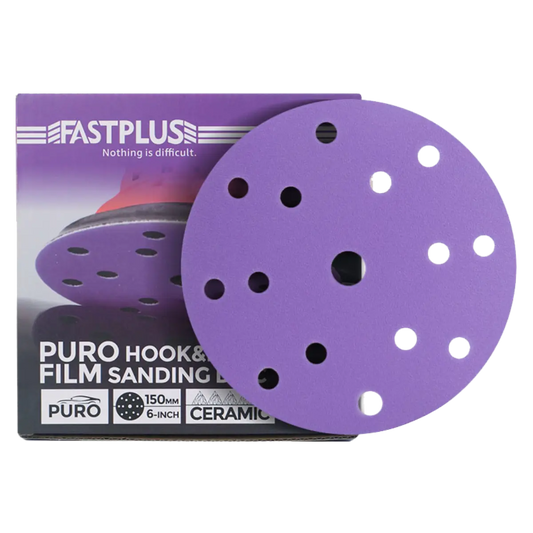
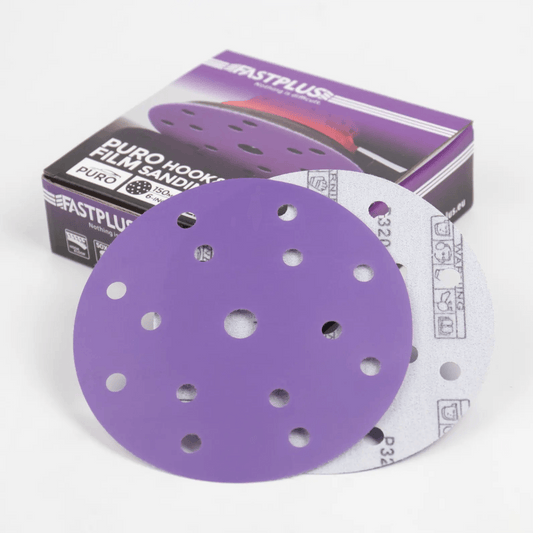
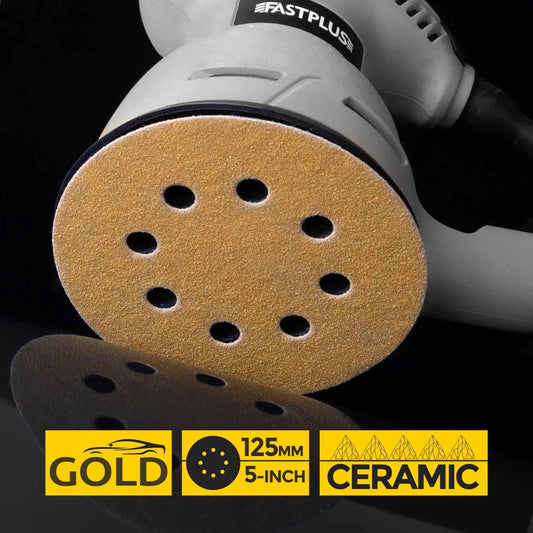
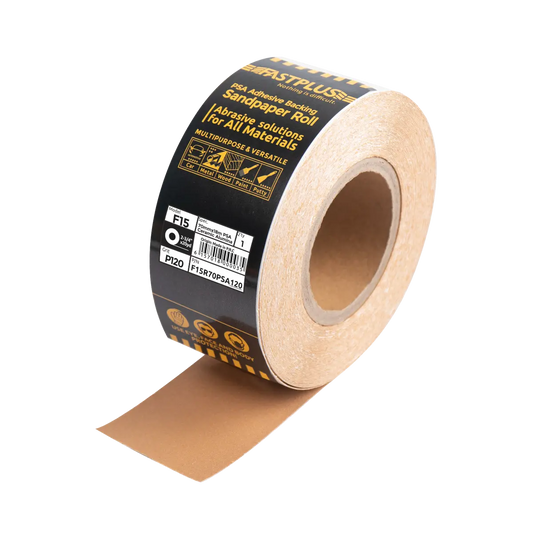
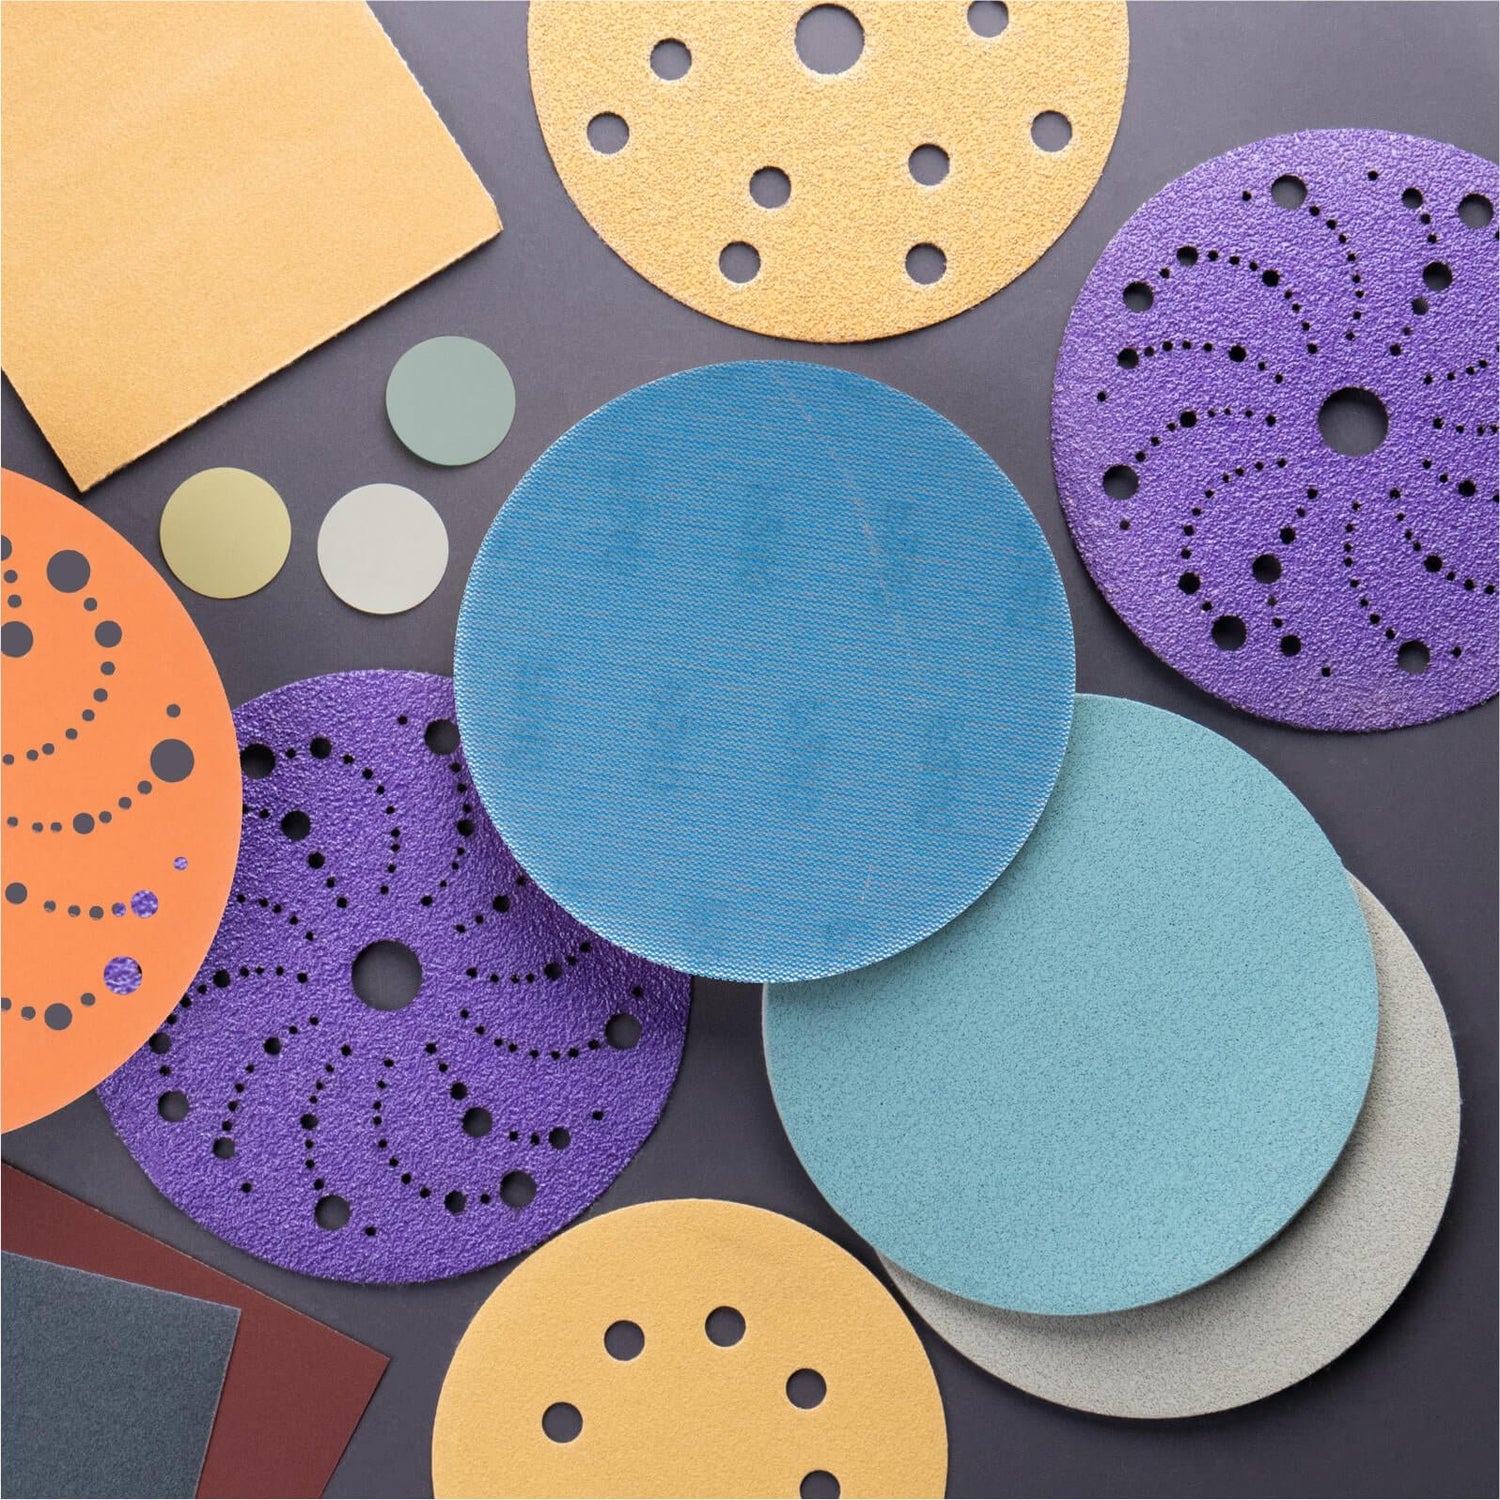
The right abrasive makes surface preparation more consistent from one sanding stage to the next. Explore FastPlus sanding discs, sheets, rolls, and finishing abrasives to find options suited to your next refinishing project.
Explore FastPlus Abrasives