
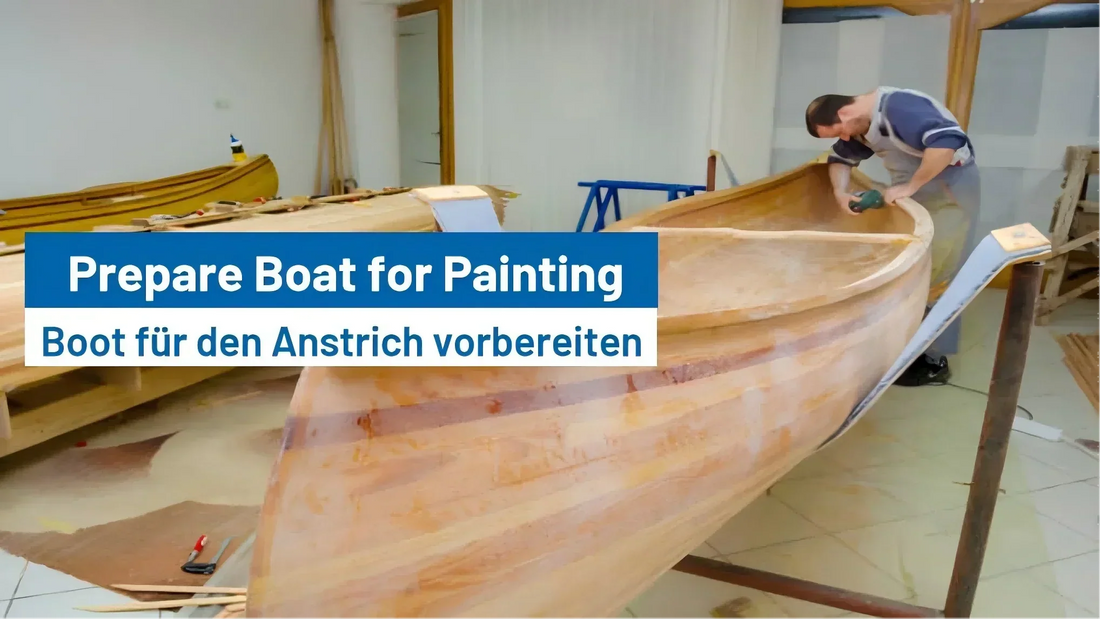
How Do You Properly Prep a Boat for Painting?
A good paint job can completely rejuvenate your boat — improving its appearance, protecting the surface from corrosion, and extending its lifespan. But before opening a can of marine paint, there’s one step you can’t skip: surface preparation.
Proper prep ensures that the new coating adheres firmly, resists saltwater and UV damage, and maintains a smooth, professional finish. In this guide, we’ll walk you through how to prep your boat for painting — from cleaning and sanding to priming and final touch-ups — so you can achieve the best possible result.
Why Boat Surface Preparation Is So Important
Marine paints are designed to protect your hull against salt, moisture, and sunlight. However, even the best paint will fail if applied on a poorly prepared surface.
Without correct prep, you might face:
- Peeling or blistering paint
- Uneven surface texture
- Corrosion under the paint film
- Shortened coating life
A smooth, clean surface helps your primer and topcoat bond properly and look flawless once cured.
Step 1: Gather Your Materials
Before you begin, set up a clean, well-ventilated workspace and gather everything you’ll need.
You’ll need:
- Marine-grade degreaser or detergent
- Freshwater supply and soft brushes
- Sandpaper sheets, sanding discs, and sanding blocks
- Random orbital sander
- Masking tape and plastic sheeting
- Epoxy filler for small repairs
- Primer compatible with your paint type
- Safety gear (gloves, goggles, respirator)
💡 Pro Tip: Choose high-quality abrasive products to make sanding faster and smoother. Explore Fastplus.eu’s range of sandpaper and sanding discs suitable for marine and wood surfaces.
Step 2: Deep Cleaning and Dewaxing
Cleaning is the foundation of your prep process. Dirt, salt, and oil residues will prevent paint from adhering.
- Rinse the hull thoroughly with freshwater.
- Apply marine detergent or degreaser and scrub away grime and old wax.
- Rinse again until all residues are gone.
- Allow the surface to dry completely.
If your boat has been waxed, use a dewaxing solvent — wax buildup is a common reason for paint defects like fish-eyes and poor adhesion.
Step 3: Inspect and Repair
After cleaning, check every inch of the surface for imperfections.
- Fiberglass boats: Look for cracks or blisters.
- Aluminum boats: Check for corrosion or pitting.
- Wood boats: Identify rotten or cracked areas.
For small gouges or chips, use epoxy filler or fairing compound. Once cured, sand the repaired spots smooth until they blend seamlessly into the hull.
Step 4: Sand the Entire Boat
Sanding is the most time-consuming but crucial part of preparation. It removes old paint, smooths repairs, and gives the new coating a surface to grip.
Recommended grits:
- 80–120 grit: remove old coatings or rough surfaces
- 180–220 grit: smooth transitions and filler areas
- 320 grit: final sanding before primer
Use orbital sanders with sanding discs for large areas, and sanding blocks or sponges for curved edges. Wet sanding can minimize dust and create a finer finish, especially on gelcoat or fiberglass.
👉 For efficient sanding, try PSA sandpaper rolls or mesh sanding discs from Fastplus.eu — designed for clog-resistance and long-lasting sharpness.
Step 5: Remove Dust and Debris
After sanding, the hull will be covered with fine dust that can ruin the finish.
- Vacuum or blow away all loose dust.
- Wipe down with a tack cloth or solvent-dampened rag.
- Let the surface dry fully before moving on.
Avoid using old towels — they often leave lint or oily residue behind.

Step 6: Mask Off Unpainted Areas
Protect hardware, trim, and the waterline using masking tape and plastic film. Precise masking results in sharper paint lines and a cleaner final appearance.
If painting both topsides and bottom, mark the waterline carefully before starting.
Step 7: Apply the Primer
Primer improves adhesion and adds a layer of corrosion resistance. Choose a primer that matches your paint type (epoxy or polyurethane).
Application tips:
- Stir thoroughly before use.
- Apply thin, even coats using a roller or spray gun.
- Allow full drying time between coats.
- Sand lightly with 320–400 grit paper before applying the next layer.
A well-sanded primer coat ensures a smooth, professional finish for your topcoat.
Step 8: Final Cleaning Before Painting
Wipe the surface again with a lint-free cloth and solvent cleaner to remove any fingerprints or dust.
Painting should always be done in a clean, dry, and dust-free environment. Ventilation is essential — avoid painting in high humidity or direct sunlight.
Step 9: Apply the Paint
Now comes the rewarding part — adding color and protection to your boat.
Popular marine paint types:
- Single-part polyurethane: Easy to use, good gloss.
- Two-part polyurethane: Very durable and UV resistant.
- Epoxy coatings: Excellent adhesion and chemical resistance.
- Antifouling paint: Prevents marine growth below the waterline.
Painting steps:
- Mix according to the manufacturer’s ratios.
- Apply multiple thin coats instead of one thick one.
- Use a “cross-hatch” pattern (vertical, then horizontal strokes).
- Respect recoat and curing times.
For an ultra-smooth finish, wet sand between coats with fine-grit paper (600–800 grit) to remove small imperfections.
Step 10: Let the Paint Cure
Allow the paint to cure completely before relaunching or reinstalling parts. Depending on conditions, curing can take a few days to a week.
Once cured:
- Carefully remove masking tape.
- Reinstall fittings and hardware.
- Optionally, apply a marine wax to add shine and UV protection.
Safety First
Painting a boat involves chemicals and dust — take proper safety precautions.
- Always wear a respirator mask, gloves, and goggles.
- Ensure good ventilation.
- Dispose of rags, sandpaper, and containers properly.
A safe workspace ensures better focus and fewer mistakes.
Common Mistakes to Avoid
Avoiding these pitfalls can save you hours of frustration:
❌ Skipping sanding between coats
❌ Painting over wax or oily residues
❌ Applying thick coats that run or sag
❌ Ignoring curing time and environmental conditions
Proper prep takes time, but it guarantees a long-lasting, professional-grade finish.
Recommended Abrasives for Boat Surface Preparation
Choosing the right abrasives is the difference between a smooth hull and a rough finish.
Best options for marine sanding:
- Ceramic sanding discs: Fast cutting on fiberglass and metal.
- Aluminium oxide sandpaper: Great for wood surfaces.
- Mesh sanding discs: Prevent clogging during wet sanding.
- Foam finishing pads: Ideal for polishing cured paint.
Explore the complete range of abrasives and sanding tools at Fastplus.eu — trusted by professionals for boat restoration, woodworking, and automotive refinishing.
Conclusion
Prepping your boat for painting may seem tedious, but it’s the most critical step in achieving a beautiful and durable finish. Every stage — from cleaning and sanding to masking and priming — builds the foundation for success.
With patience, the right materials, and professional-grade abrasives, you can give your boat a finish that looks great and stands up to the toughest marine conditions.
Whether you’re repainting a small fishing boat or a large cruiser, remember: the quality of your prep determines the quality of your paint job.


