
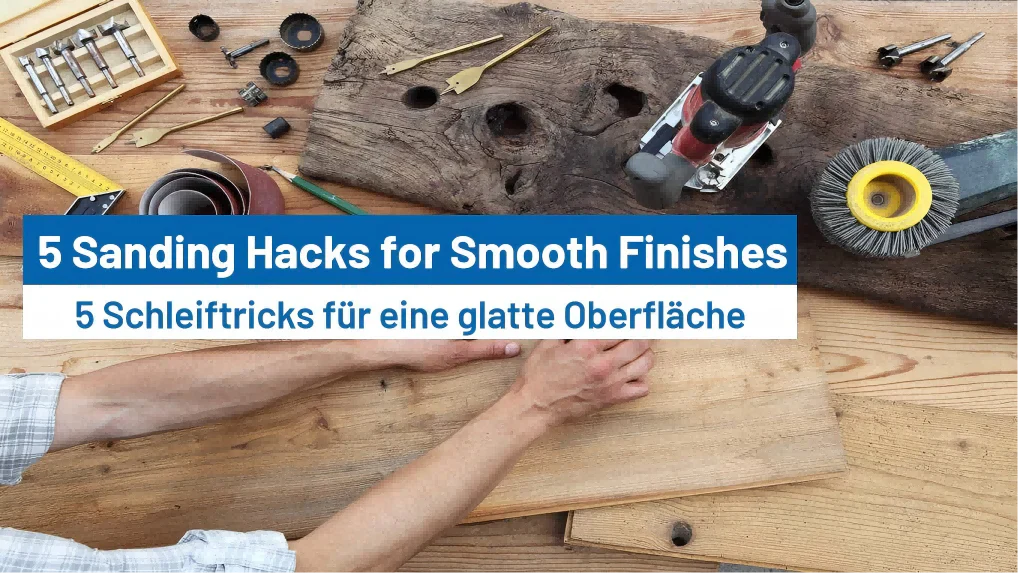
5 Sanding Hacks for Smooth Finishes: Essential Tips & Tricks
When it comes to woodworking, metalworking, automotive refinishing, or even simple DIY projects, sanding is one of the most crucial steps in achieving a professional finish. The difference between a rough, uneven surface and a smooth, polished result often comes down to your sanding technique. Many people treat sanding as just an in-between task before painting, staining, or sealing, but in reality, mastering sanding can make or break your entire project.
In this article, we’ll share five sanding hacks that will help you achieve a flawless finish every time. These hacks aren’t just for professionals—they’re simple, practical, and effective tips that any DIYer or craftsman can use. Whether you’re using sanding paper, discs, belts, or blocks, these tricks will help you save time, avoid common mistakes, and get better results.

Hack 1: Always Sand with the Grain (and Know When to Break the Rule)
The golden rule of sanding—especially for wood—is to sand with the grain. When you sand against the grain, you create scratches that become visible once the surface is stained or finished. These scratches are not just cosmetic; they can also weaken the final protective coat.
- Why it matters: The wood grain is like tiny fibers running in one direction. Sanding with the grain aligns these fibers, creating a smoother, more even surface.
- Common mistake: Using a random circular motion with hand sanding. This creates swirl marks that stand out under paint or finish.
- Hack: Use long, even strokes following the grain. For tricky areas such as corners or carvings, fold sandpaper into small shapes so you can still follow the wood lines.
👉 When to break the rule: In some cases, like sanding plywood or MDF, the grain doesn’t matter as much. If you’re trying to level a surface quickly, sanding diagonally or in small circles with coarse grit can remove more material faster. Just remember to finish with finer grit sandpaper with the grain to remove scratches.
Hack 2: Use the Right Grit Progression
One of the most common mistakes people make is jumping from a very coarse grit to a very fine grit, hoping to save time. Unfortunately, this only leaves behind hidden scratches that show up later.
- The science of grit: Sandpaper grits are measured in numbers. The lower the number (e.g., 40 or 60), the coarser it is. Higher numbers (e.g., 320, 600) are finer and polish the surface.
- The rule of thumb: Don’t skip more than 50% between grits. For example: 60 → 100 → 150 → 220 → 320.
- Hack: Mark your surface lightly with a pencil before sanding. When the pencil marks disappear evenly, it’s time to move to the next grit. This ensures you don’t leave uneven patches behind.
👉 Pro Tip: For finishing, always stop at 220 grit for wood if you’re staining, or 320+ if you’re painting. Over-sanding (like using 600 grit on raw wood) can actually close the pores, making it harder for stain or finish to absorb properly.
Hack 3: Keep Your Sandpaper Clean to Prevent Loading
Dust and resin build-up is one of the biggest enemies of efficient sanding. It clogs the abrasive surface, making the sandpaper less effective and causing burn marks or scratches.
- Common problem: Sandpaper loading (clogging with dust, resin, or paint particles) reduces cutting power and creates streaks.
- Hack 1: Use a rubber sandpaper cleaning block (sometimes called an abrasive eraser). Simply rub it across your sandpaper, and it removes debris instantly.
- Hack 2: For a budget solution, use the sole of an old sneaker (rubber type) or even a firm pencil eraser—it works surprisingly well!
- Hack 3: When sanding painted or resinous wood, use stearated sandpaper (anti-clogging paper). It has a special coating that reduces dust build-up.
👉 Extra Tip: If you’re using sanding discs, rotate them occasionally on your sander’s pad to even out wear and extend lifespan.
Hack 4: Master the Art of Dust Control
Sanding creates fine dust that not only affects the finish but can also be hazardous to your health. Controlling dust ensures a cleaner surface, longer sandpaper life, and a safer work environment.
- Why it matters: Dust particles left on the surface can interfere with stains, paints, or sealers, leaving behind a gritty or uneven finish.
- Hack 1: Always vacuum between grit changes. Use a shop vac with a brush attachment to remove deep particles.
- Hack 2: Wipe down surfaces with a tack cloth (a sticky cloth that picks up dust). Avoid using a damp rag, as it can raise the grain of wood.
- Hack 3: If you’re sanding large surfaces, invest in mesh sanding discs. They allow dust to pass through the holes into your vacuum system, keeping the surface cleaner.

- Hack 4: Wear a good dust mask or respirator—not just for health, but to keep your vision clear and avoid accidentally sanding unevenly.
👉 Pro Tip: If static buildup causes dust to cling, lightly mist the air with water using a spray bottle. This reduces static and helps dust settle instead of floating around.
Hack 5: Let the Tool (and the Paper) Do the Work
Many DIYers press too hard when sanding, thinking it will speed things up. In reality, too much pressure wears out the paper, leaves gouges, and overheats the surface.
- Hack 1: Apply light, even pressure. Let the abrasive grains do the cutting. If sanding feels slow, it’s usually time to switch to a fresh piece of sandpaper.
- Hack 2: If you’re using a power sander, keep it moving at a steady pace. Holding it in one spot will create uneven dips.
- Hack 3: For hand sanding, use a sanding block instead of bare fingers. This distributes pressure evenly and prevents rounded edges.
- Hack 4: When sanding curved or detailed areas, use flexible sanding sponges that conform to the shape without leaving flat spots.
👉 Pro Tip: Always finish with a final light pass using the last grit. Think of it as polishing—gentle, controlled strokes that blend everything together.
Bonus Hack: Test Before You Finish
Before applying stain, paint, or clear coat, test your sanding job. Wipe the surface with a damp cloth or apply a bit of mineral spirits. This temporarily darkens the surface and reveals any scratches or imperfections you might have missed. Fix them now, before sealing them permanently under finish.
Common Sanding Mistakes to Avoid

Even with these hacks, it’s easy to fall into bad habits. Here are a few pitfalls to watch for:
- Skipping grits – leads to visible scratches.
- Over-sanding edges – rounds corners unintentionally.
- Using worn-out sandpaper – reduces efficiency and leaves marks.
- Not removing dust between steps – contaminates the finish.
- Rushing the process – sanding is about patience; speed often leads to flaws.
Final Thoughts
Sanding isn’t the most glamorous part of woodworking or DIY projects, but it’s absolutely one of the most important. By following these five hacks—sanding with the grain, using the right grit progression, keeping sandpaper clean, controlling dust, and letting the tool do the work—you’ll achieve a smoother, more professional finish every single time.
The key is to view sanding not as a chore, but as a step that elevates the quality of your entire project. With patience, the right tools, and these simple tricks, you can take your sanding skills to the next level.
So next time you pick up that sandpaper or sander, remember: a better finish starts with smarter sanding.


