
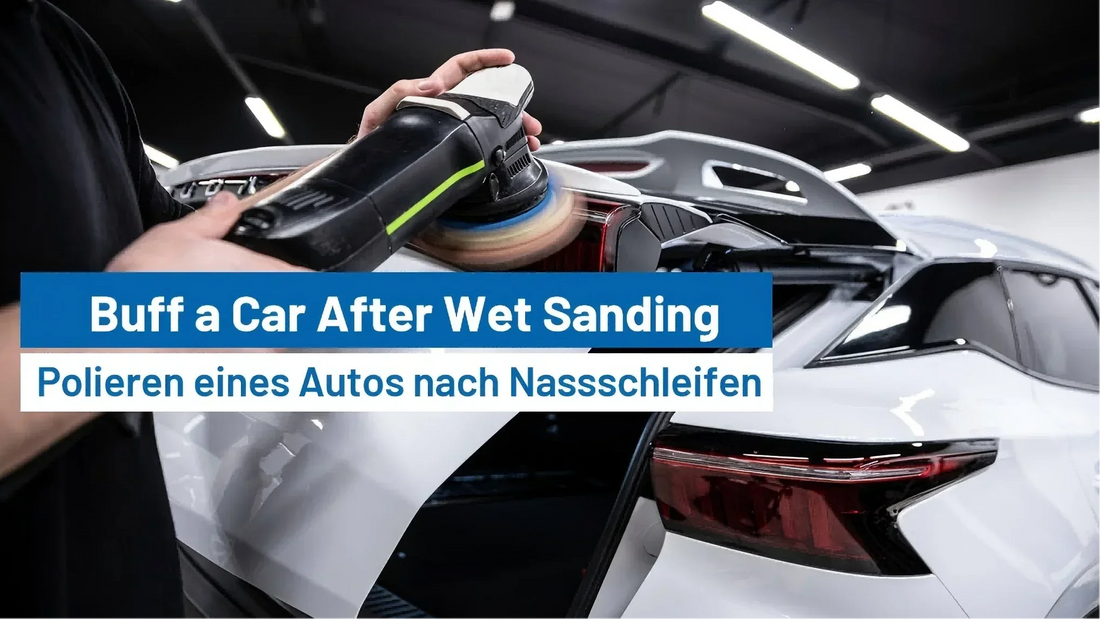
How to Buff a Car After Wet Sanding?
Wet sanding is a powerful technique used to remove imperfections like orange peel, deep scratches, and paint defects from a car's surface. However, achieving a flawless finish requires an essential follow-up step: buffing. Proper buffing enhances shine, restores clarity, and protects your car's paint. This comprehensive guide will walk you through the steps to buff your car after wet sanding for professional-level results.
Step 1: Gather the Necessary Tools and Products
To achieve the best results, you'll need the following:
- Polisher/Buffer Machine (rotary or dual-action polisher)
- Foam Buffing Pads (ranging from cutting to finishing)
- Polishing Compound (medium to fine cut, depending on the severity of the sanding marks)
- Finishing Polish (to restore maximum gloss)
- Microfiber Towels
- Car Wash Soap and Water
- 150mm Flexpro Fine Finishing Foam Discs (ideal for refining paint after wet sanding)
- Wet Sandpaper (for effective surface preparation before buffing)
- Detailing Spray or Isopropyl Alcohol (IPA)
- Masking Tape (to protect trims and delicate areas)
Step 2: Wash the Car
After wet sanding, it's essential to remove dust, sanding residue, and contaminants. Follow these steps:
- Rinse the car thoroughly with water.
- Use car wash soap and a microfiber mitt to wash the surface.
- Dry the car completely with a clean microfiber towel to avoid water spots.

Step 3: Inspect the Surface
Closely examine the car's surface to identify remaining sanding marks, swirl patterns, or other imperfections. Use a bright LED light or inspection light to highlight issues that need attention.
Step 4: Mask Off Delicate Areas
Protect plastic trims, rubber seals, and glass edges by applying masking tape. This prevents accidental polishing compound stains or burns during buffing.
Step 5: Select the Right Buffing Pad and Compound
Choosing the appropriate pad and polish combination is crucial:
- Cutting Pad + Medium-Cut Compound: Ideal for removing wet sanding marks and moderate defects.
- Polishing Pad + Finishing Polish: Best for refining the surface and enhancing shine.
- Finishing Pad + Ultra-Fine Polish: Ideal for achieving maximum gloss on dark or soft paint finishes.
Step 6: Start the Buffing Process
- Apply a small amount of polishing compound onto the pad (about 4 pea-sized drops).
- Spread the compound over a 2x2 ft area before turning on the polisher.
- Set the polisher to low speed (around 1,200-1,500 RPM for rotary or speed 3-4 on a dual-action polisher).
- Work in slow, overlapping passes, applying moderate pressure.
- Gradually increase the speed for better cutting performance, but avoid excessive heat buildup.
- Wipe away residue with a clean microfiber towel.
Step 7: Refine with a Finishing Polish
After addressing the sanding marks, switch to a polishing pad and a finishing polish to restore maximum gloss. Using 150mm Flexpro Fine Finishing Foam Discs during this step can significantly improve the final result.

- Use a smaller amount of polish compared to the cutting stage.
- Apply light pressure and work in slower passes to refine the paint surface.
- Inspect the results frequently with an LED light.
Step 8: Clean the Surface with IPA or Detailing Spray
Once buffing is complete, wipe down the surface with isopropyl alcohol (IPA) or a dedicated detailing spray. This step removes oils and polishing residue, revealing the true finish.
Step 9: Apply a Protective Layer
To preserve the restored shine and prevent future imperfections:
- Apply a high-quality car wax, sealant, or ceramic coating.
- Use a foam applicator pad and buff the protective layer with a microfiber towel for an even finish.
Step 10: Final Inspection
Check the entire car under different lighting conditions to ensure an even finish. If needed, repeat the buffing process in areas that require further refinement.
Pro Tips for Buffing Success
- Work in Smaemperature Conditions: Buffing works best in shaded, moderate-temperature environments.
Conclusion
Buffing your car after wet sanding is crucial for achieving a professional, mirror-like finish. By following the steps outlined above and using high-quality coated abrasive products from trusted brands like FastPlus, you can successfully restore your vehicle's paint to a stunning, showroom shine. With patience and attention to detail, your car will look flawless and well-protected for years to come.


