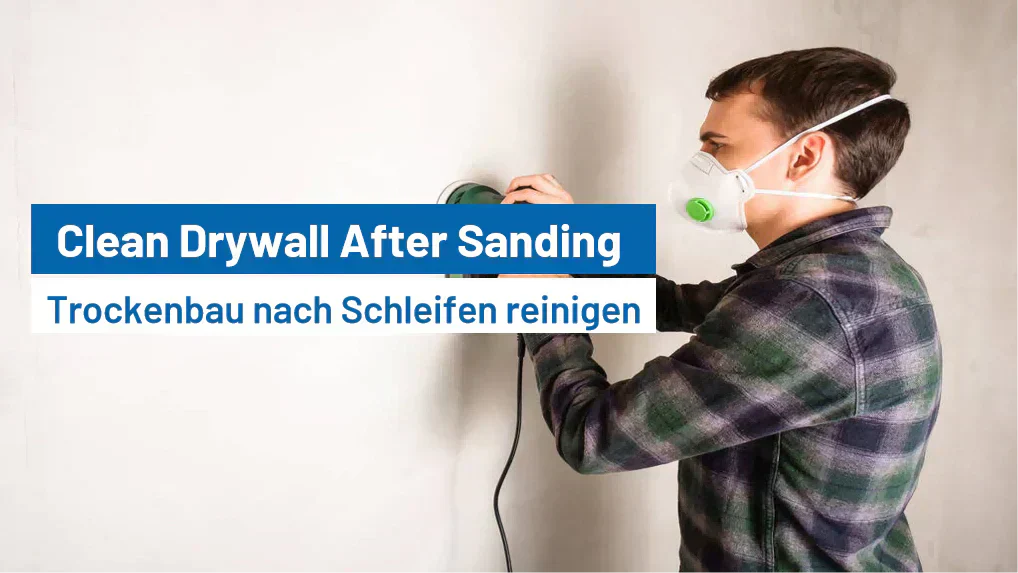
How to Clean Drywall After Sanding?
Sanding drywall is an essential step when preparing for painting or finishing a drywall installation. However, after sanding, there is a significant amount of dust and debris that must be cleaned up properly before proceeding with further work. Not only can this dust create a mess in your home or workspace, but it can also affect the quality of your final paint or finish. To ensure a smooth, professional-looking finish, it’s crucial to clean the drywall properly after sanding.
In this blog post, we will provide a step-by-step guide on how to clean drywall after sanding. We’ll cover everything from preparation to the right cleaning tools, techniques, and tips for achieving a dust-free surface.
Why Cleaning Drywall After Sanding is Important
Before we dive into the cleaning process, let’s understand why cleaning drywall after sanding is so important. When you sand drywall, especially after applying joint compound, you create a fine layer of dust. This dust can settle on your drywall, tools, and other surfaces, leading to a number of potential issues:
- Uneven Surface for Painting: If you don’t clean the dust off the drywall, the paint or finish may not adhere properly, resulting in a streaky or uneven appearance.
- Dust Buildup: Leftover dust can continue to settle on surfaces, causing an unsightly finish and affecting the overall look of the room.
- Health Concerns: Drywall dust can be harmful if inhaled, especially if it contains silica. Cleaning the dust reduces potential health risks.
Tools and Materials You’ll Need
To effectively clean your drywall after sanding, you’ll need the right tools. Here’s a list of materials you should have on hand:
- Vacuum Cleaner with a Hose Attachment: This is one of the most effective tools for removing drywall dust. A vacuum with a hose attachment allows you to quickly clean large areas and smaller cracks.
- Microfiber Cloths or Rags: Microfiber cloths are great for wiping down surfaces without spreading dust or leaving lint behind.
- Tack Cloth: A tack cloth is specially designed to pick up fine dust and particles, making it an excellent tool for the final cleaning stage.
- Sponge or Wet Cloth: A damp sponge or cloth can help you clean off stubborn dust.

- Bucket of Water: Water is essential when using a damp cloth or sponge for the cleaning process.
- Protective Gear: Always wear a mask and goggles to protect yourself from inhaling drywall dust and getting debris in your eyes.
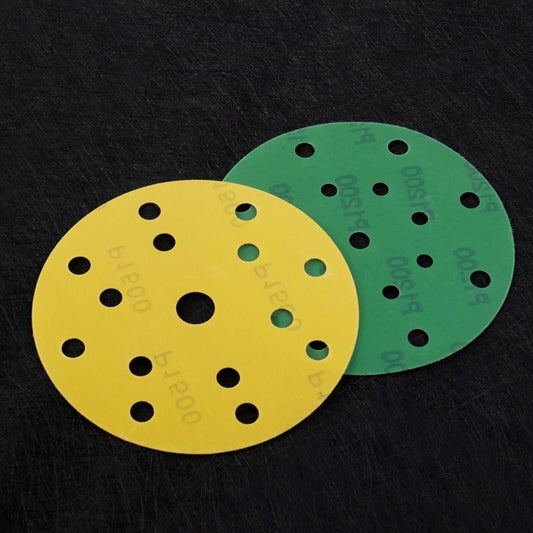
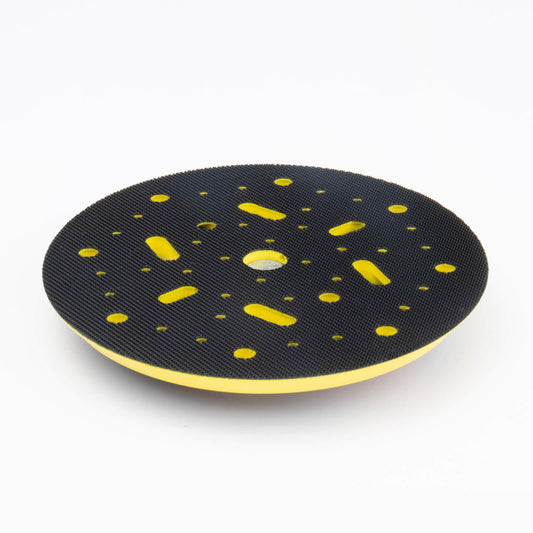
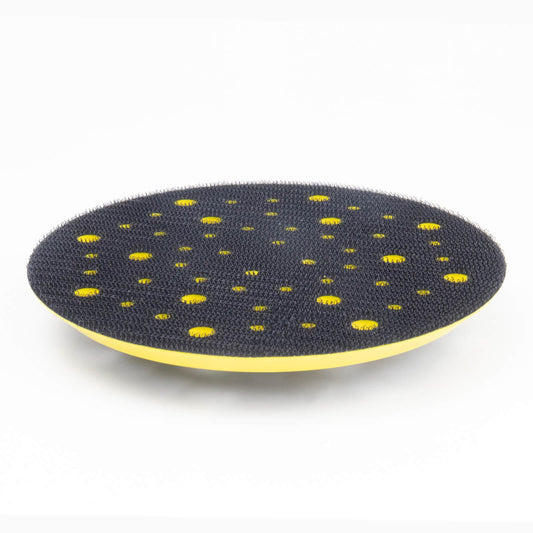
- Net Sanding Disc CeraMesh 150mm: For drywall sanding, using Net Sanding Disc CeraMesh 150mm can significantly reduce dust buildup. These mesh discs allow better airflow, preventing clogging and making cleanup easier.
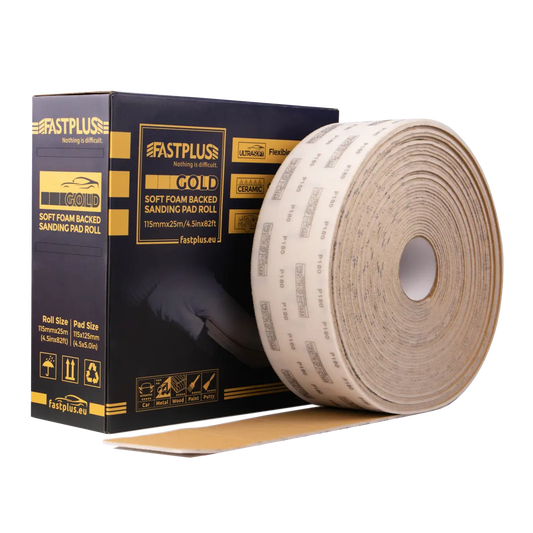
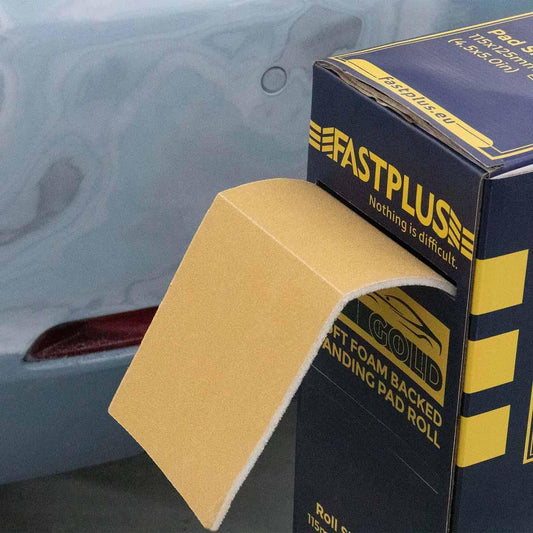
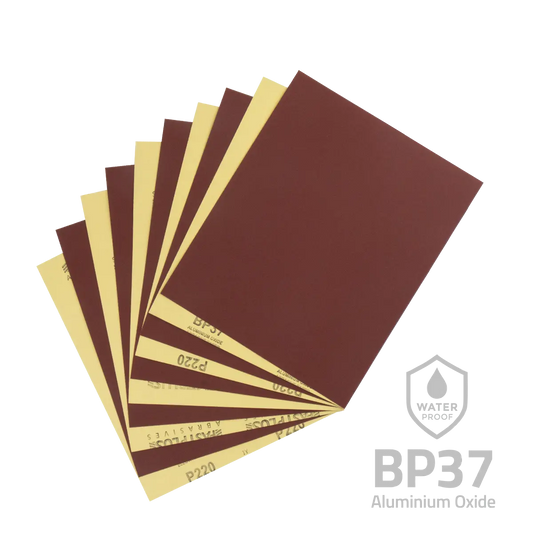
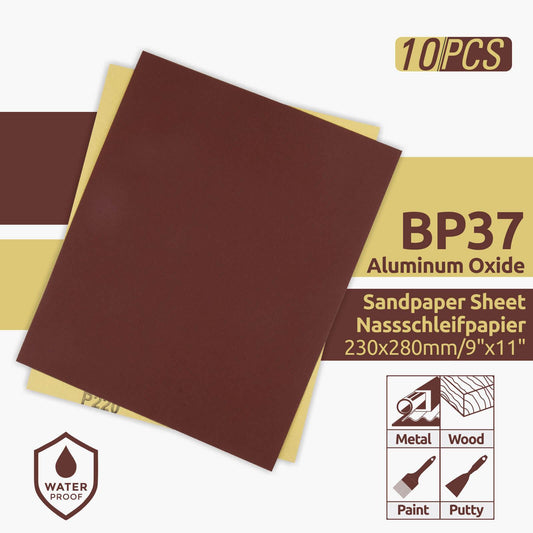
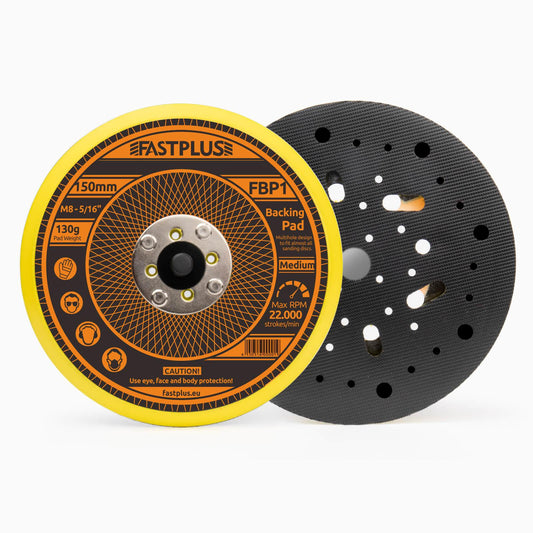
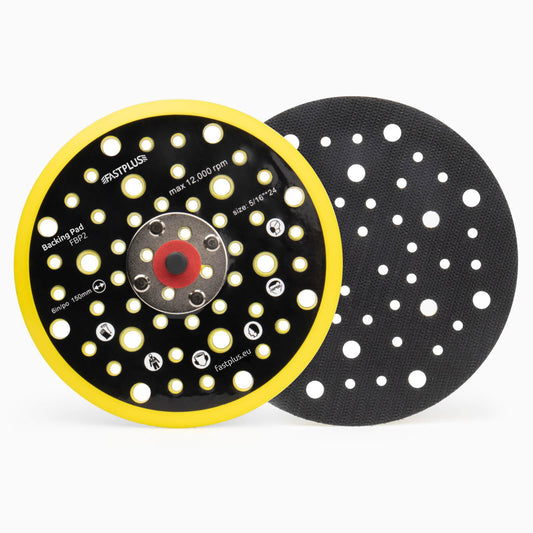
- Sanding Block with Sandpaper: Consider using a sanding block with sandpaper for a smoother sanding process. These sanding blocks provide better control and even pressure, which can help reduce dust and ensure a cleaner result.
Step-by-Step Guide on How to Clean Drywall After Sanding
Now that you have your tools ready, follow these steps to clean your drywall after sanding.
Step 1: Prep the Area
Before you begin sanding or cleaning, it’s important to prepare your workspace:
- Cover Furniture and Floors: Use plastic drop cloths or old sheets to cover furniture, floors, and any other surfaces that might get dusty. Even though you’re cleaning after sanding, it’s still a good idea to minimize the mess during the sanding process.
- Ventilate the Area: Open windows and doors to ensure good airflow, which helps dissipate dust and makes cleaning easier.
Step 2: Vacuum the Drywall
After sanding, the first step in cleaning is to remove as much dust as possible from the surface of the drywall.
- Attach the Hose to the Vacuum: Make sure your vacuum cleaner has a hose attachment that allows you to reach the drywall’s surface. A vacuum with a HEPA filter is ideal for trapping fine dust particles.
- Vacuum the Walls: Gently run the hose along the drywall surface, starting at the top and working your way down. Make sure to cover all areas, especially the corners and edges, where dust tends to accumulate.
- Vacuum the Floors and Furniture: Use the hose to clean up any dust that may have settled on the floor or furniture, making sure to get into cracks and corners.

Step 3: Wipe Down the Walls with a Damp Cloth
After vacuuming, some dust will still be left behind. The next step is to use a damp cloth to further clean the drywall surface.
- Dampen the Cloth: Wet a microfiber cloth or rag with water, making sure it’s not soaking wet. You don’t want to apply too much moisture to the drywall as it can cause damage.
- Wipe Down the Drywall: Starting at the top of the wall, gently wipe the surface of the drywall, working in small sections. Use circular motions to lift and remove the remaining dust. Make sure to frequently rinse the cloth in clean water to avoid spreading the dust around.
- Clean Corners and Edges: Corners and edges tend to collect more dust, so be sure to pay extra attention to these areas.
- Dry the Wall: After wiping the wall, use a clean, dry microfiber cloth to remove excess moisture. This helps prevent streaking and ensures that no water damage occurs.
Step 4: Use a Tack Cloth for the Final Touch
Once the majority of the dust has been removed, you can use a tack cloth to pick up any remaining fine dust particles.
- Use the Tack Cloth: A tack cloth is a sticky cloth that can pick up dust and particles that may have been left behind by the damp cloth. Gently wipe the drywall with the tack cloth to ensure the surface is perfectly clean.
- Check the Surface: After using the tack cloth, inspect the drywall for any missed spots. If you notice any dust buildup, wipe it away with a clean microfiber cloth.
Step 5: Clean the Floor and Furniture
After cleaning the drywall, make sure to clean any other surfaces that may have collected dust, such as the floor and furniture.
- Vacuum the Floor: Use the hose attachment on your vacuum to clean any dust on the floor. Pay special attention to corners and crevices where dust may accumulate.
- Wipe Down Furniture: Use a microfiber cloth to wipe down furniture and other surfaces that may have gathered dust during the sanding process.
- Mop the Floor (Optional): If you’re working with a tile or hardwood floor, mopping the floor with a damp mop can help remove any remaining dust and give the room a fresh, clean appearance.
Step 6: Final Inspection
After all cleaning steps are complete, give your drywall and surrounding area one final inspection. Make sure there is no dust left on the drywall surface, corners, or edges. This final check ensures you have a clean surface for painting or finishing.
Additional Tips for Cleaning Drywall After Sanding

- Use a Sanding Block with Sandpaper: Using a sanding block with sandpaper instead of a regular sanding pad can help you achieve better control over the sanding process. This can help reduce dust buildup and ensure a cleaner sanding job, leading to less mess to clean afterward.
- Avoid Over-Scrubbing: Be gentle when cleaning the drywall after sanding. Excessive scrubbing or applying too much water can cause damage to the surface or create uneven spots.
- Prevent Dust During Sanding: To reduce the amount of dust in the first place, consider using a sanding tool with a vacuum attachment. This captures dust as you sand, making the cleaning process much easier afterward.
- Clean Walls Before Painting: Always clean the drywall before painting to ensure smooth and even coverage. Any dust left behind can cause problems with paint adhesion and result in an uneven finish.
- Mesh Sanding Discs for Less Dust: If you are sanding drywall, using Net Sanding Disc CeraMesh 150mm can help significantly reduce dust buildup. These mesh discs have a unique design that allows for better airflow, preventing clogging and ensuring cleaner sanding. The reduced dust created with mesh sanding discs means less cleanup after the job is done.

Conclusion
Cleaning drywall after sanding is essential to ensure a smooth and flawless finish. Proper cleaning not only removes dust and debris but also guarantees better paint adhesion and a more professional appearance. By following the right steps, you can make sure your drywall is ready for the next stage of your project.
For a dust-free and efficient sanding process, consider using FastPlus Net Mesh Sanding Discs. These discs are designed to reduce clogging and dust buildup, making the sanding and cleaning process quicker and more effective. Choose FastPlus for all your sanding needs, offering a wide range of sanding discs, sandpaper, and various coated abrasive products to enhance your drywall finishing and achieve a cleaner, smoother surface.