7 Simple Steps to Fix Minor Car Paint Scratches at Home
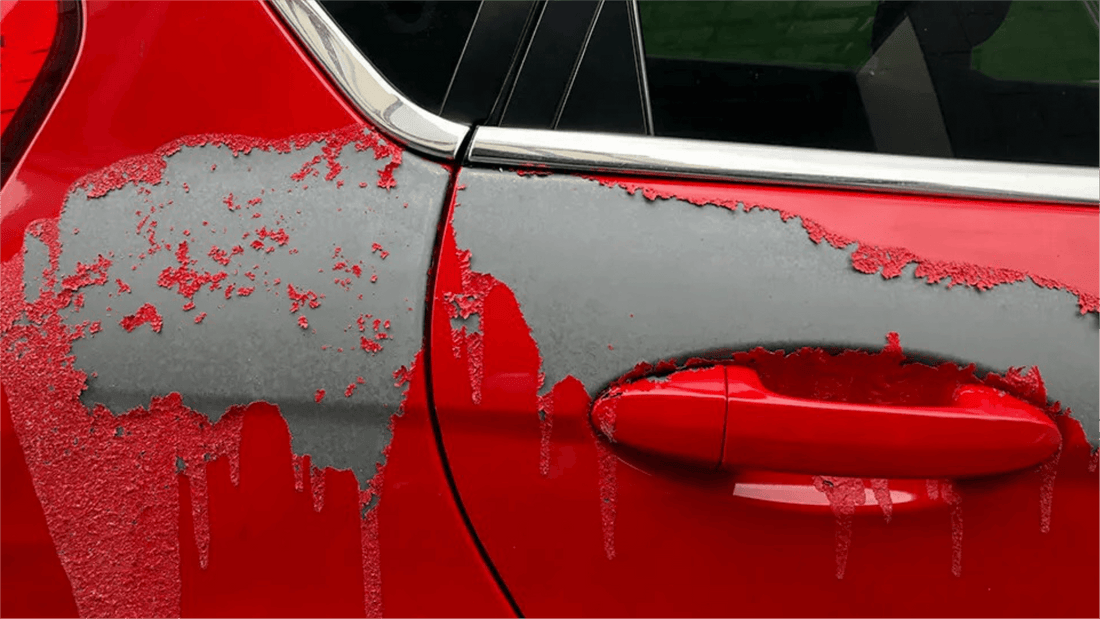
Whether it was caused by a grocery cart in a parking lot or a pebble on the highway, a scratch in your car’s paint can spoil its appearance and make it susceptible to long-term rust. If the damage is abundant, it’s a wise idea to contact a body shop to repair the damage. But if it’s only a surface scratch, you can easily fix the abrasion at home by repainting it. Here’s a simple guide for doing that.
Step 1: Inspect the depth of the scratch
 The severity of the scratch determines how you fix it. If it’s a minor abrasion, which doesn’t go through the clear coat to the paint underneath, it can be fixed by simply filling the gap in with a thick coat of wax. No harm done!
If the scratch reached deep down to scrape the paint off and expose the metal underneath, you need to proceed and paint that sucker!
Step 2: Order touch-up paint
It’s important to order the right color paint color — and it’s not as simple as just selecting “blue.”
Look up the exact factory-paint code, which should be located on a sticker or metal plaque under the hood or on the door jamb. Or, just let the experts do the work. Contact an officially licensed car dealership of your vehicle’s brand. Their parts department should be able to order a paint kit for you in the correct color.
Step 3: Clean the surface
Cleaning the body panel with car-safe soap and water will remove any oils or wax on the affected area. This will ensure the paint you’re applying won’t mix with contaminants. If necessary, scrape out any gunk that’s lodged in the fissure.
Step 4: Apply primer or color to scratch
Follow the instructions on the product you bought to apply the paint. Typically, this will either involve a pen-like applicator or a nail polish-like brush application. Your product may even offer both, in which case you should select one based on how wide the abrasion is.
You’ll have some overlapping paint around the damaged area. This is fine! Just try to minimize the overlap as much as you can. Wipe away any abundant excess.
Step 5: Let the paint dry
Don’t touch the wet spot again until the next day. This will ensure that the paint has fully dried and will be able to handle the next step without smearing.
Step 6: Smooth the area
 Using 600 or 1000-grit wet or dry sandpaper, wet-sand the area until the paint is smooth against the surrounding area. Work slowly and make sure you stop often to clean the area and to check the progress.
If you’re worried about accidentally damaging your car by over-sanding it, you can skip this step and let the surface remain a bit uneven — if that doesn’t bother you.
Step 7: Repeat & complete
Apply more paint and repeat the sanding process until the scratch is filled and leveled.
If you’re using a paint pen, it should have a clear coat finishing solution on the other tip. Once the paint is fully dry and ready to finalize, wipe that liquid evenly across the painted area. This will give the paint a shield from minor abrasions like sleet, pollution, and gravel.
Final Words
Once you’ve done all this, it’s a good idea to give your car a protective coat of wax. This is already something you should be doing seasonally, as it will give your entire car’s paint coat extra durability — and shine.
Buy Fastplus Factory-Direct Abrasives
Want to purchase high-quality, factory-direct sanding discs, sanding sheet rolls, and film abrasive discs for automotive applications? Try Fastplus Abrasives today and place your orders online!


