How to Fix Pinholes in Body Filler Before Priming
Pinholes are one of the most frustrating issues auto-body technicians and DIY car restorers face when working with body filler. They look tiny and harmless, but even the smallest pinhole can ruin an otherwise smooth repair. If not fixed properly before priming, they can telegraph through the paint, create texture problems, and lead to costly rework. Fortunately, pinholes are preventable and fixable—you just need the right materials, techniques, and workflow.
This guide explains why pinholes form, how to locate them, and the correct step-by-step method to repair pinholes before priming, so your paintwork stays clean, smooth, and professional.
What Are Pinholes and Why Do They Matter?

Pinholes are tiny air pockets or voids that show up on the surface of body filler. Though they appear small, they cause major issues during the priming and painting process because primer cannot fully conceal them. Paint sinks into these tiny holes and leaves imperfections that are clearly visible under gloss or sunlight.
This is why fixing pinholes before priming is essential.
Why Pinholes Form in Body Filler
Pinholes typically originate from mistakes in mixing, applying, or sanding filler. The most common causes include:
1. Trapped Air During Mixing
Aggressive stirring traps tiny air bubbles that later appear as pinholes after the filler cures.
2. Incorrect Hardener Ratio
Using too much or too little hardener changes the consistency and increases porosity.
3. Surface Contamination
If dust, oil, or moisture remains on the panel, the filler does not bond fully, leading to voids.
4. Thick Application of Filler
Thick layers trap air pockets that eventually migrate to the surface.
5. Excessive Sanding
Sanding aggressively with very coarse grit can open up more pinholes.
6. Poor Environmental Conditions
Cold temperatures slow curing and make filler more porous.
How to Find All Pinholes Before Priming
Pinholes are not always visible at first glance. These tips help you locate every small void:
Use a Guide Coat
A light guide coat highlights tiny air pockets as you sand the filler.
Use Angled Lighting
Low-angle light reveals surface imperfections more clearly.
Touch the Surface
Your fingertips can detect even tiny defects that your eyes may miss.
Use Compressed Air
Blowing off dust exposes deeper pinholes that were previously filled with fine debris.
Tools and Materials You’ll Need
To repair pinholes properly, prepare the following items:
- Body filler or polyester finishing glaze
- Spreader/applicator
- Sanding blocks
- Sandpaper for car (80-grit, 120-grit, 180-grit, 320-grit)
- Mixing board
- Wax and grease remover
- Microfiber cloths
- Compressed air
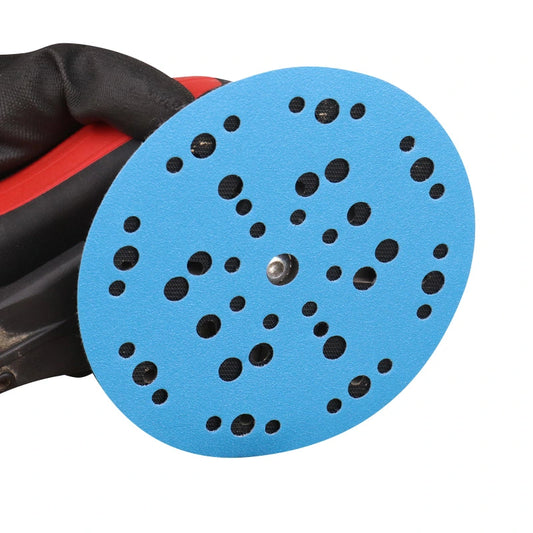
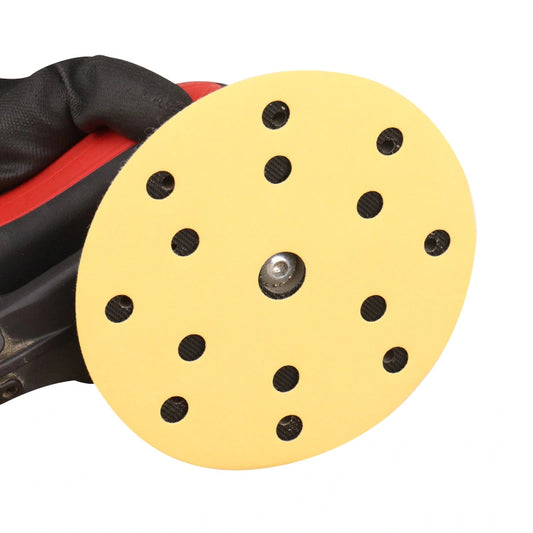
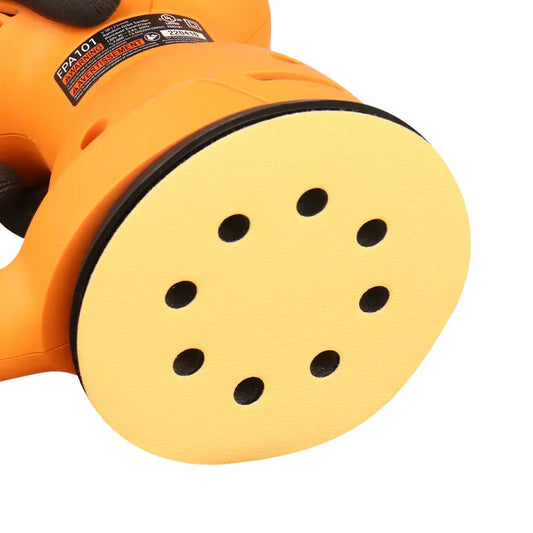
For sanding, many technicians prefer high-cutting abrasives like a ceramic sanding disc, which removes filler cleanly and exposes pinholes more efficiently without clogging.
Step-by-Step: How to Fix Pinholes in Body Filler Before Priming
Step 1: Clean the Surface Thoroughly
Before doing anything, clean the surface with wax and grease remover. Any leftover oil or dust can cause new imperfections. Blow off all debris with compressed air.
Step 2: Sand the Area to Re-Expose the Pinholes
Lightly sand with 180-grit sandpaper using a sanding block. The goal is to open up pinholes, not reshape the area.
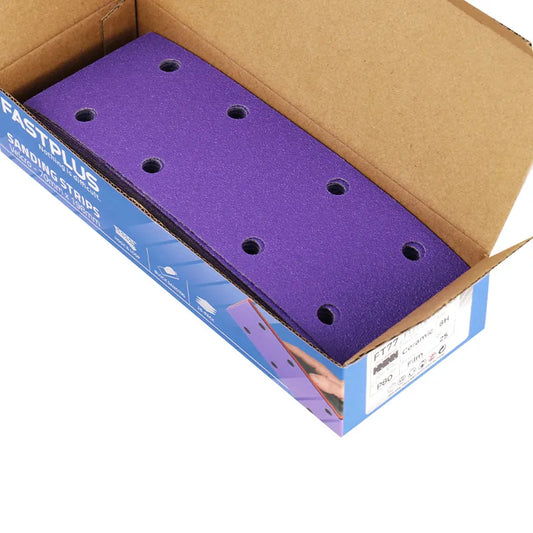
For edge-smoothing or sanding curved sections, a sandpaper roll with sanding block is a convenient setup because it provides flexibility and allows quick grit changes.

Step 3: Mix a Small Batch of Finishing Glaze
Finishing glaze is finer than standard filler, making it perfect for filling tiny pinholes. Mix gently to avoid introducing air bubbles. Follow the correct hardener ratio.
Step 4: Apply the Glaze
Use a flexible spreader to press the glaze firmly into every pinhole. Apply a very thin layer and let it cure properly.
Step 5: Sand the Glaze Smooth
After the glaze cures:
- Start with 180-grit
- Finish with 320-grit
Always sand using a block to avoid waves or uneven surfaces.
Step 6: Use a Guide Coat and Inspect Again
Apply a guide coat and sand with 320-grit. If any pinholes remain, repeat the glaze process. Address them now; not after primer.
Step 7: Clean the Area Again
Remove all dust and wipe with wax and grease remover. Let it dry completely.
Step 8: Apply Primer
Use a quality high-build primer or epoxy primer. Spray two to three thin coats. Let each coat flash before applying the next. After curing, sand the primer lightly with 600-grit to ensure a smooth paint-ready surface.
How to Prevent Pinholes in Future Repairs
Fixing pinholes is important, but preventing them is even better. Avoid creating new pinholes by following these tips:
Mix Filler Gently
Use slow, folding motions.
Clean Surfaces Before Applying Filler
Never apply over dust or grease.
Apply Thin Layers
Multiple thin layers reduce trapped air.
Use High-Quality Abrasives
Good sanding products cut more cleanly and avoid tearing the surface.

Maintain Proper Temperature
Follow recommended working conditions.
Inspect Frequently
Use guide coats and good lighting during every phase.
Common Mistakes to Avoid
- Overusing hardener
- Sanding too aggressively
- Applying glaze too thick
- Ignoring surface cleaning
- Working in poor temperature conditions
Preventing these mistakes greatly reduces pinhole issues.
Final Thoughts
Pinholes in body filler can seriously affect the quality of a paint job, but they are completely manageable with the right process. Thorough cleaning, careful sanding, proper glazing, and good inspection habits help you eliminate pinholes before priming. By understanding their causes and applying consistent repair techniques, you can achieve a smooth, professional finish every time.


