
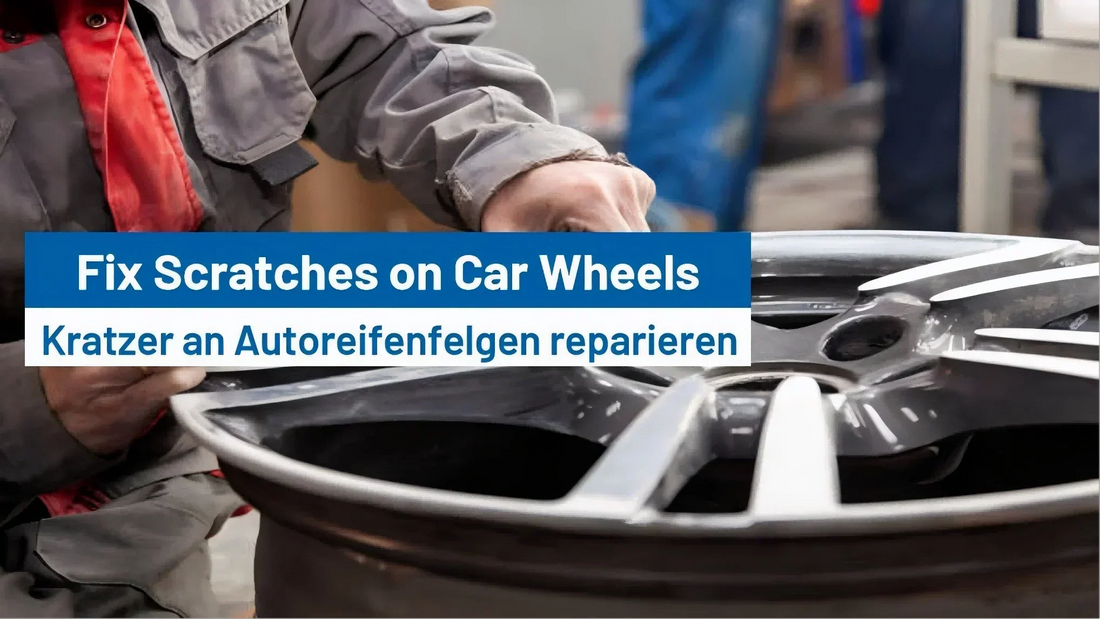
How to Fix Scratches on Car Wheels at Home?
Scratches and scuffs on car wheels are a common frustration for drivers. Whether you’ve brushed against a curb, picked up gravel damage, or noticed marks from normal wear and tear, scratches can spoil the sleek look of your vehicle. Left untreated, they may also lead to corrosion, which reduces the lifespan of your wheels. The good news? With the right tools and a little patience, you can repair scratches at home and restore your wheels to like-new condition.
This guide will walk you through everything you need to know—step-by-step—about fixing scratches on car wheels, from identifying the type of damage to sanding, filling, painting, and polishing for a flawless finish.
Why Fix Scratches on Car Wheels?
Many drivers ignore scratches, thinking they are just cosmetic. However, repairing them promptly has real benefits:
- Prevents corrosion: Bare metal exposed by scratches can oxidize, leading to rust.
- Restores appearance: Clean, polished wheels greatly improve your vehicle’s look and resale value.
- Saves money: DIY repairs are far cheaper than replacing a wheel or paying for professional refinishing.
- Protects coatings: Modern wheels often have protective paint or clear coats that need to remain intact for durability.
What You’ll Need (Tools and Materials)
Before starting, gather the following supplies:
- Automotive soap and water – for cleaning the wheel.
- Microfiber cloths – gentle and lint-free drying.
- Masking tape and protective paper – to shield tires and undamaged rim areas.
-
Sandpaper in multiple grits:
1) 400–800 grit (for smoothing rough scratches)
2) 1000–2000 grit (for feathering edges)
3) 2500–3000 grit (for blending and finishing)
(Using high-quality abrasives, like our Premium Sandpaper Sheets, ensures smoother results and longer life during wet sanding.) - Wheel filler or alloy repair putty – for deeper gouges.
- Primer spray – formulated for automotive alloys.
- Matching wheel paint – check your wheel code for the exact shade.
- Clear coat spray – for protection and shine.
-
Polishing compound and buffing pad – to blend the finish.
(A Foam Polishing Pad will help you apply even pressure and achieve a glossy result.) - Gloves and safety glasses – to protect yourself during sanding and spraying.
Step 1: Clean and Inspect the Wheel

- Wash the wheel thoroughly with soap and water to remove dirt, brake dust, and grease.
- Dry it completely with a microfiber towel.
- Inspect the scratch under good lighting. Run your fingernail over it—if your nail catches, it’s a deeper scratch that may require filler; if not, sanding and painting should suffice.
This assessment determines the level of repair needed.
Step 2: Prepare the Area
- Use masking tape and paper to cover the tire, valve stem, and undamaged rim.
- Ensure only the scratched area is exposed.
- Work in a clean, ventilated space with good lighting to avoid dust contamination during painting.
Proper preparation prevents mistakes later.
Step 3: Sand the Scratched Area
-
For light scratches:
Wet-sand the area using 1000–2000 grit sandpaper. Keep the paper soaked in water to reduce friction. Sand in small, circular motions until the scratch edges feel smooth and the surface has a matte finish.
(Our Waterproof Sanding Discs are ideal for this step, as they resist tearing and stay sharp during wet sanding.) -
For deep scratches:
Start with 400–800 grit sandpaper to level the surface. If the gouge remains, apply a thin layer of alloy repair putty or filler. Let it cure, then sand again with 800–1000 grit to make the surface flush. -
Feather the edges:
Use 2000–3000 grit sandpaper to blend the repaired area into the surrounding wheel. The smoother the transition, the more invisible your repair will look after painting.
Step 4: Apply Primer
- Shake the primer spray can thoroughly.
- Hold it about 20–30 cm from the surface and spray a light, even coat over the sanded area.
- Allow it to dry (typically 10–20 minutes).
- Lightly wet-sand with 1500 grit paper to eliminate texture and ensure a smooth surface.
Primer improves paint adhesion and helps conceal repaired areas.
Step 5: Apply Wheel Paint
- Choose paint that matches your wheel’s original finish.
- Spray 2–3 thin coats rather than one heavy coat to avoid drips.
- Allow 10–15 minutes drying time between coats.
- Hold the can 20–25 cm away and spray with consistent, overlapping strokes.
Once complete, let the paint cure for at least 30 minutes before applying the clear coat.
Step 6: Apply Clear Coat
- Spray 2–3 layers of clear coat over the painted area.
- Allow proper drying between coats (usually 10–15 minutes).
- The clear coat seals the paint, restores gloss, and provides protection against weather, road salt, and brake dust.
Avoid touching or exposing the wheel to moisture until it has fully cured (several hours or overnight).
Step 7: Polish and Blend

- Once the clear coat is dry, inspect the surface. If it feels slightly rough, wet-sand lightly with 2500–3000 grit sandpaper.
- Apply a polishing compound with a buffing pad. Work in circular motions until the repaired area blends seamlessly with the rest of the wheel.
(Using a Polishing Foam Pad makes this step easier and ensures an even, glossy finish.) - Wipe clean with a microfiber cloth to reveal a uniform shine.
Pro Tips for Success
- Don’t rush drying times—patience ensures durability.
- Test the paint on cardboard first to confirm the color match.
- Avoid direct sunlight while spraying, as heat may cause bubbles.
- Use high-quality abrasives and polishing pads for best results. (FastPlus offers sandpaper and polishing pads designed for car refinishing.)
- Regularly wash your wheels and treat minor scratches early before they worsen.
When to Seek Professional Help
DIY methods work for minor to moderate scratches. However, consider a professional if:
- The wheel has structural damage (cracks or bends).
- Scratches are extremely deep or cover large areas.
- Your wheels have special finishes (diamond cut, chrome, or powder-coated).
Conclusion
Fixing scratches on car wheels doesn’t have to be daunting. With sandpaper, filler, primer, paint, and polish, you can restore your wheels’ sleek appearance and protect them from further damage.
By following the steps carefully—cleaning, sanding, priming, painting, clear coating, and polishing—you’ll achieve a professional-looking finish right at home.
For sanding and polishing stages, reliable abrasives and pads from FastPlus.eu will make the process easier and give you results that last. Take the time now, and enjoy the satisfaction of driving with wheels that look as good as new.


