How to Flat Car Paint?
If you've ever admired the smooth, glass-like finish on a custom car or restored classic vehicle, you're likely looking at the result of a process called "flatting" or "color sanding." Flatting car paint is the key to achieving a flawless finish that removes imperfections, orange peel texture, dust nibs, and minor paint defects. Whether you're a professional body shop technician or a passionate DIY enthusiast, this guide will walk you through the process of flatting car paint properly.
In this post, we’ll cover:
- What is flatting in car painting?
- When and why you should flat car paint
- Tools and materials needed
- Step-by-step guide: How to flat car paint
- Pro tips and common mistakes
- FAQs
What Is Flatting Car Paint?

Flatting car paint, also known as color sanding, is the process of carefully abrading the surface of painted panels using fine abrasive materials to remove imperfections. The goal is to create a perfectly level surface before applying a final polish.
It’s commonly done after the clear coat has fully cured, particularly in two-stage paint jobs, to eliminate defects such as:
- Orange peel texture
- Dust or dirt trapped in the clear coat
- Runs or sags in the paint
- Uneven gloss or texture
Once flatted, the paint is then machine-polished to restore deep gloss and clarity.
When and Why Should You Flat Car Paint?
Flatting is a crucial part of professional refinishing and detailing. Here’s when and why you might need to flat car paint:
After Repainting a Panel or Vehicle
Fresh paint can settle with surface irregularities. Flatting smooths them out before polishing.
Before Buffing and Polishing
Polishing over an un-flatted surface won’t achieve the same glassy depth. Flatting levels the paint to reflect light more uniformly.
To Remove Imperfections
If your paint has minor contaminants or orange peel, flatting can remove or minimize them.
Note: Flatting is not intended to fix deep scratches or poorly applied base coats. It's best suited for correcting the surface of cured clear coat or solid-color finishes.
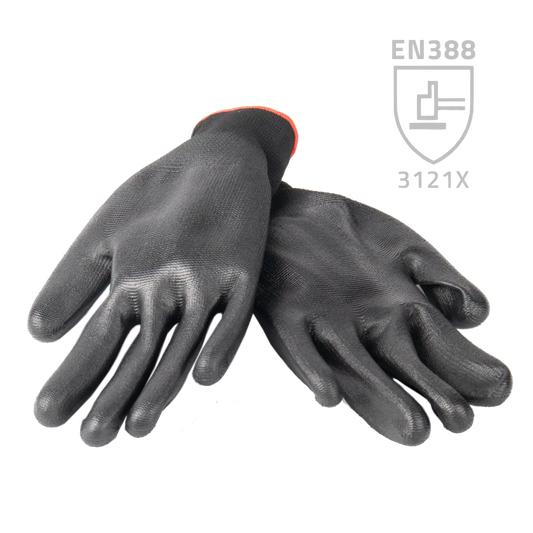
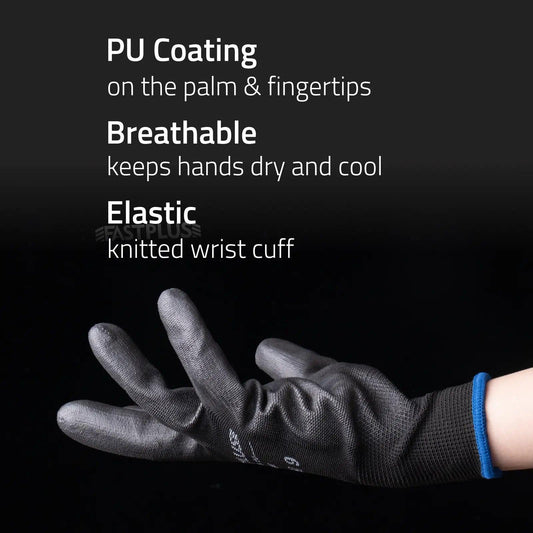
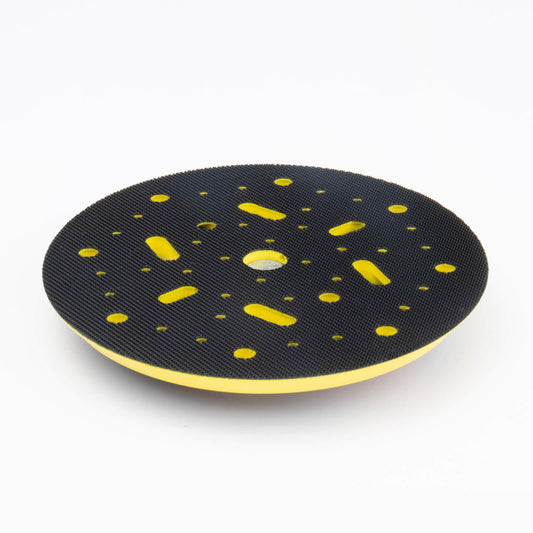
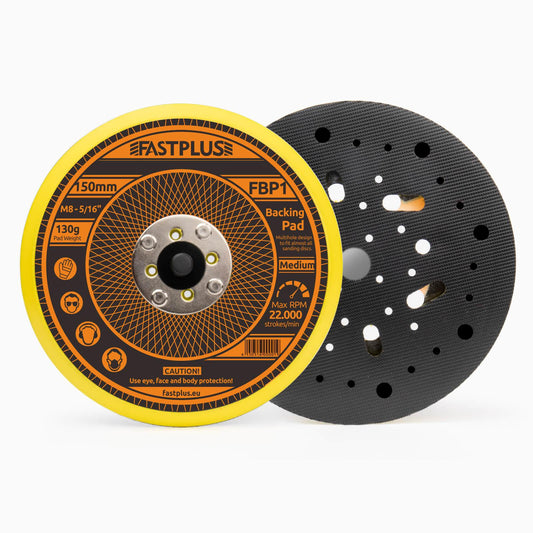
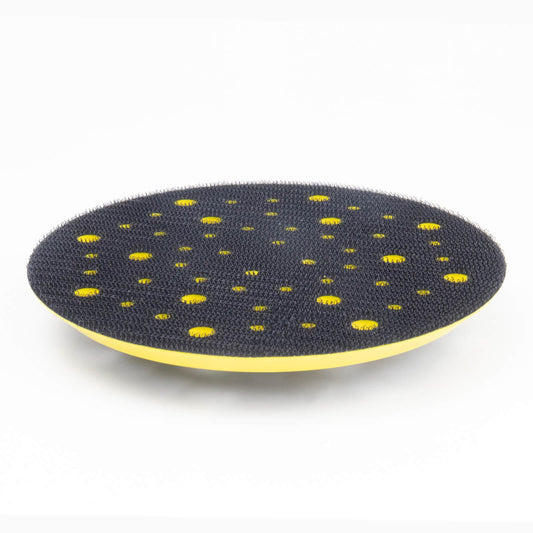
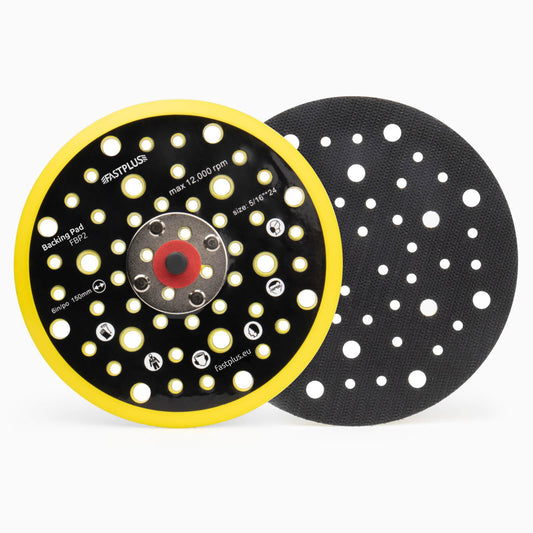
Tools and Materials You'll Need
Before you begin, gather the necessary tools and supplies. Using the right abrasives and pads makes a huge difference in results and effort.
 Abrasives
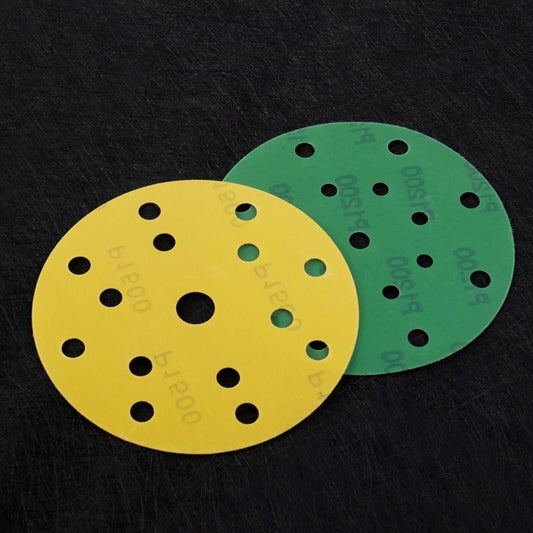
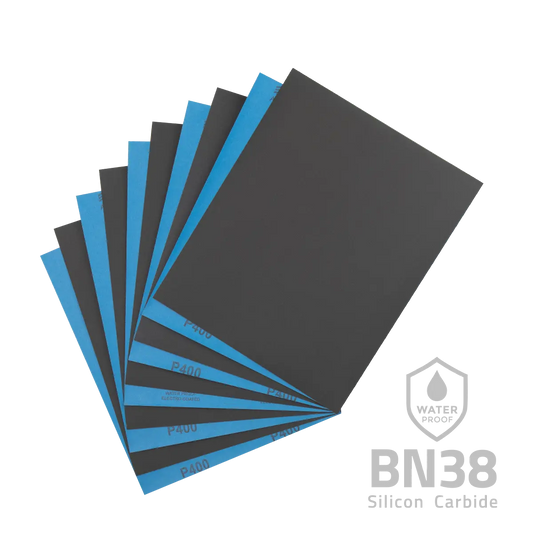
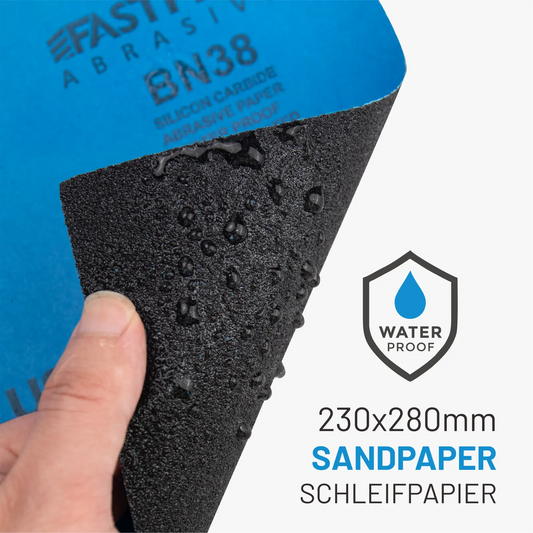
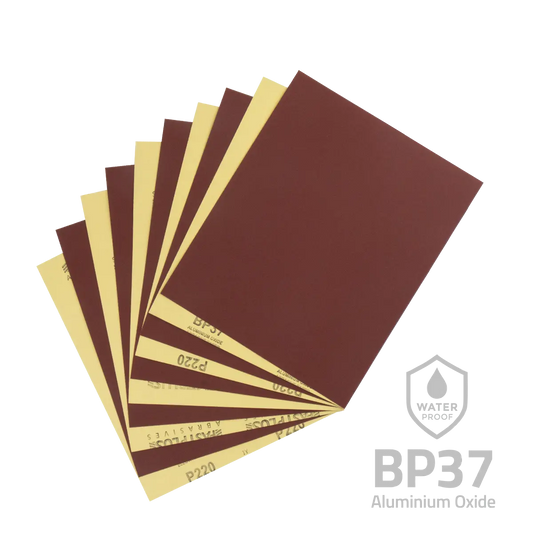
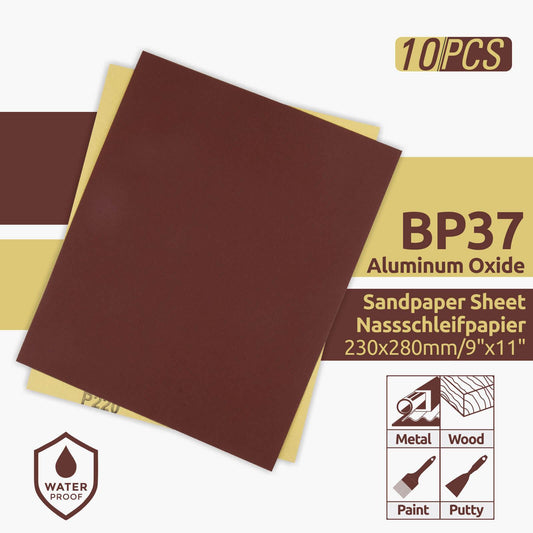
- Wet & Dry Sandpaper – typically P1000 to P3000 grit
- Foam Interface Pads – for even pressure distribution
- Sanding Blocks – rigid or flexible, depending on panel shape
- Ceramic Mesh Sanding Discs – ideal for even abrasion and longer life
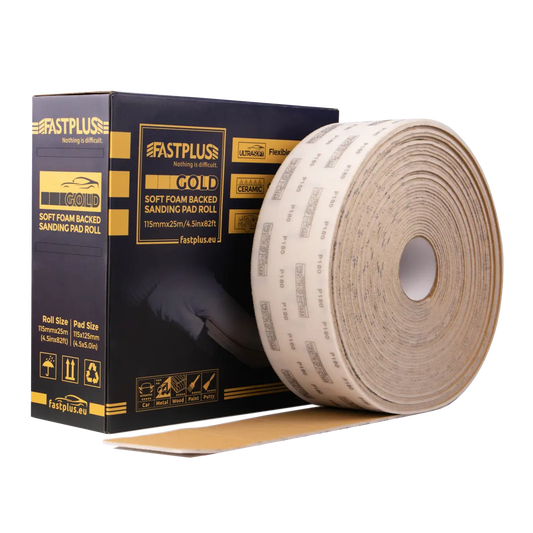
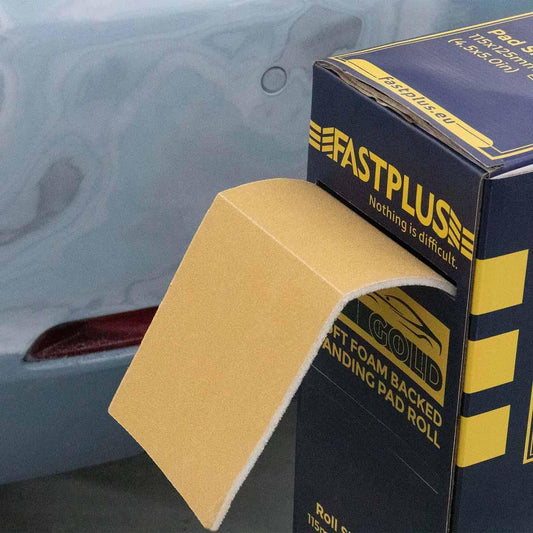
- Sanding Sheets or Rolls – for manual spot sanding
Liquids
- Soapy Water or Sanding Lubricant – reduces clogging and scratches
- Panel Wipe or Degreaser – for surface preparation and inspection
Polishing System
- Dual-action polisher or rotary buffer
- Compound and polish
- Microfiber cloths
- Finishing pads
Optional but Helpful
- Inspection light or detailing light
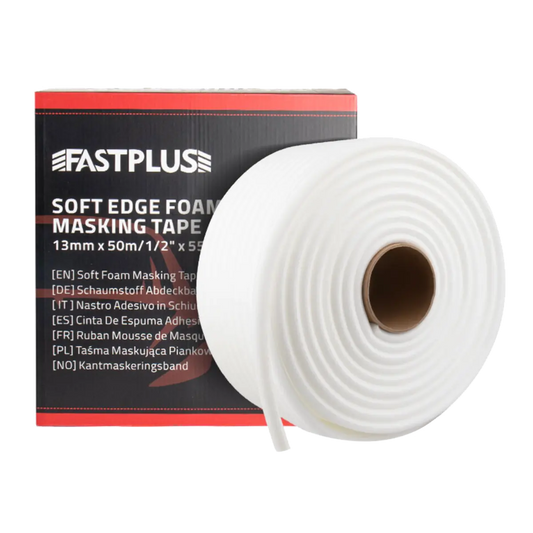
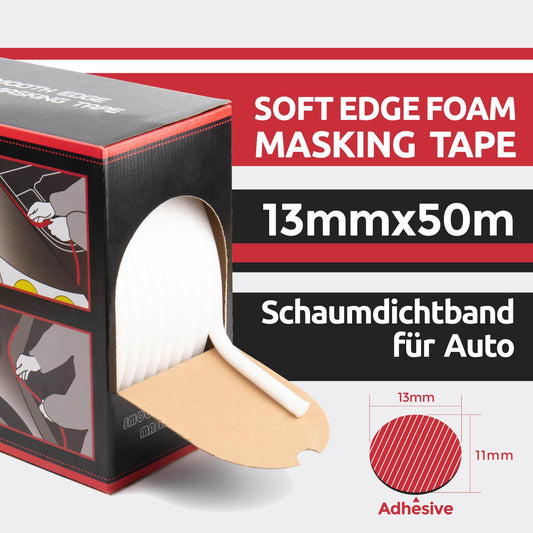
- Tape to mask edges and trims
- Air blower or microfiber drying towels
Step-by-Step: How to Flat Car Paint Like a Pro
Follow these steps for flatting your car’s paint without risking damage to the clear coat:
1. Let the Paint Fully Cure
Before flatting, the paint or clear coat must be fully hardened. Depending on the paint type and environmental conditions, this could take 24–72 hours or even longer.
2. Clean the Surface Thoroughly
Use a panel wipe or degreaser to remove any wax, grease, or dust. A clean surface helps prevent dragging contaminants across the paint, which can cause scratches.
3. Choose Your Starting Grit
If the surface has moderate orange peel or minor imperfections, start with P1500 grit. For light dust nibs or minimal leveling, begin with P2000–P2500.
Tip: Always test in an inconspicuous area first.
4. Soak Your Sandpaper
If you're using wet & dry paper, soak it in clean water with a few drops of car shampoo or sanding lubricant for 15–30 minutes.
5. Sand with Light Pressure
Attach the sandpaper to a soft interface pad or sanding block. Using even, crosshatch patterns, lightly sand the surface while keeping it wet. You’re aiming to dull the surface evenly without cutting through the clear coat.
Watch for:
- Even dulling of gloss
- No shiny spots (high spots)
- No breakthrough to base coat

6. Step Down in Grit (Optional)
After initial leveling with P1500–P2000, you can refine the scratches with P2500–P3000 grit paper or discs. This makes polishing much easier and faster.
7. Clean and Inspect the Surface
Wipe off the residue and dry the panel. Use an inspection light to check for uniform dullness and remaining imperfections.
Polishing After Flatting
Flatting alone leaves a dull, matte surface. Polishing brings back the gloss.
1. Apply Cutting Compound
Using a foam cutting pad and a machine polisher, apply a small amount of compound and work in overlapping passes.
2. Wipe Down and Inspect
Remove the residue with a clean microfiber towel. Check for haze or remaining sanding marks.
3. Finish Polish
Switch to a polishing pad and use a finishing polish to refine the gloss. Buff until the finish looks deep and clear.
Pro Tips for Best Results
- Use Interface Pads: They help avoid gouging or uneven sanding, especially on curved panels.
- Keep Everything Clean: Change water often and wipe away slurry to avoid dragging debris.
- Don’t Rush: Take your time, especially around edges and contours.
- Avoid Edges and High Spots: These areas have thinner clear coat. Mask or avoid them to prevent burn-through.
- Polish Quickly After Flatting: Don't leave the flatted surface exposed too long. Moisture or contamination can stain it.
Common Mistakes to Avoid
| Mistake | Why It’s a Problem |
|---|---|
| Sanding with too coarse a grit | Leaves scratches that are hard to polish out |
| Not using a sanding block | Can create uneven surfaces or finger marks |
| Applying too much pressure | Risks cutting through clear coat |
| Skipping refinement steps | Increases polishing time and effort |
| Not cleaning thoroughly | Dirt can cause swirl marks or scratches |
FAQs: Flatting Car Paint
Can I flat single-stage paint?
Yes, but be careful. You’re removing the top layer of pigment, so be gentle. Use high-grit paper and check often.
How long should I wait to flat new paint?
Check the manufacturer’s spec sheet, but most modern 2K paints and clears can be flatted 24–72 hours after application.
Is it necessary to flat every paint job?
Not always. If the finish is already smooth and defect-free, you can skip it. But for show cars or high-end refinishing, flatting is essential.
What if I sand through the clear coat?
Stop immediately. You’ll need to respray the affected area with clear coat, let it cure, then refinish.
Conclusion: A Flat Finish Is a Flawless Finish
Flatting car paint is a time-consuming but rewarding process. With patience, the right abrasives, and a careful technique, you can eliminate orange peel and imperfections to achieve a mirror-like gloss that turns heads. Whether you’re prepping a fresh respray or restoring an old finish, flatting is the secret behind the perfect paint job.
At Fastplus.eu, we offer a range of premium sanding products designed for auto body professionals and detailing enthusiasts. From ceramic mesh sanding discs to velcro-backed sanding rolls, we have what you need to flat your car paint with confidence.