How to Make Sandpaper Last Longer?
Whether you’re a professional craftsman, auto body specialist, or a DIY enthusiast, sandpaper is a staple tool in your arsenal. But if you find yourself constantly replacing worn-out sheets or discs, you’re not alone. Sandpaper, especially when used improperly, can wear out quickly, driving up both cost and frustration. Thankfully, there are practical strategies to extend the life of your sandpaper and maximize its performance.
In this guide, we’ll explore how sandpaper wears down, common causes of premature failure, and proven techniques to make your sandpaper last longer — saving you both time and money.
Understanding Why Sandpaper Wears Out
Before jumping into the solutions, it's important to understand what causes sandpaper to degrade:

1. Clogging (Loading)
One of the most common culprits behind early sandpaper death is clogging. When sanding soft materials like wood, paint, or drywall, fine dust and resin can fill the spaces between the abrasive grains, making the sandpaper useless even if the grit is still intact.
2. Overheating
Friction from aggressive sanding generates heat. Excessive heat can burn away the adhesive that holds abrasive grains to the backing and cause premature wear or delamination.
3. Using the Wrong Type of Sandpaper
Not all sandpaper is created equal. Using a wood sanding paper on metal, or a fine grit when a coarse one is required, results in faster wear and reduced efficiency.
4. Improper Storage
Moisture, dirt, or bending can affect the structural integrity of sandpaper, making it brittle or ineffective even before it’s used.
Tips to Make Sandpaper Last Longer
1. Use the Right Sandpaper for the Job
The first and most important rule is to choose the right sandpaper:
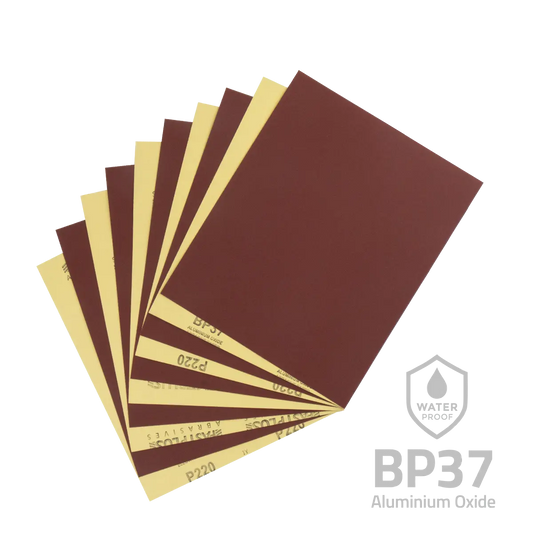
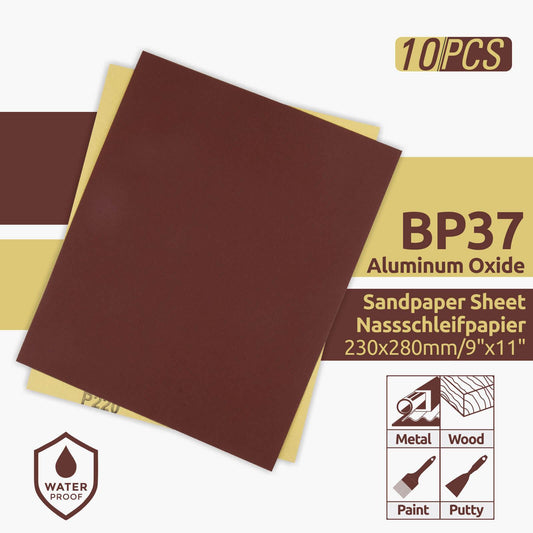
- Aluminum Oxide: Ideal for wood and metal — durable and self-renewing.
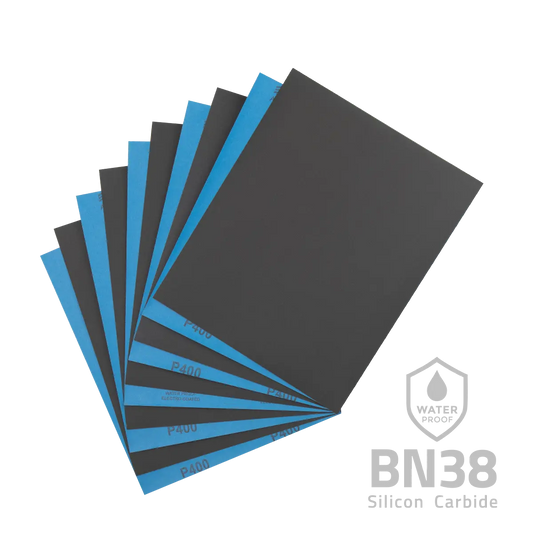
- Silicon Carbide: Best for hard materials like glass, stone, and plastics.
- Zirconia Alumina: Aggressive and long-lasting — perfect for heavy-duty metal sanding.
- Ceramic: Very tough and heat-resistant — great for high-pressure sanding tasks.
Using the correct type of sandpaper ensures that the grains can perform optimally without breaking down too quickly.
2. Match the Grit to the Task
Always start with a coarse grit for removing material and switch to finer grits as you progress. Using fine grit for heavy stock removal not only makes the job harder but wears out the sandpaper prematurely.
| Task | Recommended Grit |
|---|---|
| Removing paint | 40–60 |
| Surface leveling | 80–100 |
| Smoothing surfaces | 120–180 |
| Final finish | 220+ |
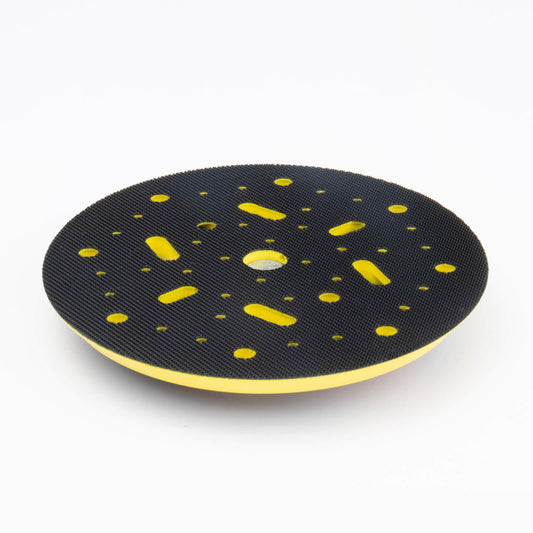
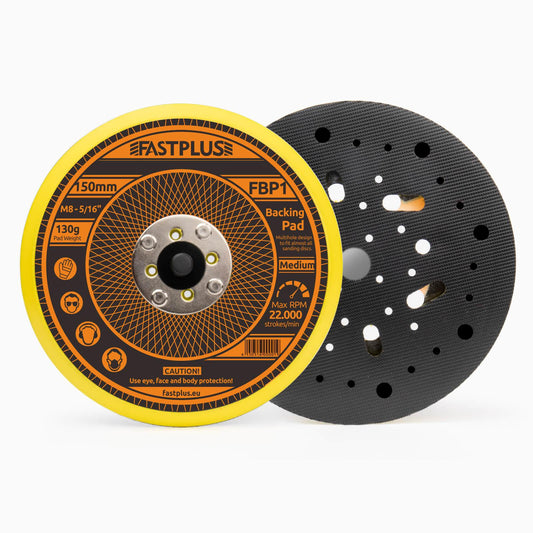
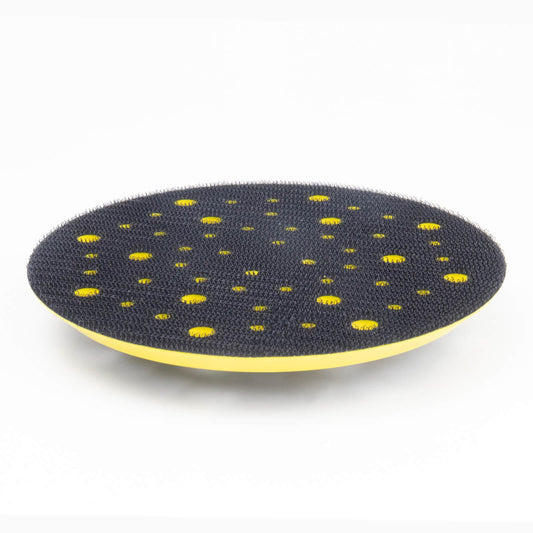
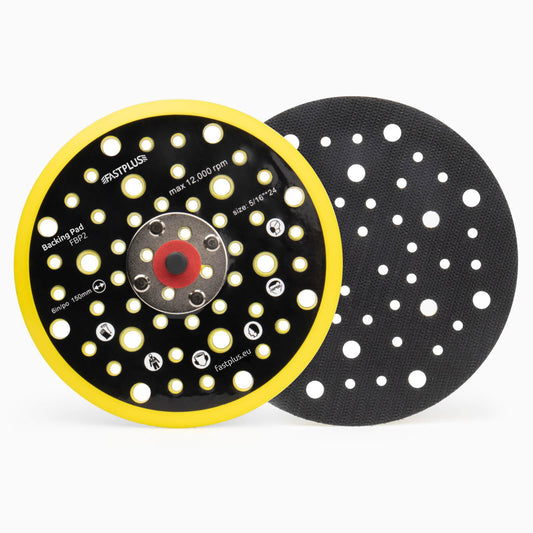
3. Use Sanding Blocks or Backing Pads
Hand sanding with loose sheets causes uneven pressure and premature wear. Using sanding blocks or pads distributes the pressure evenly, allowing more of the abrasive surface to be used effectively.
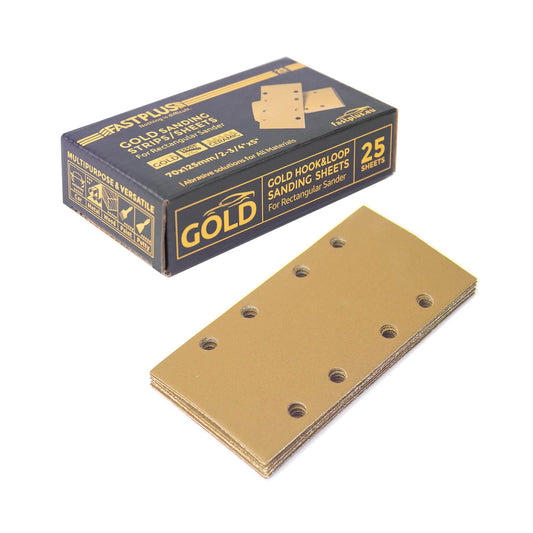
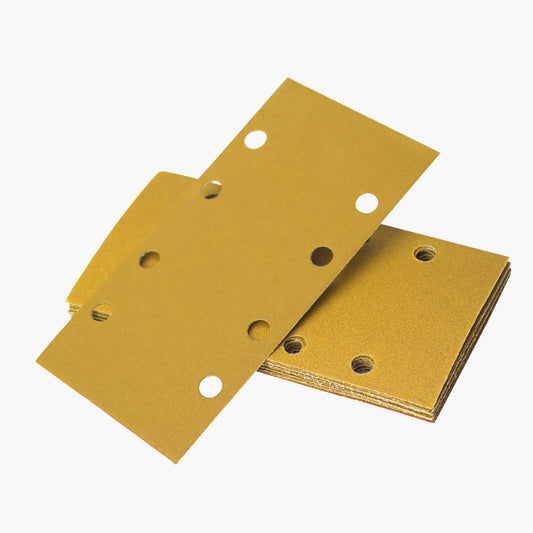
For orbital or random orbital sanders, always use the correct hook-and-loop or PSA backing. This prevents slippage and heat buildup, both of which can destroy sandpaper.
4. Avoid Excessive Pressure
More pressure doesn’t mean faster sanding. In fact, it can overheat and wear out the paper, damage the workpiece, or stress your tool.
Let the sandpaper do the work. Use light to moderate pressure to extend its lifespan and ensure a smoother, more even finish.
5. Clean Sandpaper Regularly
Cleaning your sandpaper can dramatically increase its lifespan, especially when working with wood or painted surfaces. Here are a few methods:
a. Rubber Sanding Erasers (Cleaning Sticks)
These specially designed rubber blocks are excellent at removing built-up debris from abrasive surfaces, especially belts and discs.
b. Wire Brush
For larger sheets or sanding sponges, gently brushing them with a wire brush can remove surface debris and refresh the grit.
c. Compressed Air
Blowing dust and debris from mesh sanding discs or open-coat sandpaper helps keep them working longer.
6. Switch Between Sheets
Instead of wearing one piece down to the bone, rotate between sheets during your sanding session. This allows abrasive grains to cool down and reduces the risk of overheating and glazing.
If you're working with a large surface or project, prepare multiple sheets and alternate between them every few minutes.
7. Keep the Surface Clean
Dirty surfaces quickly clog sandpaper. Before sanding, wipe or vacuum the material to remove dust, grease, or any existing debris.
In woodworking, removing resin buildup or glue squeeze-out before sanding also helps prevent clogging.
8. Choose Open-Coat Sandpaper for Soft Materials
When sanding softwoods or painted surfaces, open-coat sandpaper (which has more space between abrasive grains) resists clogging better than closed-coat types. It allows sawdust or resin to fall away more easily, extending the life of your sandpaper.
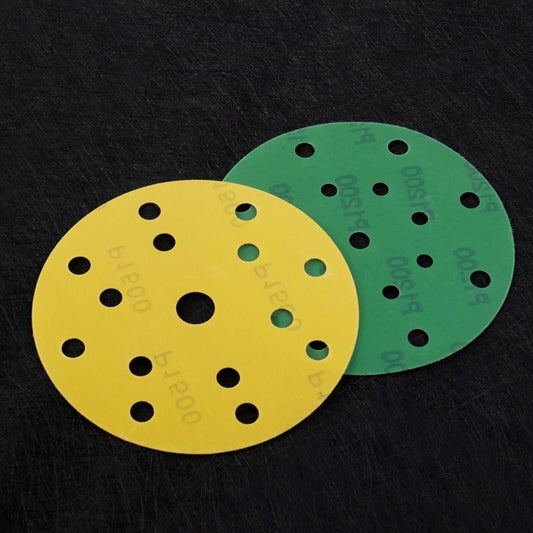
9. Use Mesh Sanding Discs
Mesh sanding discs, especially ceramic or aluminum oxide mesh, last longer and resist clogging better than traditional sandpaper. Their open mesh structure also allows for superior dust extraction when used with a vacuum sander.

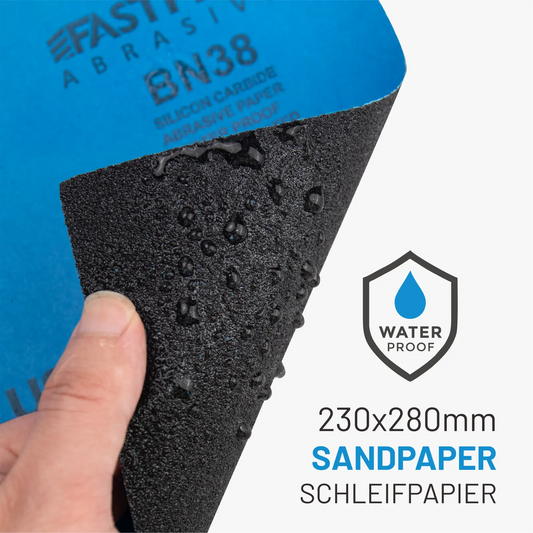
10. Dry vs. Wet Sanding
Wet sanding reduces heat buildup and prevents dust loading. Using waterproof sandpaper with water or lubricant (like soapy water or oil) minimizes friction and extends the paper’s life — especially when working on auto body, metal, or finishing coats.
11. Proper Sandpaper Storage
Keep your sandpaper flat, dry, and dust-free. Here are some storage tips:
- Store in a sealed container or drawer.
- Keep away from moisture or direct sunlight.
- Hang belts and discs when possible to avoid bending or creasing.
Moisture can cause curling, while extreme heat can break down the adhesive that holds abrasive grains in place.
12. Cut Only What You Need
If you’re using sandpaper sheets, cut only the amount you plan to use. Leaving the rest intact helps protect it from contaminants and keeps it usable longer.
For sandpaper rolls, consider cutting to length and storing the remainder in a sealed bag or box.

13. Use Power Tools Wisely
When using sanders, always follow the manufacturer’s speed settings for the type of paper you’re using. Running a sanding disc too fast generates excess heat and quickly burns out the abrasive.
If your sander offers variable speed, reduce it for fine finishing and increase it carefully for rough material removal — keeping an eye on temperature and loading.
Bonus Tips for Specific Sandpaper Types
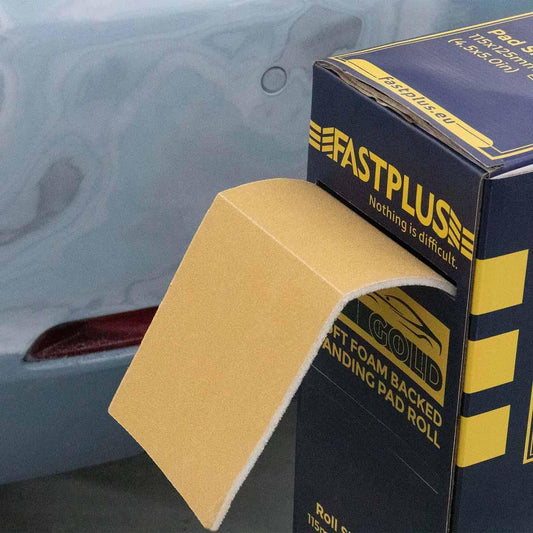
Foam-Backed Sanding Pads:
- Rinse with water after use.
- Dry thoroughly before reuse.
Hook & Loop Discs:
- Don’t rip them off too fast — this damages the hooks.
- Store them on clean, flat surfaces to maintain grip.
Sanding Belts:
- Use belt cleaner sticks often.
- Avoid twisting or crumpling during storage.
Conclusion
Making sandpaper last longer isn't just about saving money — it’s also about improving your workflow, getting better surface finishes, and reducing waste. By selecting the right type of sandpaper, using it properly, keeping it clean, and storing it correctly, you can dramatically increase its useful life.
With a little attention and a few best practices, you’ll get the maximum performance out of every sheet, roll, or disc — whether you're sanding wood, metal, paint, or plastic.