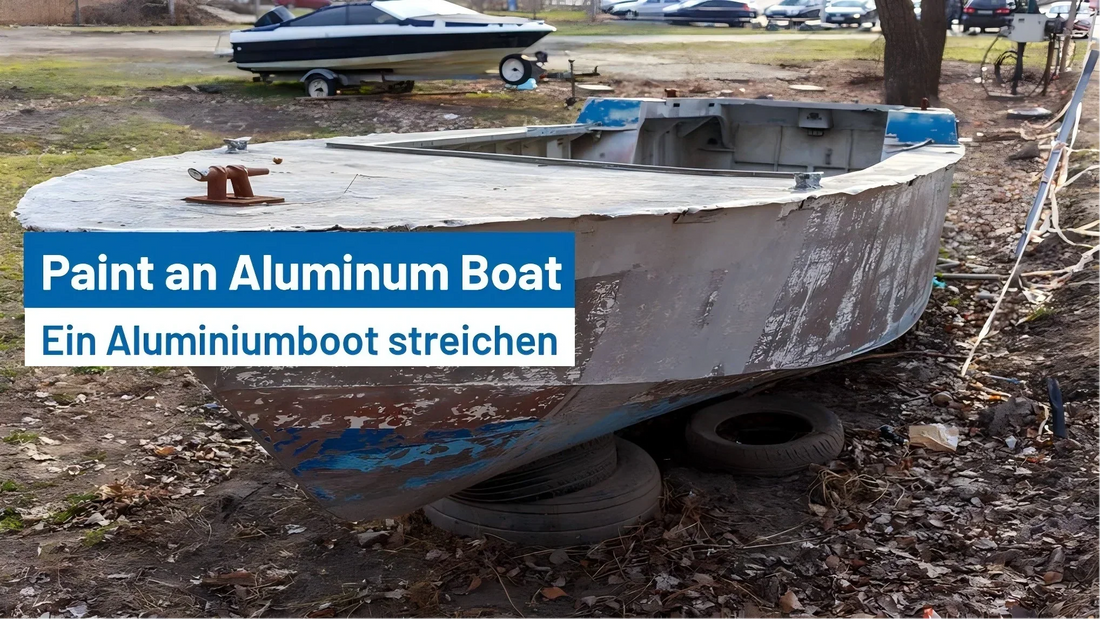
How to Paint an Aluminum Boat in 6 Simple Steps?
Painting an aluminum boat is one of the most effective ways to extend its lifespan, protect it from corrosion, and enhance its appearance. Whether you own a small fishing boat, a Jon boat, or a larger vessel, a proper paint job not only makes it look great but also improves durability in harsh environments like saltwater and freshwater.
If you’re planning to repaint or refresh your aluminum boat, you might feel overwhelmed by the process. Aluminum is not like wood or fiberglass—it requires specific preparation and coating methods to ensure paint adhesion and long-term results. Luckily, with the right tools, materials, and process, painting an aluminum boat can be straightforward.

This guide will walk you through six essential steps to painting aluminum boats, from preparation to finishing touches.
Step 1: Gather Materials and Tools
Before you start, make sure you have everything you’ll need. Using the right products ensures that the paint adheres properly and lasts for years.
Materials:
- Marine-grade paint (epoxy-based or polyurethane is best)
- Self-etching aluminum primer or epoxy primer
- Paint thinner (for cleanup and dilution, if needed)
- Painter’s tape and masking paper/plastic
- Drop cloths
Tools:
- Wire brush, sander, or grinder with abrasive pads
- Sandpaper (80–220 grit range)
- Paint sprayer, foam rollers, or high-quality paintbrushes
- Safety gear: gloves, goggles, respirator mask
- Cleaning supplies: degreaser, water, rags
When it comes to sanding and surface prep, many DIY boat owners prefer durable resin fiber discs, which cut through oxidation and old paint efficiently.
Step 2: Clean and Prepare the Surface
Preparation is the most important step when painting aluminum. If the surface isn’t properly cleaned and sanded, the paint won’t stick, and it will peel or bubble over time.
Cleaning process:
- Remove old paint: If your boat has an old, flaking coat of paint, strip it down using a wire brush or paint remover.
- Wash thoroughly: Use a strong degreaser or boat cleaner to remove oil, dirt, and grime. Rinse with clean water.
- Dry completely: Allow the boat to dry fully before sanding.
Sanding process:
- Use 80–120 grit sandpaper to scuff up the aluminum. This removes oxidation and creates a rough texture for the primer to grip onto.
- For larger surfaces, ceramic sanding discs can save time thanks to their long life and fast cutting action.
- Wipe away dust with a clean rag and acetone (or paint thinner).
Step 3: Apply Primer
Aluminum is notoriously difficult for paint to stick to, which is why primer is essential. A self-etching primer chemically bonds to aluminum, creating a strong base layer. Without it, your paint will peel quickly.
How to prime your aluminum boat:
- Mask off areas you don’t want to paint using painter’s tape and plastic sheets (like hardware, trim, or windows).
- Apply the primer evenly using a sprayer or foam roller. Thin coats work best.
- Let the first coat dry according to the manufacturer’s instructions (usually 30 minutes to 1 hour).
- Apply a second coat for added durability.
For corners or curved areas, a flexible sanding pad can be handy to smooth the surface before painting.
Step 4: Apply the Paint
Now comes the most exciting part—applying the paint. For aluminum boats, marine-grade epoxy or polyurethane paint is the best choice. These paints resist UV rays, corrosion, and scratches.
Painting process:
- Mix the paint thoroughly before use. If required, thin it slightly for easier spraying or rolling.
- Apply the first coat using your chosen method (sprayer for professional results, roller/brush for DIY ease).
- Allow the coat to dry completely—check drying times on the paint label.
- Apply 2–3 coats for even coverage and durability, sanding lightly between coats if needed.
Pro tip: Work in a shaded, dust-free area to avoid paint bubbles and debris sticking to the surface.
Step 5: Add Finishing Touches
Once the main paint job is done, you can add details and protective finishes:
- Topcoat/Sealant: Applying a clear coat of polyurethane adds shine and extra protection.
- Non-slip coating: For flooring and decks, add a non-slip marine coating to prevent accidents.
- Detail painting: Use small brushes for trim, interior accents, or custom designs (like camouflage or striping).
- Reattach hardware: Once the paint has cured, reinstall all boat fittings, handles, and accessories.
Small polishing discs are also useful here for smoothing out minor imperfections or for touch-up work.
Step 6: Allow Proper Curing and Maintenance
Painting isn’t finished until the paint is fully cured. Depending on the paint type, curing can take 7–14 days. During this time, avoid putting the boat in water or exposing it to heavy rain.

Maintenance tips to keep your paint job fresh:
- Wash your boat regularly with mild soap and water.
- Avoid abrasive scrubbers that can scratch the paint.
- Touch up scratches or chips immediately to prevent corrosion.
- Store the boat under cover when not in use to minimize UV damage.
Final Thoughts
Painting an aluminum boat may seem like a daunting project, but with the right approach, it’s a manageable DIY task. The key is to follow the six essential steps:
- Gather materials and tools.
- Clean and prepare the surface.
- Apply primer.
- Apply paint.
- Add finishing touches.
- Allow curing and maintain regularly.
By following this process, you’ll not only improve your boat’s appearance but also protect it from harsh marine environments. Whether you want a sleek new look, camouflage for hunting, or simply to restore an older boat, a proper paint job is an investment that pays off in performance, durability, and pride of ownership.
For sanding, prepping, and polishing, make sure to choose quality abrasives that save time and deliver smoother results. (You can find different options in our abrasive collection at Fastplus.eu).


