How to Refinish a Bathtub by Yourself: 9 Easy Steps
Bathtub refinishing offers a cost-effective solution to revitalize your bathroom without the expense and hassle of replacing the entire fixture. This process involves applying a new coating to the existing bathtub surface, restoring its appearance and functionality. In this blog, we'll walk you through each step of the process, from preparing the surface and cleaning the surface to applying the epoxy or refinishing kit. Get ready to transform your bathtub and give your bathroom a fresh, updated look!
Main Types of Bathtub Materials Suitable for Refinishing
Various types of bathtub materials are suitable for refinishing, each requiring specific techniques and products for optimal results:
- Porcelain Enamel: Porcelain enamel bathtubs are durable and commonly found in older homes. Refinishing involves cleaning the surface thoroughly and applying an epoxy coating designed for porcelain surfaces.
- Fiberglass: Fiberglass bathtubs are lightweight and affordable but prone to scratching and fading over time. Refinishing fiberglass involves repairing any cracks or damage, sanding the surface with sandpaper for fiberglass, and applying a specialized fiberglass refinishing kit.
- Acrylic: Acrylic bathtubs are popular for their glossy appearance and ease of maintenance. Refinishing acrylic involves cleaning the surface, sanding to create a rough texture for better adhesion, and applying an acrylic refinishing kit.
- Cast Iron: Cast iron bathtubs are known for their durability and classic appearance. Refinishing cast iron involves cleaning, sanding, and applying an epoxy coating or specialized enamel paint designed for cast iron surfaces.
- Steel: Steel bathtubs are similar to cast iron but lighter in weight. Refinishing steel involves the same steps as cast iron, including cleaning, sanding with sandpaper for metal, and applying an epoxy coating or enamel paint formulated for steel surfaces.
When to Refinish Your Bathtub
Knowing when to refinish your bathtub depends on several factors, including its condition, age, and your preferences. Here are some signs that indicate it might be time to refinish your bathtub:
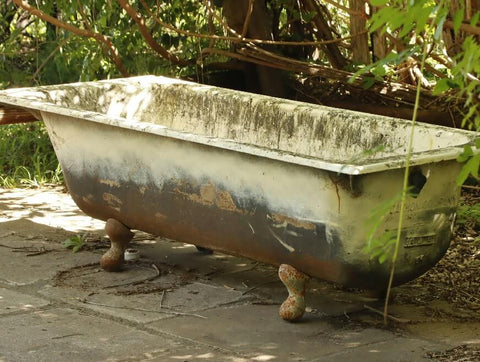
- Surface Damage: If your bathtub has scratches, chips, cracks, or other visible damage, refinishing can help restore its appearance and prevent further deterioration.
- Stains and Discoloration: Stubborn stains, discoloration, or yellowing of the bathtub surface that cannot be removed with regular cleaning may indicate the need for refinishing.
- Dull or Faded Finish: Over time, the finish of a bathtub can become dull or faded, making it look worn and outdated. Refinishing can revive the shine and luster of the bathtub surface.
- Rust or Corrosion: If you notice rust spots or signs of corrosion on your bathtub, refinishing can help seal and protect the surface, preventing further rusting and extending the lifespan of the bathtub.
- Outdated Style: If your bathtub is in good condition but has an outdated color or style that doesn't match your aesthetic preferences, refinishing allows you to update the look without the cost of replacement.
- Renovation Projects: Refinishing your bathtub can be part of a larger bathroom renovation project, helping to create a cohesive and updated look for the entire space.
Instructions
1. Cleaning the Bathtub Surface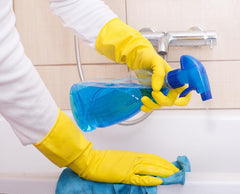 First things first, make sure it's super clean. Pick a good cleaner like trisodium phosphate (TSP) or one made just for bathtubs. Don't use anything too strong, though, or it might mess up the surface. Spread the cleaner generously, especially on those yucky spots, and let it chill for a bit to break down the dirt. Then, softly scrub the tub with a gentle sponge or pad, especially focusing on those tough areas like around the drain. Rinse it all off really well with water and make sure it's completely dry before moving on. Remember, a squeaky-clean tub is key for getting that perfect finish when you refinish it!
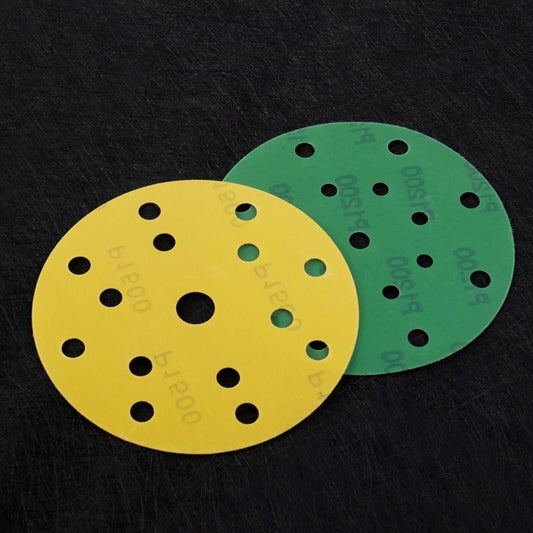
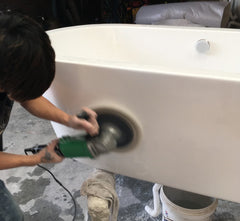 Now it's time for sanding, a super important step. Grab some medium-grit sandpaper (400 grit or 600 grit) and gently sand the whole surface. This roughens it up a bit, helping the new stuff stick better. Smooth out any bumps, scratches, or uneven spots for a nice, even finish. Just go easy on the pressure so you don't mess up the bathtub.
3. Removing old finishes and imperfections
Make sure your bathtub is totally clean before you start refinishing. Get rid of any old finishes and imperfections. Use a bathtub refinishing stripper as directed by the instructions. Spread it on evenly, let it sit to loosen up the old stuff, then carefully scrape it away with a putty knife. Keep at it until the surface feels nice and smooth.
4. Wiping away dust and debris
Once you're done sanding and getting rid of the old stuff, it's time to clean up. Wipe down the bathtub surface really well to get rid of any dust and junk. Use a damp cloth and make sure to hit all the nooks and crannies. Let it dry completely before you start refinishing to get that polished, professional look.
5. Applying a Bonding Agent or Etching Solution
This part is really important when refinishing your bathtub. It sets up a solid base for the new finish by making sure it sticks well. Follow the instructions from the manufacturer closely. Spread the solution evenly with a brush or applicator to cover everything well. Let it soak in for 10-15 minutes to really bond with the bathtub material. This step is crucial for making sure the finish stays put and lasts long, so be careful and follow all the safety rules.
6. Applying Epoxy or Refinishing KitWhen you're refinishing your bathtub, using epoxy or a refinishing kit is super important. Follow the instructions from the manufacturer carefully to mix and put it on evenly, covering everything nicely. Take your time and work in small sections with a paintbrush or sprayer. Let each coat dry completely before moving on. This step not only makes your bathtub look brand new but also adds a protective layer to make it last longer. Paying attention to all the little details is key to getting that professional finish.
7. Sanding Between Coats for a Smooth Finish
After the first coat of epoxy or refinishing solution dries, you've got to do some sanding. It's super important for making sure the surface is nice and smooth. Use fine-grit sandpaper to gently sand away any bumps or rough spots that might've popped up during application. This step is all about getting that even surface ready for the next coat, so your bathtub looks totally pro.
8. Evaluating the Need for Additional CoatsOnce you've finished sanding, take a good look at your bathtub to see if it needs more coats of epoxy or refinishing solution. Check for any areas that still look uneven or where you can still see the original surface. If needed, put on more coats following the same steps as before. Let each coat dry completely before sanding and adding the next one. This way, you make sure everything's covered well and looks smooth all over.
9. Curing and Clean UpHere's the last step in refinishing your bathtub. Let the final coat of epoxy or solution sit and cure according to the instructions for a strong finish. Once it's cured, take off any masking materials, tidy up the area, and dispose of any leftover stuff properly. Check your newly refinished bathtub to see if there are any spots that need touching up. With everything cured and cleaned up nicely, your bathtub will be good to go and look awesome for years to come.
FAQ
How much does bathtub refinishing cost?
The cost of bathtub refinishing varies depending on factors such as the bathtub's size, condition, and the chosen refinishing method. On average, DIY bathtub refinishing kits range from $50 to $200, while professional refinishing services can cost between $300 to $800 or more.
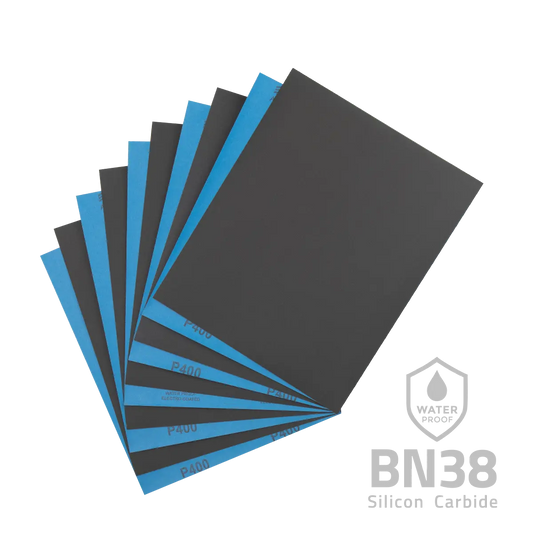
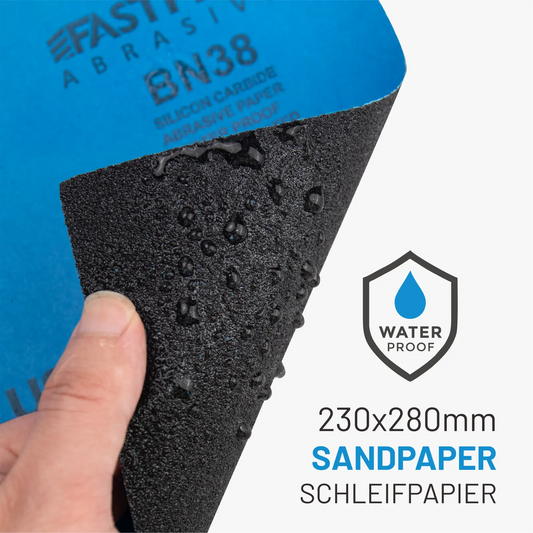
Are there specific types of sandpaper recommended for bathtub refinishing?
While there are various types of sandpaper available, it's essential to use sandpaper specifically designed for wet or dry sanding, depending on your refinishing method. Additionally, consider using sandpaper with a waterproof backing to prevent deterioration when wet sanding.
Is bathtub refinishing safe?
When done properly and with appropriate safety precautions, bathtub refinishing is generally safe. However, refinishing products contain chemicals that can emit strong fumes, so proper ventilation and personal protective equipment (PPE) are essential. Follow all manufacturer instructions and safety guidelines to minimize risks.
How soon can I use my bathtub after refinishing?
The curing time for the refinishing products varies depending on the specific products used. In general, it's recommended to wait at least 24 to 48 hours before using the bathtub. Be sure to check the manufacturer's instructions for the recommended curing time and any other usage restrictions.