How to Remove Scratches from Car Paint with Wet Sanding?
Car scratches are an unfortunate part of vehicle ownership. Whether it’s a light scuff from a bush or a deeper mark from a careless door ding, scratches on car paint are not only unsightly but can also reduce the value of your vehicle. Fortunately, with the right tools and careful technique, you can wet sand a scratch out of car paint and restore your vehicle’s smooth, glossy finish.
In this guide, we’ll cover everything you need to know—what wet sanding is, how it works, what tools to use, and the step-by-step process. We’ll also introduce two professional-grade sanding products to help you achieve the best results possible.

What Is Wet Sanding?
Wet sanding is the process of smoothing a vehicle’s clear coat using high-grit sandpaper combined with water. The water acts as a lubricant and cooling agent, reducing friction and preventing heat damage. Wet sanding removes a very thin layer of the clear coat, allowing you to level out imperfections like scratches, oxidation, or texture.
However, this method is only suitable for surface-level clear coat scratches. If the scratch penetrates into the color layer or primer, you’ll need to repaint or use touch-up paint.
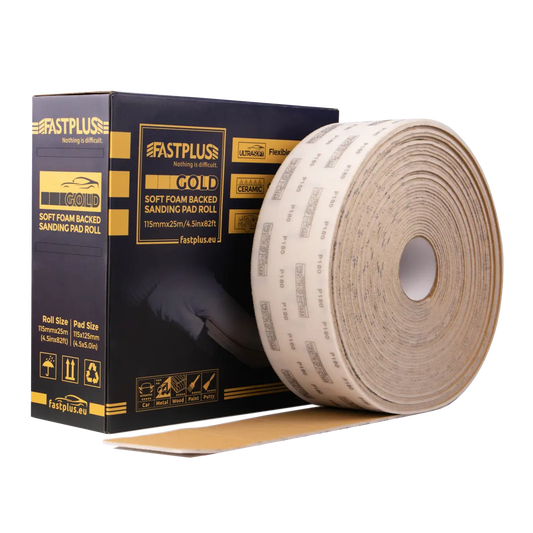
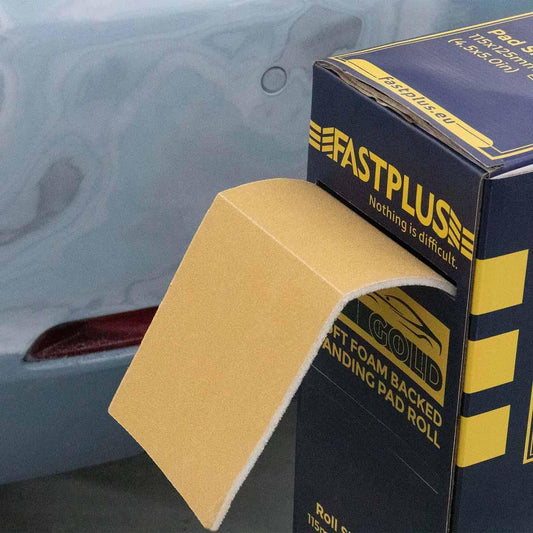
Tools & Materials You’ll Need
Before you begin, prepare the following tools:
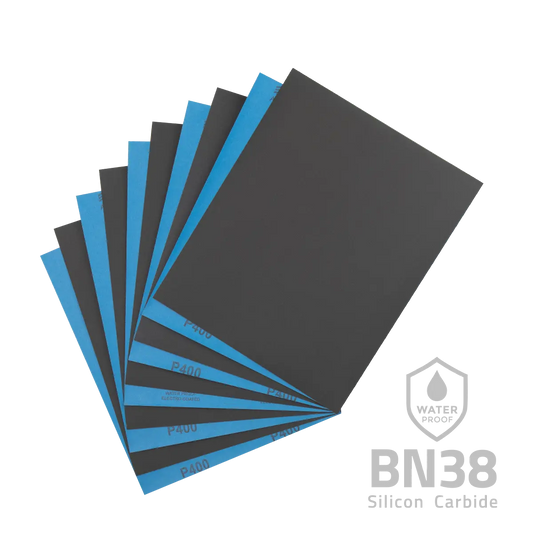
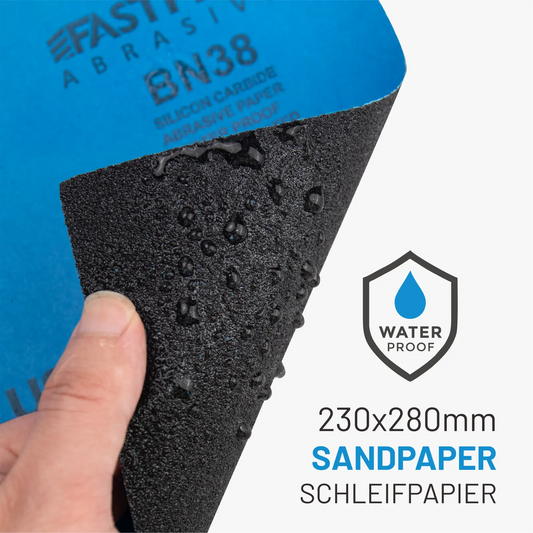
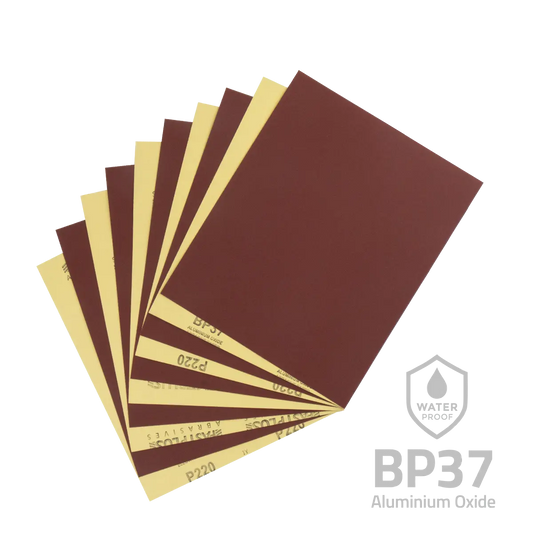
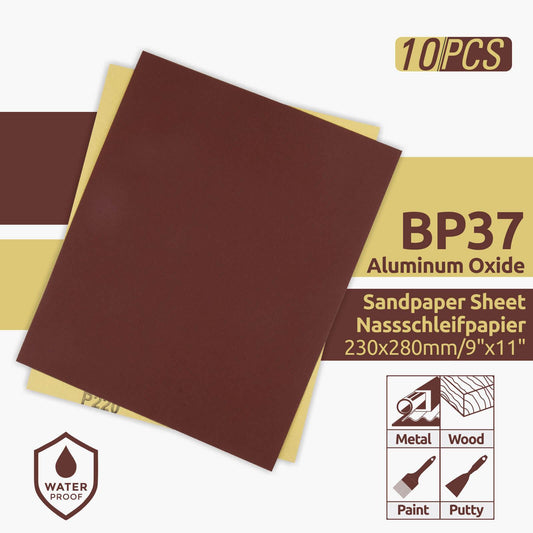
- Automotive-grade sandpaper (1000 to 3000 grit)
- Sanding block or soft foam pad
- Spray bottle with water and a few drops of soap
- Microfiber towels
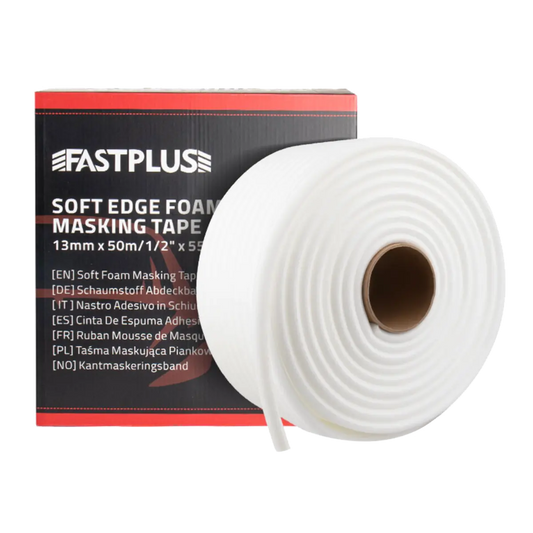
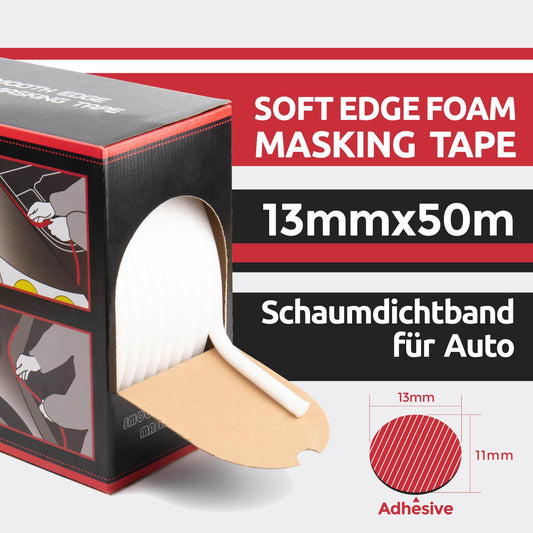
- Masking tape
- Polishing compound
- Dual-action (DA) polisher or hand applicator
- Car wax or sealant
Recommended Products:
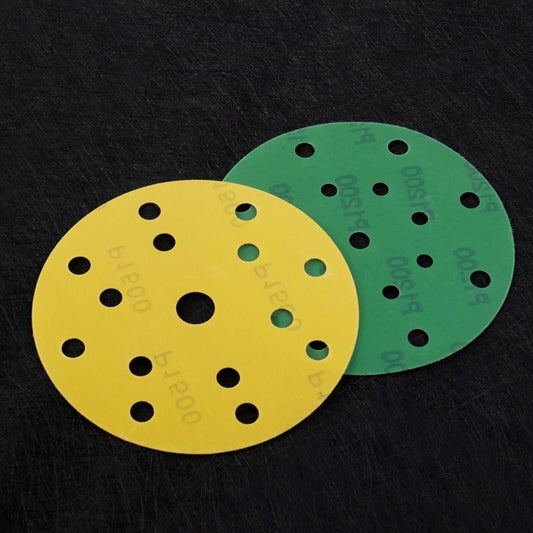
✅ Film Sanding Discs Ceramic Velcro 150mm 15 Holes – Purple
✅ FLEXPRO Fine Finishing Foam Discs
Steps to Wet Sand a Scratch Out of Car Paint
Follow these detailed steps to safely and effectively wet sand a scratch from your car’s paint without causing further damage.
Step 1: Inspect the Scratch
Before proceeding, determine whether the scratch is suitable for wet sanding. Gently run your fingernail over the scratch:
- If your nail doesn’t catch: safe to wet sand.
- If it catches slightly: proceed cautiously.
- If it digs in: the scratch is likely too deep for sanding and may need repainting.
Step 2: Clean and Mask the Area
Wash your car thoroughly with soap and water. Remove all dirt, debris, or wax from the scratched area. After drying, wipe the area with isopropyl alcohol or a panel wipe to ensure it's clean.
Use masking tape to isolate the area you're working on and protect nearby trim or undamaged paint.
Step 3: Start With 1000 or 1500 Grit Sandpaper
Soak the sandpaper in water for 10–15 minutes before use. This prevents scratching and softens the abrasive.
Wrap it around a soft sanding block and begin sanding in straight, overlapping strokes. Keep the surface and the sandpaper constantly wet.

For more uniform and efficient sanding, try using the Film Sanding Discs Ceramic Velcro 150mm 15 Holes – Purple. These ceramic abrasive discs feature a tough film backing and multiple dust extraction holes for cleaner work. They cut fast, last long, and are perfect for sanding down clear coat surfaces with precision and consistency.
Use light pressure and regularly check your progress. The goal is to remove just enough clear coat to level the surface around the scratch—not to reach the color layer beneath.
Step 4: Move to Finer Grits (2000–3000)
After reducing the scratch visibility with 1000–1500 grit, move on to finer grits like 2000 and 3000. This step helps remove any sanding marks left by the coarser abrasives and prepares the surface for polishing.
You can also use a foam interface pad during this stage to conform to curves and reduce the chance of sanding through edges.
Continue to keep the surface wet and use consistent, even pressure.
Step 5: Rinse and Inspect
Rinse the area with clean water and dry it with a microfiber towel. At this stage, the scratch should be gone, but the area may look dull or hazy due to the fine sanding marks—this is normal and will be corrected during polishing.
Inspect the area under good lighting to ensure the scratch has been effectively removed before proceeding.
Step 6: Polishing
Once sanding is complete, it’s time to restore gloss and clarity to the paint.
Apply a small amount of polishing compound to a DA polisher with a foam pad, or use a microfiber applicator by hand. Work the product in overlapping passes at low to medium speed.
To achieve a high-gloss finish, we recommend using the FLEXPRO Fine Finishing Foam Discs. These ultra-fine foam discs are ideal for post-sanding refinement and finishing polish stages. With grits like P2000 to P5000, they smooth out any micro-scratches and enhance shine while reducing the risk of holograms or swirl marks.

Continue polishing until the surface regains its original gloss. You may need to follow up with an ultra-fine finishing polish for best results.
Step 7: Final Clean and Wax
Once polishing is done, clean off any remaining residue with a microfiber cloth.
To protect the newly restored area, apply a high-quality carnauba wax or synthetic paint sealant. This provides a layer of UV protection and repels dirt and contaminants.
Be sure to wax the entire panel to maintain an even appearance.
Bonus Tips for Best Results
- Always test on an inconspicuous area first.
- Avoid sanding edges or body lines where paint is thinner.
- Keep everything well-lubricated—never sand dry.
- Use good lighting to track your progress.
- Take your time—rushing increases the risk of mistakes.
Common Mistakes to Avoid
- Using too coarse a grit: This can cause deep marks that are hard to remove.
- Applying too much pressure: This can sand through the clear coat.
- Skipping grit levels: Each grit removes marks from the previous one.
- Not polishing thoroughly: Skipping polish leaves a dull, hazy finish.
- Not sealing with wax: The surface will be unprotected and prone to damage.
When to Call a Professional
Wet sanding is a great DIY option, but if:
- The scratch reaches the base coat or primer,
- You’re unsure about sanding technique,
- Your vehicle has expensive or custom paint,
…it’s best to let a professional handle the repair.
Conclusion
Wet sanding a scratch out of car paint can seem intimidating at first, but with patience, the right tools, and proper technique, it’s entirely achievable for a DIY enthusiast. The key lies in preparation, choosing the correct grit sequence, and being meticulous with each step—from sanding to polishing to sealing.
Not only can this method restore the appearance of your car, but it can also save you hundreds of dollars in repair costs. Whether you’re a car enthusiast or simply want your vehicle looking its best, learning how to wet sand scratches is a valuable skill that pays off.
So next time you spot an annoying surface scratch, don’t panic. Arm yourself with some sandpaper, a polishing compound, and a bit of elbow grease—you’ll have that paint looking brand-new in no time.