How to Resurface a Bowling Ball: A Comprehensive Guide
Over time, the surface of a bowling ball can become worn down, leading to decreased hook potential, reduced lane traction, and ultimately, lower scores. Just like maintaining the engine of a car, regularly tending to your bowling ball's surface ensures it operates at its peak potential, allowing you to achieve your best game every time you step onto the lanes.
Signs Your Bowling Ball Needs Resurfacing

Loss of hook potential: One of the telltale signs that your bowling ball may need resurfacing is a noticeable decrease in its hook potential. If you find that your ball isn't reacting as aggressively as it used to or isn't hooking as sharply down the lane, it could indicate that the surface texture has become worn down or compromised. Resurfacing can help restore the surface texture, allowing the ball to grip the lane more effectively and regain its hook potential.
Poor lane traction: Another indicator that your bowling ball may need resurfacing is poor traction on the lane. If you notice that your ball is sliding excessively or skidding unpredictably, it could be due to a lack of friction between the ball and the lane surface. This can occur when the surface texture of the ball becomes too smooth or glazed over, hindering its ability to grip the lane and hook properly. Resurfacing the ball can help roughen up the surface texture, providing better traction and allowing for more consistent ball motion.
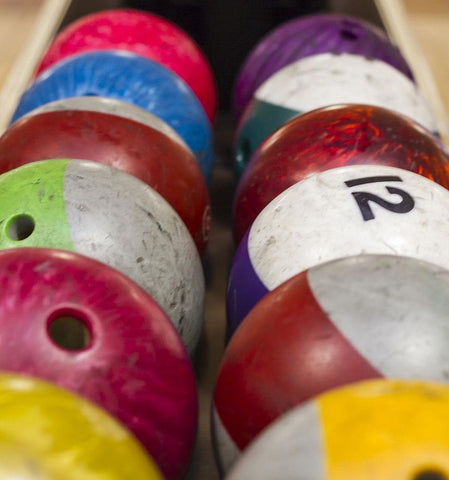
Visible scratches or dents: Visible scratches, dents, or other surface imperfections on your bowling ball are clear signs that it may be time for resurfacing. These imperfections can disrupt the flow of the ball down the lane, causing irregular ball motion and affecting overall performance. Resurfacing involves sanding down the surface of the ball to remove these imperfections and restore a smooth, uniform surface texture, ensuring optimal performance on the lanes.
Decreased performance compared to when the ball was new: Finally, if you notice a significant decrease in performance compared to when the ball was new, it could indicate that the surface texture has deteriorated over time and needs to be restored through resurfacing. This could manifest as a decrease in pin carry, inconsistent ball reaction, or difficulty hitting your target consistently. By resurfacing the ball, you can rejuvenate its surface texture and regain the performance characteristics that made it effective when it was new.
Tools and Materials Needed for Resurfacing
- Sanding discs with various grits
- Ball spinner
- Abrasive cleaner
- Towels or cloths
- Protective gear (e.g., gloves, goggles)
Step-by-Step Guide to Resurfacing
Step 1. Cleaning the ball surface:
Start by thoroughly cleaning the surface of the bowling ball to remove any dirt, oil, or debris that may have accumulated. Use a mild detergent or specially formulated bowling ball cleaner and a clean, damp cloth to wipe down the entire surface of the ball, paying special attention to the finger holes and thumb holes.
Step 2. Determining the desired surface texture:
Before you begin the resurfacing process, it's essential to determine the desired surface texture for your bowling ball. Consider factors such as lane conditions, your bowling style, and personal preference. Matte surfaces offer more traction on oily lanes, while shiny surfaces provide less friction for a smoother hook motion. Once you've decided on the desired surface texture, you can proceed with the resurfacing process accordingly.
Step 3. Setting up the ball on the spinner:
Securely mount the bowling ball on the spinner using the appropriate fixtures or adapters. Make sure the ball is centered and securely fastened to prevent it from shifting or wobbling during the resurfacing process. Adjust the spinner speed and direction as needed, following the manufacturer's instructions for optimal results.
Step 4. Rough Sanding:
Use a 220 grit sanding disc to get rid of that old stuff, oil, and scratches on the ball. First, set up the ball on a spinner, nice and centered, and make sure it's snugly fastened. No wobbling is allowed during sanding! Now, switch on the spinner and press gently on the sanding pad while it moves against the ball. Keep the pad moving smoothly across the ball's surface, covering it all. Keep at it until the ball looks smooth and perfect.
Step 5. Smooth Sanding:
Once the rough sanding's done, go for that finer touch. Grab a 320 grit sanding disc and repeat the process, just like before, covering every inch of the ball. Next up, the 400 grit disc, then the 1000 grit disc. Each step makes the ball smoother and better. Remember, keep the pressure and motion steady for a nice, even finish all over the ball.
Step 6. Checking surface smoothness and consistency:
Take breaks while sanding to check how smooth and even the ball's surface is. Just run your fingers over it to feel for any bumps or weird bits, and take a good look to see if it's all the same. Keep sanding until it's smooth, even, and totally perfect.
Step 7. Polishing the ball surface:
Once you've achieved the desired surface texture, it's time to polish the bowling ball to enhance its appearance and further improve performance. Apply a small amount of bowling ball polish to a clean, dry cloth and gently buff the surface of the ball in circular motions. Continue polishing until the ball surface shines and feels smooth to the touch.
Step 8. Final inspection and testing:
After completing the resurfacing and polishing process, perform a final inspection of the ball to ensure that the surface texture is uniform and free of imperfections. Test the ball on the lanes to gauge its performance and make any necessary adjustments to the surface texture or finish.
Tips and Tricks
Maintain Consistent Pressure: When sanding the bowling ball, it's crucial to maintain consistent pressure to ensure uniformity in the surface texture. Avoid applying too much pressure, as it can lead to uneven sanding and potentially damage the ball. Instead, use a light and steady hand to achieve the desired results.
Utilize a Ball Spinner (Optional): Using a ball spinner can significantly improve the resurfacing process by providing a more even finish. The spinner rotates the ball at a controlled speed, allowing for consistent sanding and polishing across the entire surface. While a ball spinner is optional, it can make the resurfacing process more efficient and effective, especially for achieving a smooth and uniform finish.
Check for Roundness: After each sanding stage, take a moment to check the ball for roundness. Uneven sanding or excessive material removal can cause the ball to become irregular in shape, affecting its performance on the lanes. Use a ball spinner or roll the ball on a flat surface to ensure that it maintains its round shape throughout the resurfacing process.
Avoid Over-Sanding: Over-sanding the bowling ball can have detrimental effects on its performance, such as reducing hook potential or altering its reaction on the lanes. To avoid over-sanding, periodically check the surface texture of the ball during the resurfacing process and stop sanding once the desired finish is achieved. It's better to err on the side of caution and under-sand slightly than to risk over-sanding and compromising the ball's performance.
Final Thought
In conclusion, resurfacing your bowling ball is essential for maintaining peak performance on the lanes. By restoring the surface texture, you can improve hook potential, traction, and overall consistency. We encourage you to try resurfacing your own balls, following the detailed guide and tips provided. Remember to take your time and pay attention to detail for successful results. Feel free to reach out with any questions or feedback—happy bowling!


