How to Sand Boat Teak?
Teak is a prized wood in the marine world—strong, durable, and naturally resistant to water and pests. However, even the most premium teak decking or furniture on your boat will weather and lose its golden hue over time. If you want to restore that classic teak look or prep it for sealing, sanding is the key.
Sanding teak may sound simple, but without the right technique and materials, you can do more harm than good. Let’s walk through the right way to sand teak on your boat, so you protect its longevity and natural beauty.
Why Sand Boat Teak?
Before we dive into the “how,” let’s cover the “why.” Teak naturally weathers into a silver-gray tone due to sun and salt exposure. This isn’t a bad thing—some boaters even prefer the aged look. However, if you want a refreshed, golden appearance or plan to apply teak oil or sealant, sanding is a must.

Benefits of sanding teak include:
- Removes dirt, algae, mold, and old finishes
- Restores the original warm color
- Prepares the surface for oil, varnish, or sealants
- Levels out surface imperfections
Tools and Materials You’ll Need
Sanding teak can be done manually or with power tools. Here’s a checklist of recommended items:
Essential Tools:
- Sanding blocks
- Orbital or palm sander (optional for large areas)
- Vacuum or brush for dust removal
- Protective gloves and goggles
Recommended Sanding Products:
-
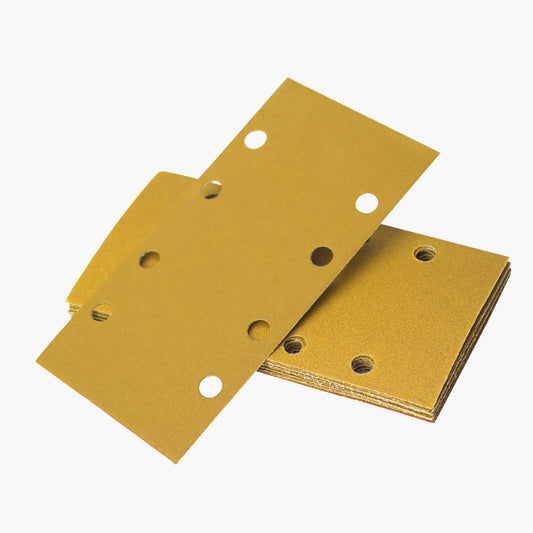
Mesh Sanding Discs
These offer excellent dust extraction and clog resistance—perfect for teak's oily grain. -
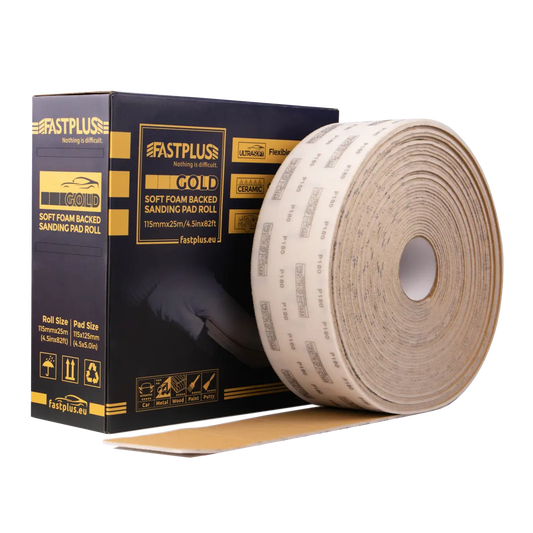
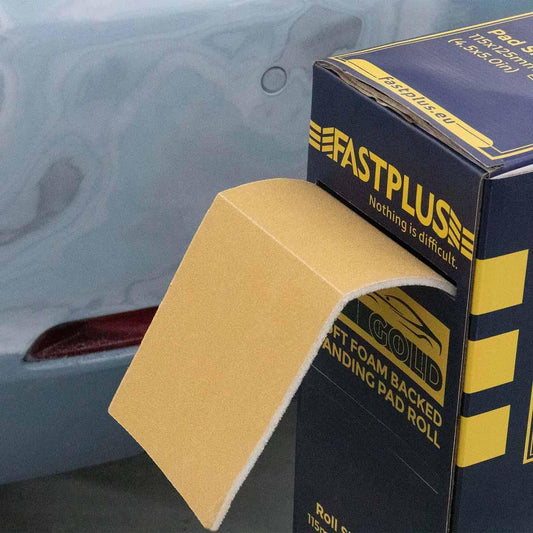
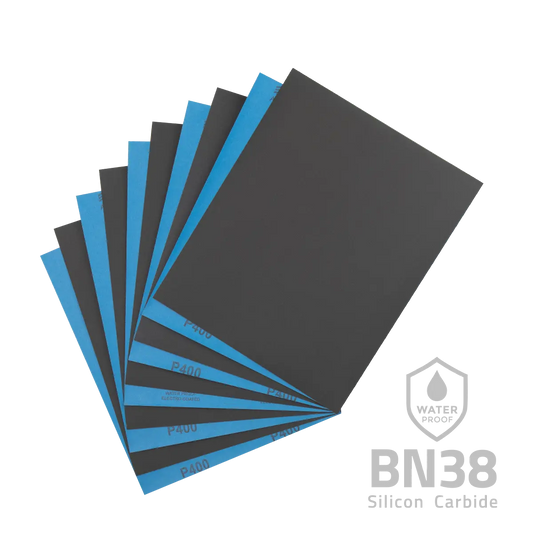
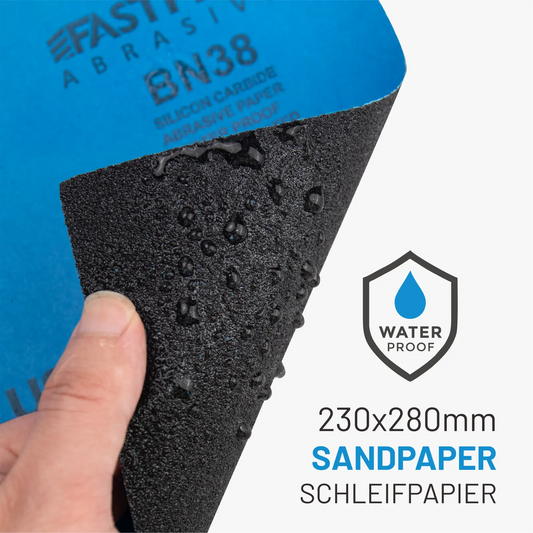
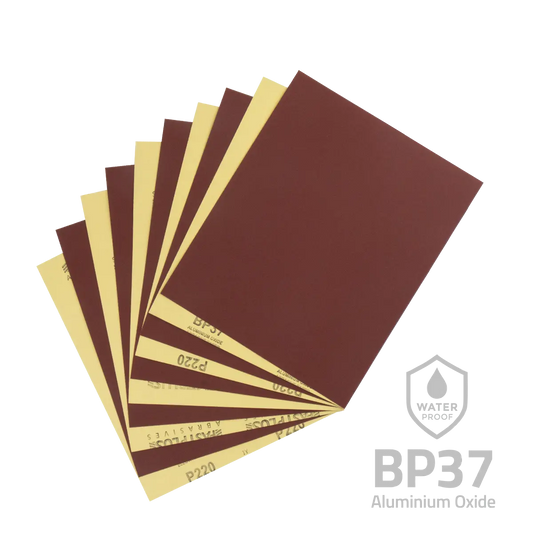
Sandpaper Sheets or Rolls
Use medium grits like P80 to P120 to start and finer grits like P180 or P220 for finishing. -
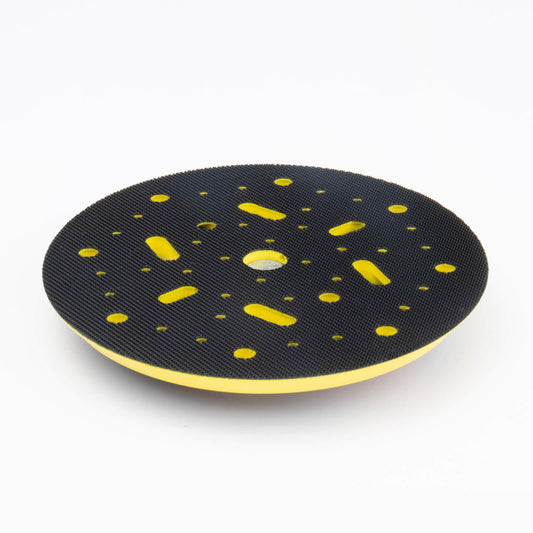
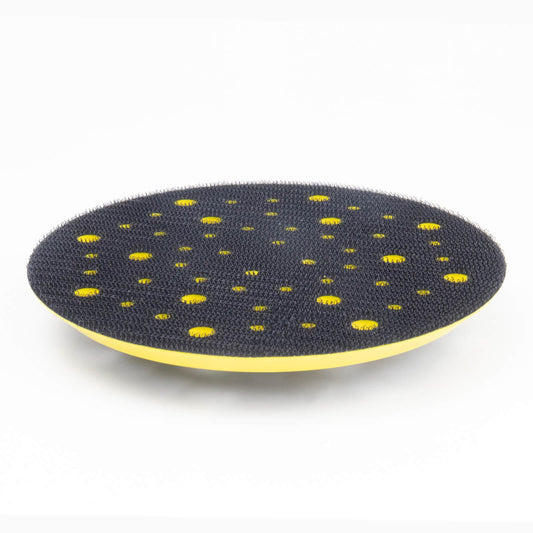
Foam Polishing Discs
Ideal for final polishing and giving teak a smooth, clean finish.
Step-by-Step Guide to Sanding Boat Teak
Step 1: Clean the Surface
Before you begin sanding, thoroughly clean the teak. Use a mild boat soap and a soft brush to remove salt, mildew, and surface dirt. Avoid using harsh teak cleaners right before sanding as they may weaken the grain.
Let the teak dry completely before you start.
Step 2: Choose the Right Grit
Choosing the right grit is critical for avoiding damage.
- For heavily weathered teak: Start with P60-P80 grit
- For moderately aged surfaces: Start with P100-P120 grit
- For routine maintenance or prepping for oiling: Start with P150-P180 grit
Avoid using sandpaper that's too coarse as it can gouge the wood fibers. Our FastPlus sanding discs and sheets are available in a wide grit range to match each stage.
Step 3: Start Sanding
 Manual Sanding (Best for Small Areas)
Wrap a sheet of P120 aluminum oxide sandpaper around a sanding block. Always sand with the grain of the teak, never across it. Sanding against the grain can tear the soft wood fibers and leave scratches.
Power Sanding (For Decks and Large Surfaces)
Attach a FastPlus mesh sanding disc to a random orbital sander with a dust extraction port. This keeps the sanding clean and reduces clogging. Use light, even pressure—let the sander do the work. Start with a medium grit, then work your way up to a finer one.
Avoid over-sanding! Teak is valuable and has limited thickness—especially on veneered areas.
Step 4: Check Your Progress
Pause regularly to assess the teak. Once you’ve removed discoloration and the surface is even, wipe away the dust with a damp microfiber cloth.
Switch to a finer grit like P180 or P220 for the next pass. This ensures a smoother finish and prepares the surface for oil or polish.
Step 5: Final Finish with Foam Disc (Optional)
For a luxury finish, use a finishing foam disc to gently polish the teak surface. This step is especially useful if you’re not planning to apply oil or sealant and want a naturally smooth surface. Foam discs conform well to curved areas like railings or seat trim.
Step 6: Clean Again
Use a vacuum or soft brush to remove all sanding dust from the area. Teak’s pores can trap dust, so a thorough clean ensures a better bond if you’re applying oils or sealants later.
Step 7: Apply Finish (Optional)
After sanding, you may choose to:
- Leave teak bare for a natural weathered look
- Apply teak oil for a golden glow
- Use teak sealant for UV and stain protection
- Apply marine varnish for a shiny, protective coating
Make sure to follow the manufacturer’s guidelines and apply finishes in thin, even coats.
Pro Tips for Sanding Teak Like a Pro
Here are some quick tips from experienced boat restorers:
- Never use belt sanders – they’re too aggressive for teak
- Avoid wet sanding – teak’s natural oils don’t mix well with water during sanding
- Vacuum as you go – sanding teak can clog abrasives quickly; mesh sanding discs help extend life
- Don’t round edges too much – preserve the original shape of planks or trim
- Test a small area first – especially when using power tools or finishes for the first time
How Often Should You Sand Boat Teak?
There’s no hard rule, but as a general guideline:
- Full sanding: Every 1-3 years depending on sun and salt exposure
- Light maintenance sanding: Every 6–12 months if oiled or sealed teak
Remember, teak is a finite resource. Over-sanding will reduce its life, especially on thin decking veneers. Only sand when necessary.
Why Choose Our Sanding Products for Boat Teak?
At FastPlus Sandpaper Store, we offer premium-quality abrasives designed to work efficiently with hardwoods like teak.
Our Top Recommendations:

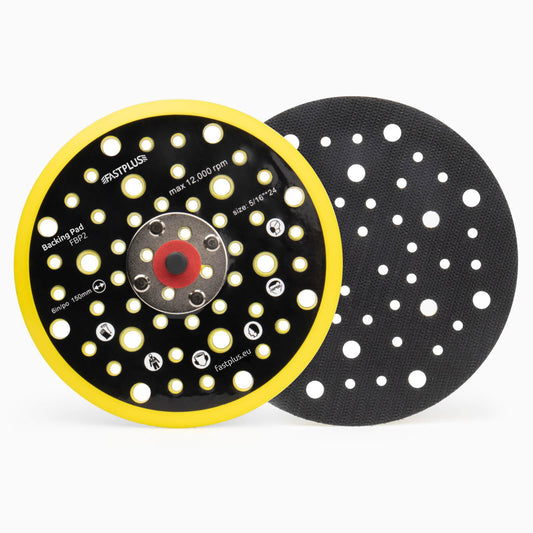
🔹 Net Mesh Sanding Discs 150mm – P80 to P320
High dust extraction, minimal clogging—ideal for boat decks and steps.
🔹 Aluminum Oxide Sandpaper Sheets – P60 to P600
Durable and flexible—great for sanding tight corners and trim by hand.
🔹 Foam Polishing Discs
For a smooth, even finish before sealing or oiling.
All our products are tested for consistency and long life—essential when working on high-value surfaces like boat teak.
Conclusion
Sanding boat teak is more than just a cosmetic fix—it’s a key part of responsible boat maintenance. Done properly, it can restore beauty, improve safety (non-skid areas), and extend the lifespan of your teak investment.
By following the steps outlined in this guide and choosing the right abrasives for the job, you can tackle teak sanding with confidence—whether you're maintaining your deck, refinishing seats, or touching up trim.