

Professional Way to Sand Drywall
Sanding drywall is one of those tasks that separates a truly polished finish from an amateur-looking wall. Whether you're patching a hole or finishing a whole room, knowing how to sand drywall like a pro ensures a smooth surface that's ready for painting or wallpapering.
In this guide, we’ll walk you through the entire process—step-by-step—from preparation to clean-up, with practical advice that avoids common pitfalls and leads to flawless results.
Why Sanding Drywall Matters
Once you've taped the seams and applied joint compound (mud), your walls may look smooth at a glance—but underneath the surface lie ridges, lines, and imperfections. Sanding blends these areas seamlessly into the surrounding drywall.
Without proper sanding, you’ll likely see bumps, grooves, or visible joint lines after painting. Taking the time to sand correctly ensures a flat, smooth, and professional finish.
How to Sand Drywall Like a Pro
Sanding drywall may seem straightforward, but doing it the right way can make all the difference in achieving a smooth, professional-looking finish. Let’s start with the basics.
Step 1: Let the Joint Compound Fully Dry
Before you even pick up a sanding tool, ensure your joint compound is completely dry. This typically takes 24 hours per layer, depending on the compound used and room conditions.
Attempting to sand damp compound not only clogs your sandpaper instantly but can also create deep gouges and require rework.
Step 2: Choose the Right Sandpaper or Abrasive
Choosing the right abrasive is critical for an efficient and even result.
- Medium Grit (120–150): Ideal for the initial sanding pass to level the surface.
-
Fine Grit (180–220): Best for finishing, feathering, and creating a polished surface before priming.

For large areas, sandpaper rolls or mesh sanding discs are useful. Mesh abrasives are especially effective when paired with a vacuum sander, allowing for nearly dust-free work.
In corners or tight spaces, sanding blocks or handheld sanding sponges give you better control and reduce the chance of over-sanding.
Step 3: Mark Imperfections First
Use a pencil and a bright light to scan the drywall surface. Mark areas with visible lines, bumps, or tool marks.
This step helps you avoid over-sanding already smooth areas and ensures a consistent surface across the wall.
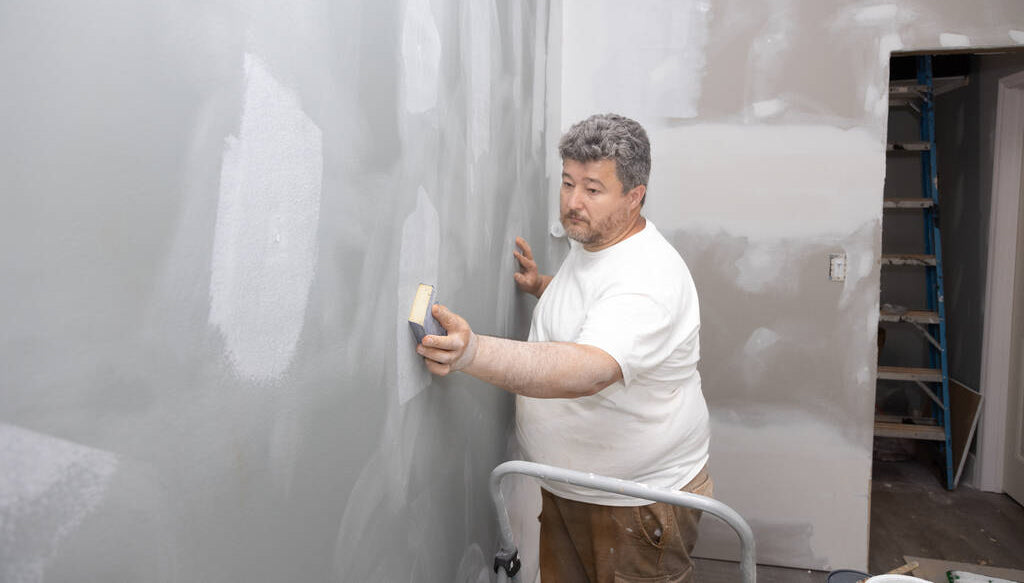
Step 4: Sand Corners and Edges by Hand
Corners are the trickiest part of drywall sanding. Using a foam sanding pad or fine-grit sandpaper sheet wrapped around a block works best.
Sand lightly—too much pressure can tear or expose the drywall tape. Keep the movement controlled and smooth.
If you're using a mesh abrasive here, it's even better, as it reduces dust buildup and prevents clogging.
Step 5: Use a Pole Sander for Large Areas
For walls and ceilings, a pole sander helps you reach higher areas while maintaining even pressure.
Attach a sanding sheet or mesh sanding disc to the pole, and sand in wide, overlapping strokes. Move the sander in a sweeping “X” pattern to avoid grooves and ensure even coverage.
Avoid pressing too hard—this is a common beginner mistake that can gouge the drywall and make seams stand out even more after painting.
Step 6: Feather the Edges
Sanding isn’t just about flattening the joint compound—it’s about blending. You want the edges of the compound to gradually disappear into the drywall.
Use fine-grit sandpaper or mesh discs for this phase. Pay attention to transitions between the compound and the surrounding wall. If you feel any lips or bumps when you run your hand over the surface, keep feathering them out.
Step 7: Final Touch-Ups
After the first sanding pass, inspect the surface again under good lighting. If you find any low spots or flaws, reapply a thin layer of compound, let it dry, and sand again using a fine abrasive.

For this phase, foam finishing discs or ultra-fine sandpaper sheets are ideal. They provide a soft sanding action that doesn’t leave swirl marks or scratch patterns—especially useful if you're preparing for a satin or semi-gloss paint.
Step 8: Clean Up the Dust
Drywall sanding produces ultra-fine dust that settles everywhere. Before painting, it's essential to remove this dust completely.
 Use a microfiber cloth, vacuum with a brush attachment, or a damp sponge to clean the walls. Skipping this step can lead to poor paint adhesion and an uneven finish.
If you’ve used mesh sanding discs with a vacuum system, you’ll have much less cleanup to worry about—another reason why many professionals prefer this setup.
Step 9: Prime Before Painting
Even if the wall looks perfect, never paint directly over bare drywall or joint compound. Priming helps seal the surface, enhances paint adhesion, and reveals any imperfections you may have missed.
Choose a drywall-specific primer for best results. Once the primer is dry, give the surface a final light pass with fine-grit sanding to knock down any raised fibers or primer texture.
Pro-Level Tips for Drywall Sanding
- Sand in natural light or with a side light: This helps you spot imperfections that overhead light may hide.
- Use new sandpaper often: Worn abrasives are less effective and may leave streaks or take longer to smooth the surface.
- Work clean: Periodically vacuum or wipe down the wall to prevent dust from scratching the surface as you sand.
- Mask off adjacent rooms: Drywall dust travels easily—seal off vents and doorways to keep it contained.
Common Mistakes to Avoid
Even experienced DIYers sometimes make mistakes. Here are a few to watch for:
- Over-sanding the joint: This can cause the paper tape to show through and may require reapplication.
- Skipping grits: Going from coarse to fine too quickly can leave swirl marks.
- Using the wrong grit: Starting with too low a grit can scratch the drywall surface.
- Poor cleanup before priming: This can lead to adhesion issues or a gritty paint finish.
Final Thoughts
Sanding drywall like a pro is all about technique, patience, and the right materials. You don’t need expensive equipment, but you do need to work methodically, use quality abrasives, and pay attention to detail.
With the proper process—from preparation and sanding to cleanup and priming—you’ll achieve walls and ceilings that are smooth, clean, and ready to showcase your final finish.
Want the best results? Shop our range of high-quality sandpaper, mesh sanding discs, and more—everything you need to sand drywall like a pro.


