How to Remove Sanding Scratches from Your Car?
So, you’ve been sanding your car—maybe prepping it for a paint job, or leveling out an old clear coat—and now you’re left with... sanding scratches. 😩 Don’t worry, you’re definitely not alone.
Whether you're a DIY car enthusiast or a detailer, sanding scratches are one of the most common (and annoying) surface issues. But the good news is — they're totally fixable with the right approach!
Let’s walk you through how to remove sanding scratches from your car, step by step — plus a few bonus tips to help you avoid them in the future.

What Are Sanding Scratches, and Why Do They Happen?
Sanding scratches are micro-grooves left in the paint or primer layer when using sandpaper, especially coarse grits. They’re usually caused by:
🔹 Skipping sanding steps (going from P320 straight to P2000, for example)
🔹 Using low-quality or worn-out abrasives
🔹 Applying too much pressure
🔹 Not using a sanding block or soft pad
🔹 Forgetting to lubricate when wet sanding
If not removed, these scratches can show through your final paint or clear coat — ruining an otherwise perfect finish. 😣
What You’ll Need to Remove Sanding Scratches
Before diving in, let’s gear up. You don’t need a body shop — just the right materials:
🛠️ Abrasives:
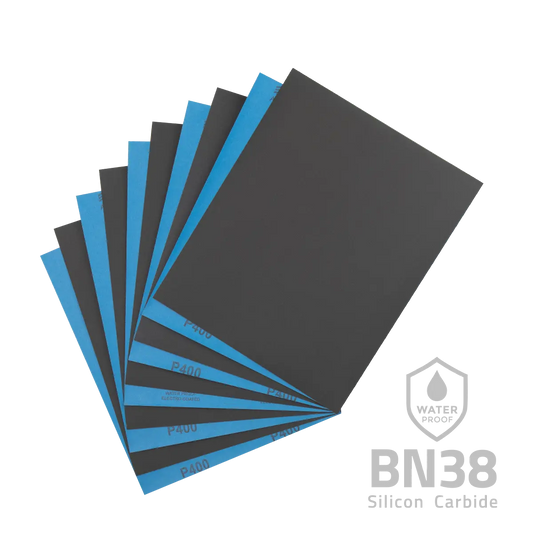
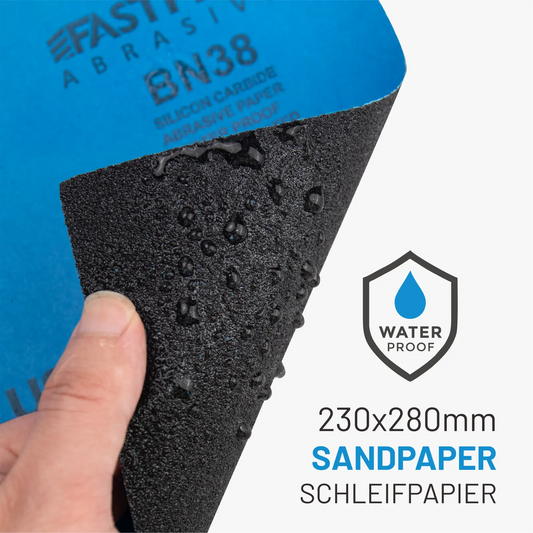
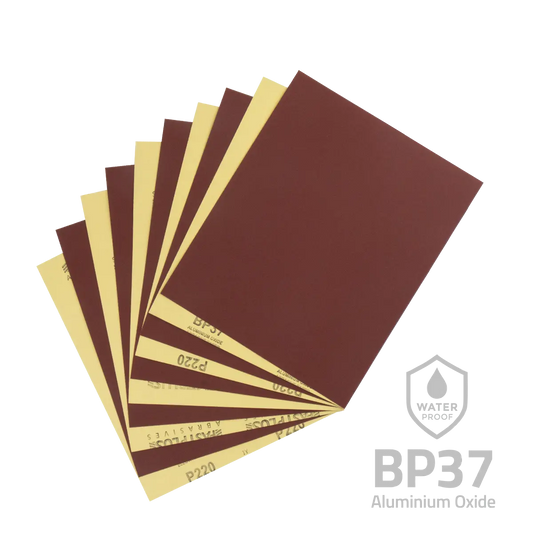
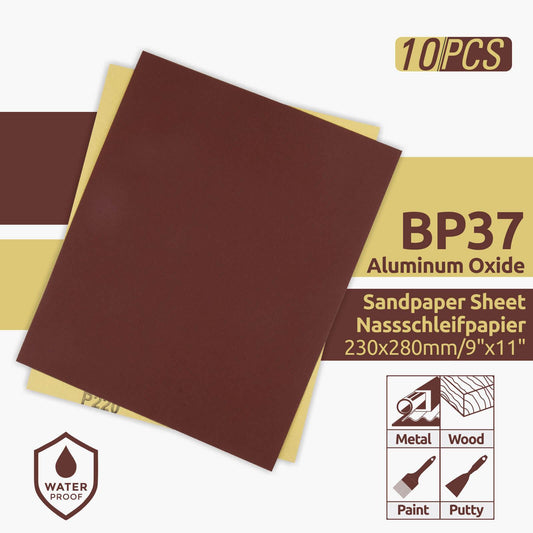
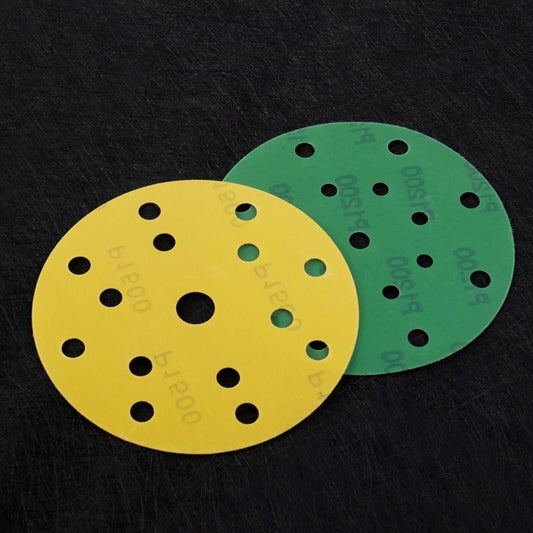
- Sandpaper sheets or rolls (grits from 1000 to 3000)
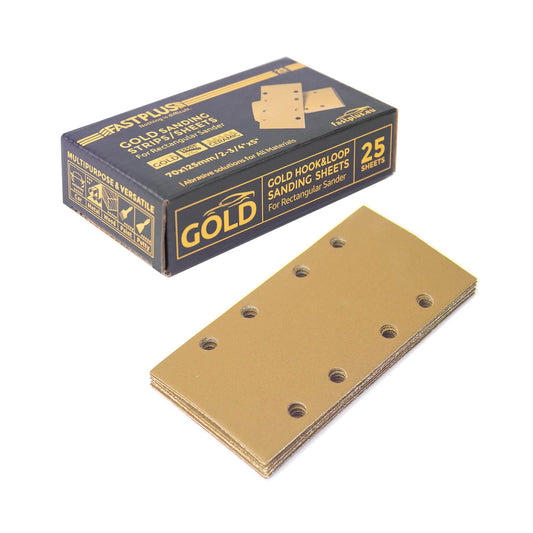
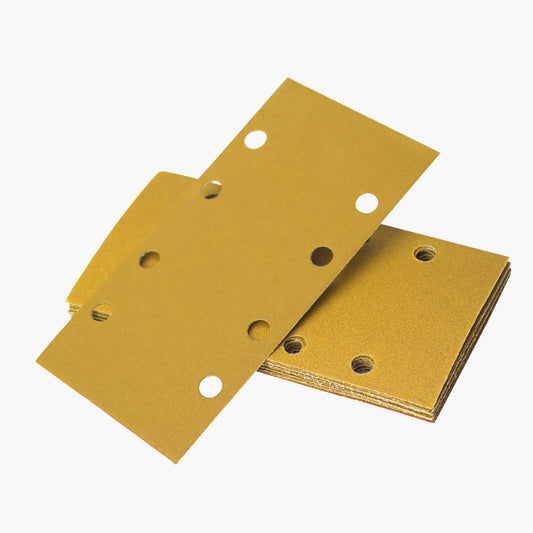
- Mesh sanding discs (for consistent, dust-free sanding)
- Finishing foam discs (to refine those final scratches)
🛠️ Tools:
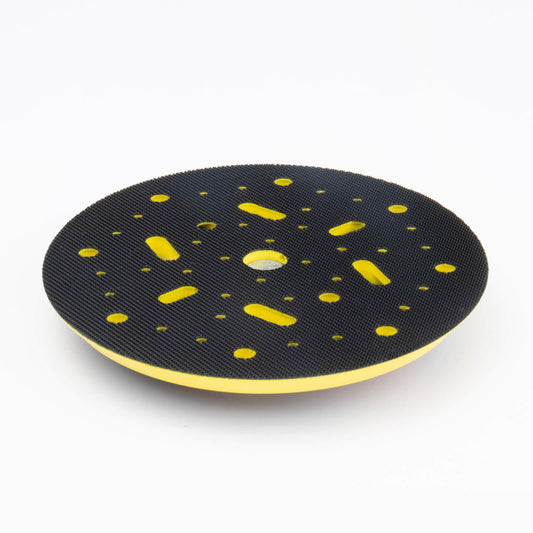
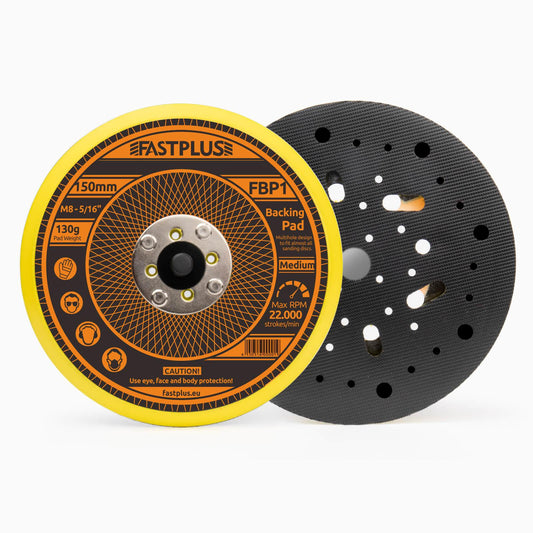
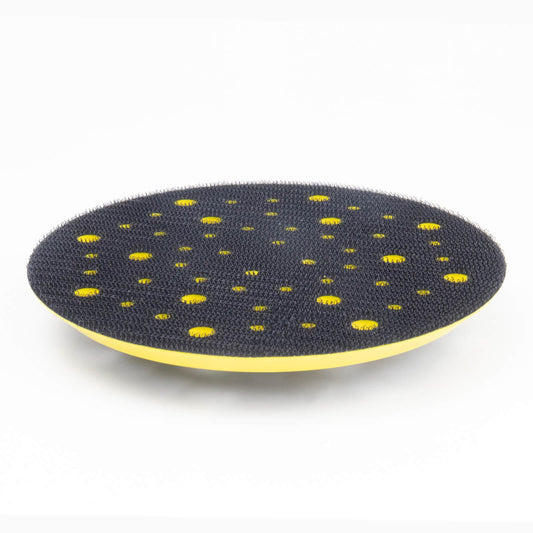
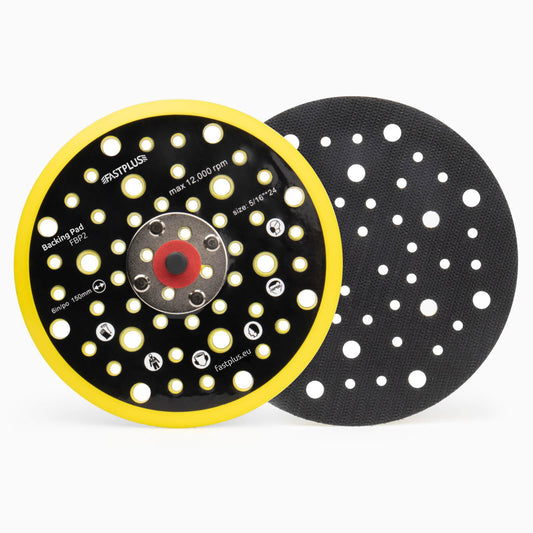
- Sanding block or interface pad
- Dual Action (DA) polisher (optional but helpful)
- Microfiber towels
🛠️ Compounds & Cleaners:
- Polishing compound
- Finishing polish
- IPA spray or surface cleaner
🪄 Step-by-Step: How to Remove Sanding Scratches from Your Car
✅ Step 1: Inspect the Surface
🕵️ Take a close look. Are the scratches deep? If you can catch them with your fingernail, you might need to go back to light sanding before polishing. If they’re just hazy marks — you're in luck, polishing alone might fix it.
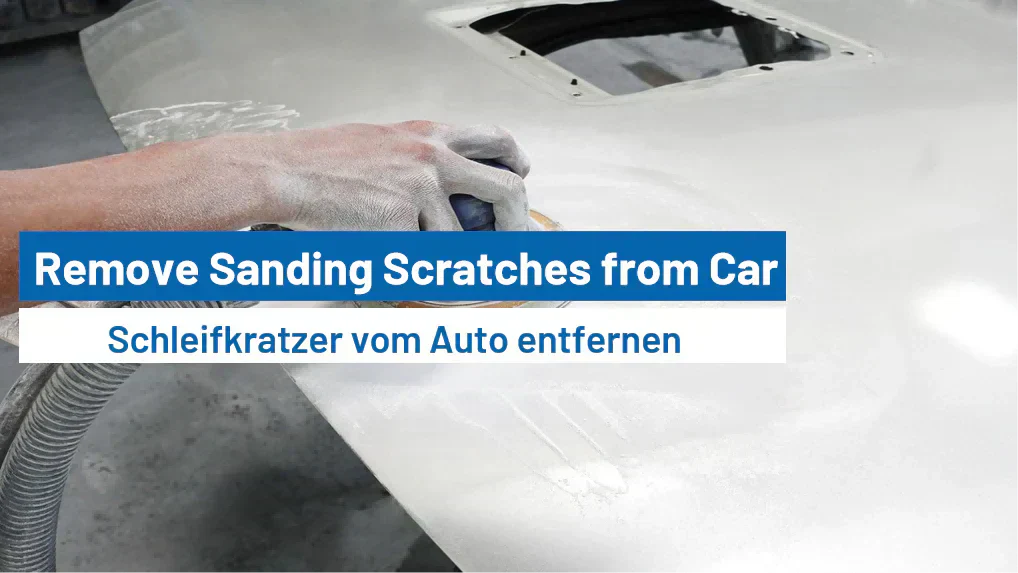
💦 Step 2: Wet Sand the Area (If Needed)
If you see deeper scratches, grab a finer sandpaper — start with P1500 or P2000, depending on how aggressive your previous sanding was.

Tips for this step:
💧 Soak your sandpaper in water for 10–15 minutes before use
🧽 Use a soft sanding block or foam pad to keep pressure even
↔️ Sand in one direction with light strokes
🌊 Keep the surface wet while sanding to prevent heat or damage
🔄 Work your way up to P2500 or P3000 grit for a smooth finish.
🧼 Step 3: Refine with Finishing Foam Disc
Now that you’ve reduced the heavier scratches, switch to a finishing foam disc — ideal for smoothing out micro-scratches before polishing.
🌟 Use a DA sander with low RPM
🎯 Light, overlapping passes — no heavy pressure
☁️ This step helps eliminate swirl marks and hazing
Bonus: Our foam discs come in ultra-fine grits — perfect for pre-polish refinement.
✨ Step 4: Polish the Area
Time to bring back the shine! Use a cutting polish followed by a finishing polish.
Polishing steps:
🔸 Apply compound to your foam pad
🔸 Use a DA polisher (or hand applicator for small spots)
🔸 Work in 2x2 ft sections with overlapping passes
🔸 Wipe off residue with a clean microfiber towel

For dark paint, you’ll notice a HUGE difference after just one round. Go over the area again with a softer polish if needed.
🔍 Step 5: Check Your Results
Inspect your surface under direct light (sunlight or LED). If you still see faint sanding marks:
🔁 Repeat polishing
🔄 Or go back one step in your grit sequence
Don’t forget to clean with an IPA or panel wipe to remove oils from the polish — they can hide remaining scratches.
Pro Tips to Prevent Sanding Scratches
🚫 Don’t skip grits. Always move gradually: e.g., P800 → P1000 → P1500 → P2000 → P3000
⚙️ Use mesh sanding discs for cleaner, more consistent results
🧽 Always use interface pads — they reduce pressure points and help blend edges
🧴 Wet sanding is your friend — it keeps everything cool and smooth
🌬️ Let your tools do the work — avoid heavy hand pressure
Our Recommended Products for a Flawless Finish
We’ve helped countless customers remove sanding scratches with our trusted range of abrasives.  Here's what we recommend from our store:
🔹 Mesh Sanding Discs – Great for dry sanding without clogging
🔹 Finishing Foam Discs – Perfect for that final smooth-down
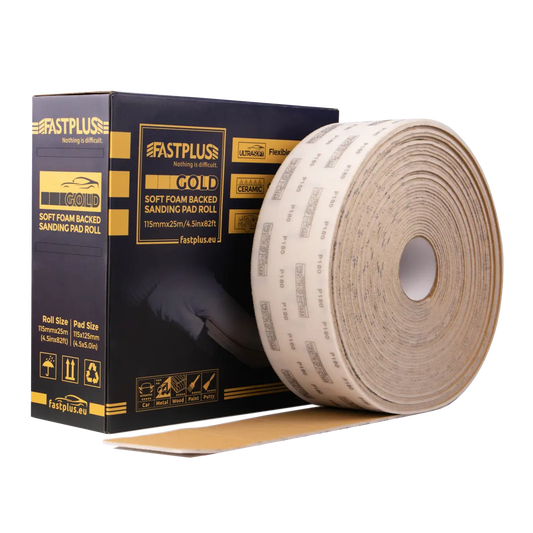
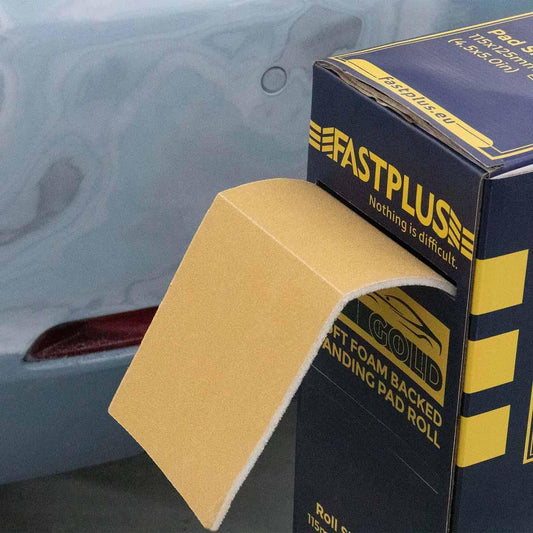
🔹 Sandpaper Rolls – Flexible and ideal for hand sanding curves
🔹 Dual Action Polishers – Make polishing fast and safe
🔹 Microfiber Towels – Soft, non-scratching, perfect for wiping compound residue
✨ Shop now and give your car the finish it deserves!
Final Thoughts
Sanding scratches may look intimidating, but with the right steps — wet sanding, refining, and polishing — you can restore a flawless finish to your car in no time. Whether you're preparing for paint or correcting old damage, these steps will help your ride shine like new. ✨
Want pro-level results?
Use high-quality abrasives, follow the right grit progression, and take your time. And remember — our store is here to provide you with the best sandpaper, discs, and foam pads for every stage of the job.
📦 Ready to fix those sanding scratches?
Browse our full range of car refinishing abrasives and tools in our shop. Fast shipping, quality you can trust!