
How to Repair Small Clear Coat Scratches and Chips at Home?
Although it is commonly believed that fixing clear coat damage necessitates a trip to an auto body shop, it is feasible to fix minor scratches and chips at home. This blog post will examine whether small clear coat scratches and chips can be fixed at home, as well as the necessary tools such as sandpaper for car paint, for completing the task.
How to Determine If the Damage Is Small Enough to Repair at Home?
Before attempting to fix car paint or repair clear coat damage at home, it is crucial to establish whether the damage is of a sufficiently diminutive size to be resolved using DIY methods.
To that end, there exist certain factors that require consideration during the assessment of the damage when learning how to fix car paint, including:
Size of the damage: Small clear coat scratches and chips are typically less than 1/4 inch in diameter. If the damage is larger than this, it may be difficult to achieve a seamless repair at home.
Depth of the damage: The depth of the damage is another important consideration when determining if clear coat damage can be fixed using DIY methods. If the scratch or chip is limited to the surface of the clear coat, it can usually be repaired at home using wet and dry sandpaper. However, if the damage has penetrated through the clear coat and affected the paint layer underneath, it may be necessary to seek professional assistance in order to obtain an optimal repair outcome.
Location of the damage: The location of the damage can also impact whether or not it can be repaired at home. Damage on flat, horizontal surfaces like hoods and trunks are easier to repair than damage on curved or vertical surfaces.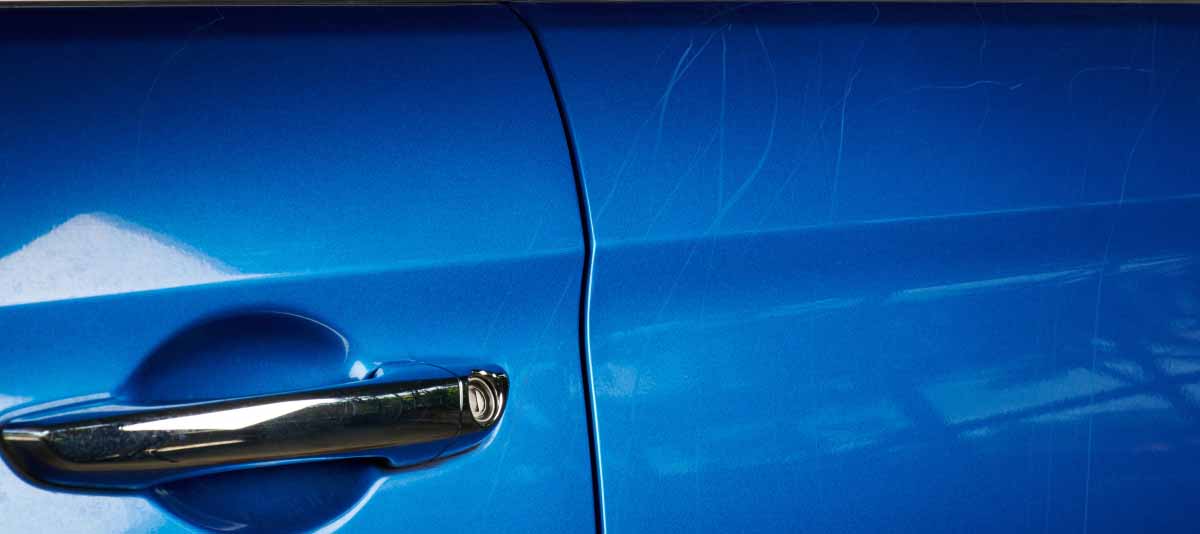
Your own skill level: If you are new to repairing clear coat damage, it is recommended that you start with a small scratch and work your way up to larger, more complex repairs. This will allow you to gain confidence and refine your skills before tackling more challenging repairs. Abrasive discs and other tools can also be helpful in achieving a professional-looking finish, but it's important to have the necessary skills and knowledge to use them properly.
Steps for Repairing Small Clear Coat Scratches and Chips at Home
If you've determined that the clear coat damage on your vehicle is small enough to repair at home, here are the steps to follow:
Step 1: Clean the affected area
Before proceeding with the repair process, it is essential to thoroughly clean the area surrounding the clear coat damage. Use soap and water to clean the area, rinse it with water, and dry it with a microfiber towel. It is crucial to ensure that the area is completely dry before moving on to the next step.
Step 2: Sand the damaged area
Use 1000 grit sandpaper or higher to carefully sand the damaged area until it is smooth to the touch. Ensure that you only sand the clear coat and not the underlying paint layer. After sanding, use a clean, dry microfiber towel to wipe away any dust.
Step 3: Apply rubbing compound
Using a clean microfiber cloth and Binictools, apply a small quantity of rubbing compound onto the affected area, and gently rub it in a circular motion. This compound is beneficial in eliminating any visible scratches or imperfections on the clear coat surface. Continue to rub the compound until the surface is smooth and has a shiny appearance.
Step 4: Apply clear coat
Apply a small quantity of clear coat to the damaged area using a fine-tip brush. It is crucial to follow the manufacturer's instructions and apply thin, even coats to prevent an uneven surface. Avoid applying excess clear coat, as this can lead to an uneven finish. Once the initial coat has been applied, wait for it to dry completely before adding more coats.
Step 5: Sand and polish the repaired area
After the clear coat has dried entirely, gently sand the repaired area with 2000 grit sandpaper to blend it with the surrounding area. Use a clean, dry microfiber towel to wipe away any dust. Following that, apply a small quantity of polishing compound onto a clean microfiber cloth and rub it onto the repaired area gently. Continue to buff the surface until it is smooth and has a shiny appearance.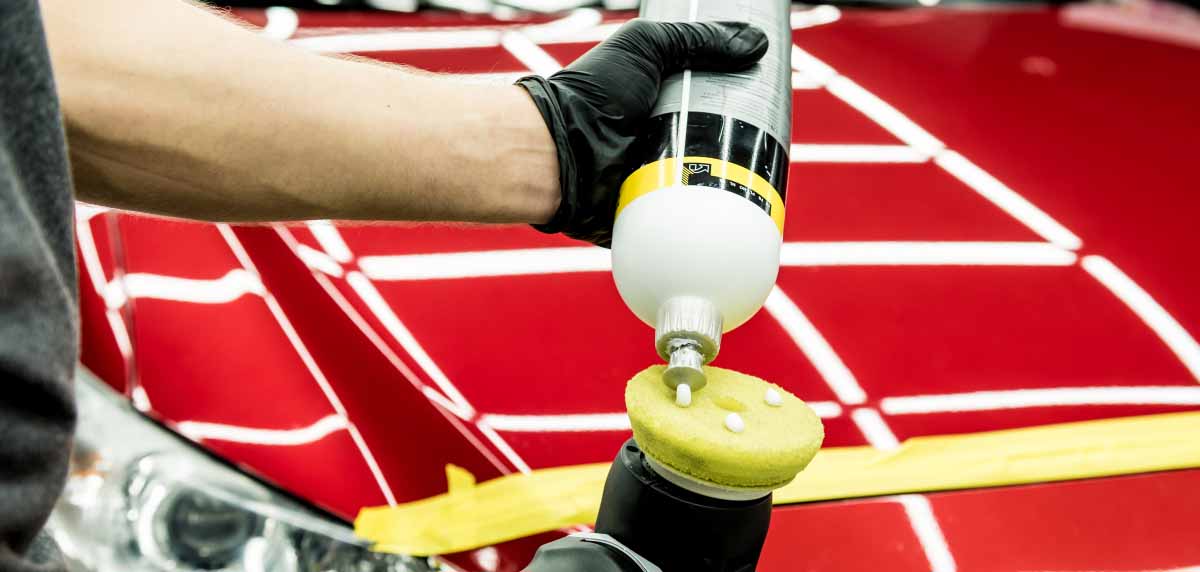
Step 6: Protect the repaired area
To safeguard the repaired area against future damage, apply a layer of wax or sealant. This process can also help to blend the repaired region more effectively with the surrounding surface, resulting in a more seamless repair.
Practical Tips for Achieving the Best Results
Repairing small clear coat scratches by yourself can be a cost-effective and rewarding experience. Here are some tips for achieving the best results when repairing small clear coat scratches and chips at home:
Use the right sandpaper: Choose 150mm sanding discs with a grit of at least 1000, but not higher than 3000. Sandpaper with a lower grit can cause too much damage to the surface, while sandpaper with a higher grit won't remove enough of the clear coat.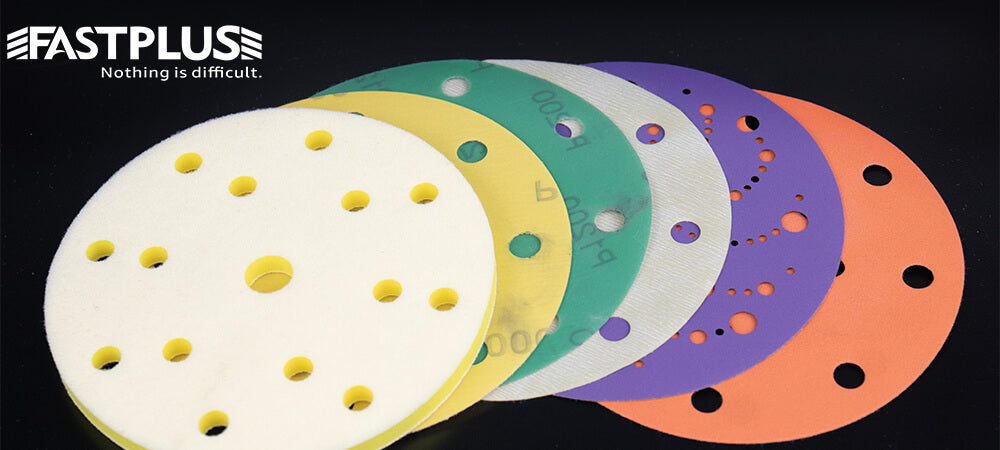
Apply the clear coat evenly: To achieve a smooth finish, it's important to apply the clear coat in thin, even layers. Use a fine-tip brush and apply several coats if necessary, allowing each layer to dry completely before applying the next.
Use the right polishing compound: Choose a polishing compound specifically designed for clear coat finishes. Some compounds may be too abrasive and can cause further damage to the surface.
Protect the repaired area: After completing the repair and using the necessary equipment such as 6 inch hook and loop sanding discs, apply a wax or sealant to the area to protect it from further damage. Avoid washing or exposing the area to harsh weather conditions for at least 24-48 hours to allow the clear coat to fully cure.
Avoid extreme temperatures: Do not attempt to repair clear coat damage in extremely hot or cold temperatures. This can affect the effectiveness of the repair materials and lead to an uneven finish.
Practice on a small and inconspicuous area first: Before attempting to repair larger areas of clear coat damage, practice using sanding sheet rolls on a small and inconspicuous area first to ensure you are comfortable with the process and can achieve the desired results.
Conclusion
With the right tools and approaches in mind, repairing clear coat scratches and chips at home can not only save you money but also offer a sense of satisfaction. By adhering to the step-by-step instructions and practical tips provided, it is possible to attain excellent outcomes and revive the visual appeal of your automobile. Get ready to give your car a new lease on life with these DIY tips!
Buy Fastplus Factory-Direct Abrasives
Want to purchase high-quality, factory-direct sanding discs, sanding rolls, and film abrasive discs for automotive applications? Try Fastplus Abrasives today and place your orders online! 


