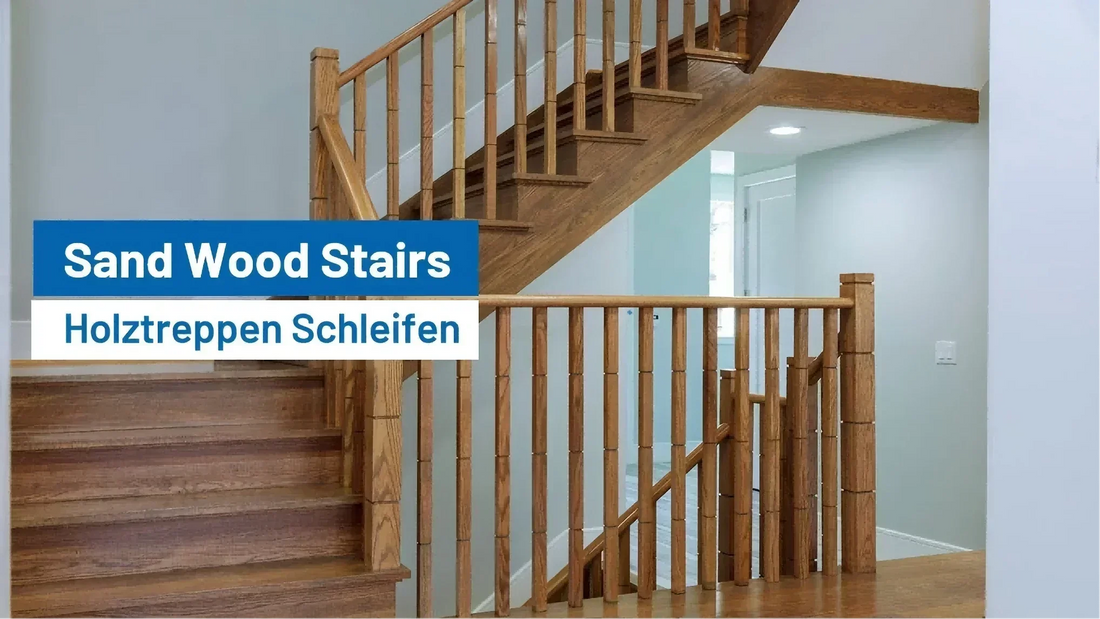
How to Sand Wood Stairs?
If you're planning to restore the natural beauty of your wooden staircase, sanding is a crucial first step. Whether you're refinishing painted stairs or prepping bare wood for stain or sealer, proper sanding will make all the difference in the final result. In this comprehensive guide, we’ll walk you through how to sand wood stairs the right way using the right tools—including sandpaper sheets, sanding discs, sandpaper rolls, and more.
Why Sanding Wood Stairs Matters

Wood stairs see a lot of traffic, making them prone to scratches, scuff marks, and general wear and tear. Sanding removes old finishes, smooths out imperfections, and prepares the surface for staining or painting. Without proper sanding, your finish might not adhere well, leading to blotchy results or premature wear.
Tools & Materials You’ll Need
Before you start, gather the necessary tools and materials:
Abrasives:
- Sandpaper Sheets (80, 120, 180 grit)
- Sanding Discs (for orbital sander, if applicable)
- Sandpaper Rolls (for edges and corners)
- Finishing Foam Discs (for ultra-smooth finish)
- Mesh Sanding Discs (optional, for dust-free sanding)
Equipment:
- Orbital sander or palm sander
- Detail sander (for corners and edges)
- Vacuum with brush attachment
- Tack cloth or microfiber cloth
- Knee pads and dust mask
Step-by-Step Guide: How to Sand Wood Stairs
Step 1: Prep the Area
Sanding can be messy, so preparation is key:
- Remove rugs, nails, or staples.
- Use painter’s tape to protect adjacent walls or railings.
- Close doors to prevent dust from spreading.
- Wear a dust mask and eye protection.
Step 2: Choose the Right Sandpaper Grit
Start with a coarse grit (60–80) to strip away old paint or varnish and level rough areas. Move to a medium grit (120) to smooth out scratches. Finish with a fine grit (180–220) to prep the surface for finishing.
Tip: Use FastPlus aluminum oxide sandpaper sheets for hand sanding and hook & loop sanding discs for machine sanding.
Step 3: Sand the Treads
Begin sanding the tread surfaces (the horizontal part you step on):
- Use an orbital sander with 80-grit sanding discs.
- Work with the grain of the wood in overlapping passes.
- Vacuum dust between grit changes.
- Repeat with 120 grit, then 180 grit for a silky finish.
Avoid pressing too hard—let the sander do the work.
Step 4: Sand the Risers
Risers are the vertical parts between each step. They're more visible from a standing position and should be smooth.
- Use a detail sander or sandpaper sheets folded to reach corners.
- For curved or ornate risers, a finishing foam disc used by hand can help you maintain even pressure.
Start with 120 grit, then move to 180 grit.
Step 5: Sand Edges and Corners
Corners and edges are tricky. That’s where sandpaper rolls and mesh sanding strips come in handy.
- Wrap sandpaper roll around a sanding block or use your hand for more control.
- Use flexible mesh sanding strips for fine detail work around spindles or trim.
- For intricate profiles, sanding sponges can be useful.
Step 6: Detail Sanding (Optional but Recommended)
For a high-end finish, spend time detail sanding:
- Use finishing foam discs or ultra-fine sandpaper (220+ grit).
- Buff rounded edges and transition zones where steps meet risers.
This ensures the finish won’t pool or look uneven when applied.
Step 7: Clean the Surface Thoroughly
After sanding:
- Vacuum all dust using a brush attachment.
- Wipe every step with a tack cloth to remove fine dust particles.
- Check under stair noses and corners where dust hides.
Clean surfaces lead to better finish adhesion and an even tone.
Tips for Sanding Painted or Stained Stairs
If your stairs were previously painted, it may require a more aggressive approach:
- Start with 60 grit to break through paint layers.
- Be cautious—too much pressure can gouge the wood.
If the stairs were stained, you might need to sand deeper to remove all pigment. Test after each grit level to see how much of the color remains.
Sanding New Wood Stairs
New wood may look smooth but still requires sanding to:
- Remove mill marks
- Open the wood grain
- Ensure better finish absorption
In this case, you can start at 120 grit and work up to 220 grit.
Common Mistakes to Avoid
- Skipping grits: Always progress through multiple grits. Jumping from coarse to fine can leave deep swirl marks.
- Using worn-out sandpaper: Dull abrasives generate heat and burnish the wood instead of sanding it.
- Sanding across the grain: This creates visible scratches that are hard to hide.
- Not vacuuming between stages: Dust clogs sandpaper and ruins finishes.
- Over-sanding edges: It’s easy to round off corners too much—maintain original shape.
Final Check Before Applying Finish
Before you move on to staining, painting, or sealing your stairs, take a few minutes for a final inspection:
- Run your hand over each tread and riser to feel for any rough spots.
- Shine a flashlight across the surface at an angle—this can highlight scratches or uneven sanding.
- Re-sand any trouble areas using fine grit sandpaper (180–220 grit).
- Double-check corners, stair nosings, and edges to ensure uniform smoothness.
Taking this extra step ensures your finish will lay down evenly and last longer. A staircase is a focal point in many homes—flawless prep makes for a beautiful, professional result.
Final Thoughts
Sanding stairs may take time, but the effort is worth it. With the right tools—especially high-quality abrasives—you’ll get a smoother surface, better stain absorption, and longer-lasting results. Whether you're restoring old stairs or prepping new ones, following the right technique will ensure your staircase looks stunning for years to come.

Need premium sandpaper or discs for your project? Visit our online store to explore our full range of FastPlus abrasive solutions, from sandpaper sheets to mesh sanding discs—we've got everything you need for professional results!


