A Comprehensive Guide to Sanding Veneer and Lacquer
Veneer is a thin layer of real wood or a similar material that adds various natural looks to furniture. Lacquer, a fast-drying coating, protects veneer while making it look richer. But to make these materials shine, sanding is super important for veneer and lacquer. It smooths out bumps, gets rid of flaws, and gets the surface ready for a perfect finish. But sanding veneer can be tricky. It's not as thick as solid wood and can get messed up easily if you're too rough. Sanding lacquer is different too. It's already dried and might be fragile.
This guide will give you all the info and skills you need to sand veneer and lacquer like a pro. We'll talk about what each material is like, what tools you'll need, and exactly how to sand properly.
Understanding Differences Between Veneer and Lacquer

Veneer and lacquer are both integral components in the realm of furniture making and refinishing, each serving distinct yet complementary roles. Understanding the differences between these two materials is essential for achieving the desired results in any woodworking project:
Veneer:
Veneer, as mentioned earlier, is a thin layer of wood that is used to cover the surface of furniture. It is available in a variety of species, grains, and finishes, allowing for endless design possibilities. One of the key differences between veneer and solid wood is its flexibility and adaptability to curved or irregular surfaces, making it an ideal choice for intricate designs.
When it comes to sanding veneer, special care must be taken due to its thin and delicate nature. Unlike solid wood, which can withstand more aggressive sanding techniques, veneer is susceptible to damage if not handled properly. Therefore, sanding veneer requires a gentle touch and the use of finer grit sandpaper to avoid sanding through the thin veneer layer.
Lacquer:
Lacquer is like a transparent or colored coating that you put on furniture to make it look better and keep it safe from harm. Unlike veneer, which adds texture to wood, lacquer makes things smooth and shiny. It brings out the natural beauty of the wood's grain.
Sanding lacquer is super important if you want a perfect finish and to make sure the next layers stick well. But unlike sanding veneer, you can be a bit tougher when sanding lacquer. It can handle a bit more pressure without getting messed up.
Sanding Veneer

Sanding veneer is a crucial step in the furniture refinishing process, requiring attention to detail and careful execution to achieve optimal results. Here's a comprehensive guide to sanding veneer:
Work Environment:
It's essential to work in a well-ventilated area with adequate lighting to ensure visibility and air circulation. Proper ventilation helps dissipate dust and fumes generated during the sanding process, while good lighting allows for better accuracy and precision.
Getting Ready:
Before you start sanding, make sure the veneered surface is super clean. Get rid of any dust, dirt, or other stuff that might get in the way of sanding. A clean surface helps the new finish stick better and stops any bumps or bits from getting stuck under it.
Sanding by Hand:
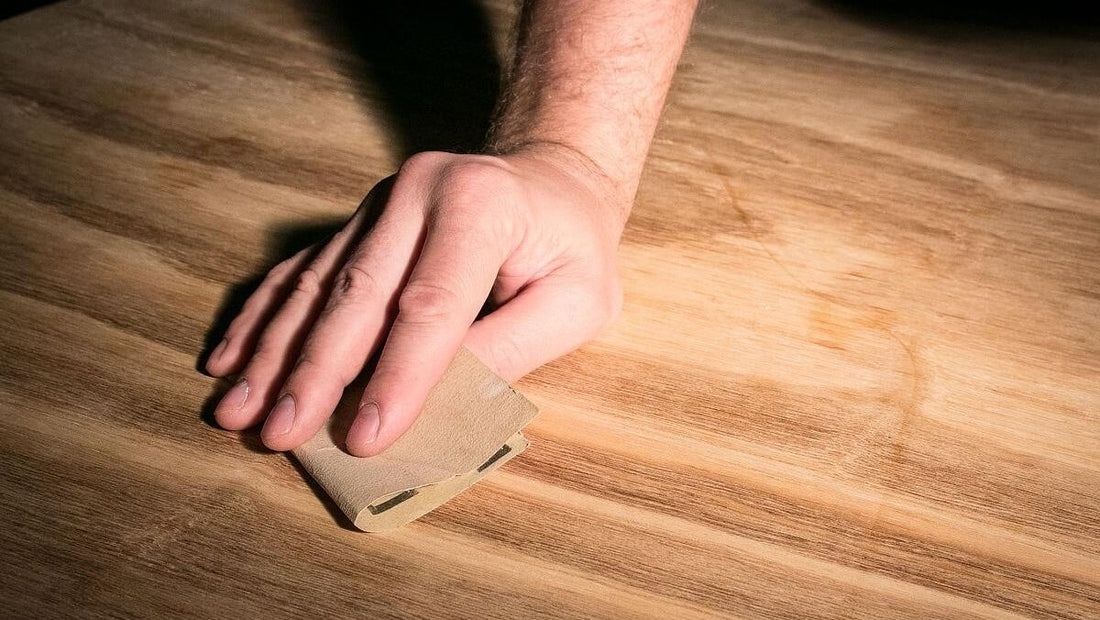
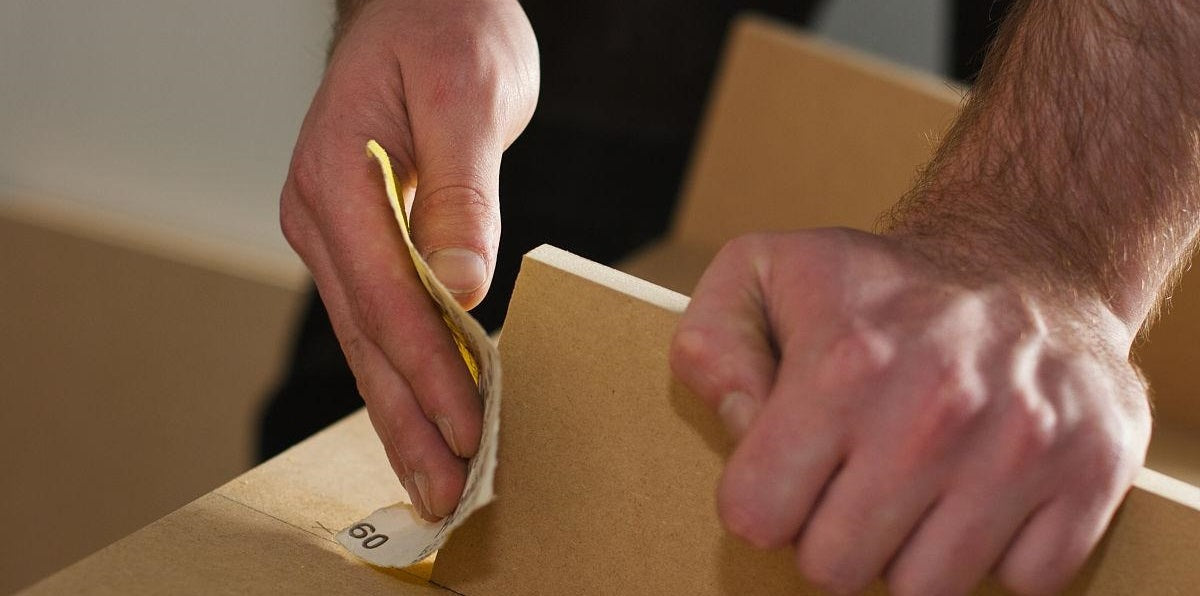
When you're dealing with delicate veneer surfaces, using your hands to sand is usually the way to go. It lets you be more careful and exact. First off, pick out a sandpaper with a fine grit, like around 100 to 120. That's your starting point. As you go, you might switch to even finer grits, like 150 or 180, to get things super smooth. For hand sanding small pieces, it's best to use a sanding sheet roll or a foam sanding pad roll. These are great because you can cut them to any length you need, and they can fit into round, curved, or bumpy shapes easily.
Start sanding in the same direction as the wood grain, making long, steady strokes. Don't press too hard, or you might damage the veneer. Going against the grain can cause scratches and uneven spots, so stick with one direction the whole time.
Every now and then, check the surface to see if you've sanded through the veneer. If you spot any glue or material underneath, it means you've gone too far. Stop right away to avoid making things worse, and see how bad it is.
Power Sanding Considerations:
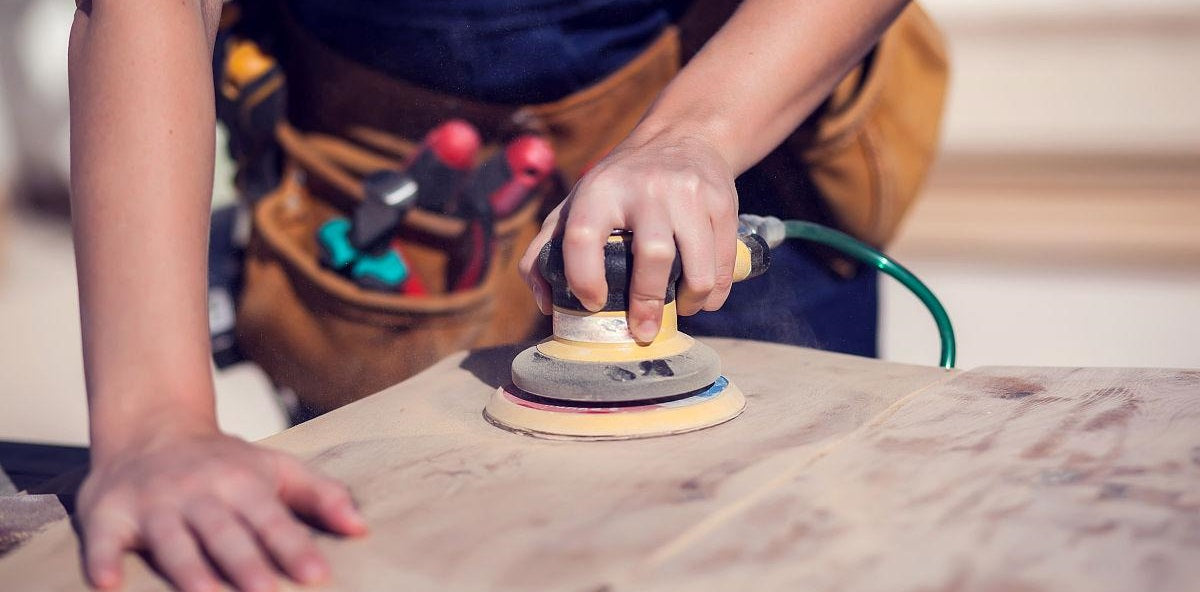
While hand sanding is often recommended for veneer surfaces, power sanding can be used for larger areas or to expedite the sanding process. However, caution should be exercised, especially for beginners, as power sanders can be more aggressive and may inadvertently damage the veneer if not used properly. If opting for power sanding, use a light touch and low-speed setting to minimize the risk of over-sanding or causing damage to the surface.
Sanding Lacquer

Sanding lacquer differs slightly from sanding veneer due to the nature of its cured finish. Unlike veneer, which is a raw wood surface, lacquer has already been applied and cured to form a protective layer over the underlying substrate. Here's a guide on sanding lacquer to achieve optimal results:
Waiting for Full Cure:
Before sanding lacquer, it's crucial to allow it to fully cure. Lacquer typically requires several days to fully cure and harden, depending on the specific product and environmental conditions. Attempting to sand lacquer before it has cured completely can result in a gummy or uneven surface, compromising the quality of the finish.
Selecting Sandpaper:
When you're sanding lacquer, go for a higher grit sandpaper first. This helps you avoid taking off too much or ruining the finish. Usually, you'd use sandpaper in the 320 to 400 grit range. It's gentle enough to fix bumps without making the finish look dull.
Dampening Sandpaper:
To achieve a smoother sanding experience and minimize the risk of scratching or marring the lacquer surface, consider slightly dampening the silicon carbide sandpaper with water. This helps lubricate the surface and prevents the sandpaper from becoming clogged with residue, resulting in more consistent and effective sanding.
Achieving Matte or Satin Finish:
For those aiming for a matte or satin finish, steel wool of 0000 grade can be used to lightly scuff the lacquer surface. This process helps to break the sheen of the finish, creating a more subdued appearance while maintaining its protective properties. Use gentle, circular motions to achieve an even scuff across the entire surface.
Advanced Techniques for High-Gloss Finish:
For those seeking a high-gloss finish, advanced techniques such as using rubbing compound and a power buffer can be employed. Rubbing compound helps to remove any remaining imperfections and restore clarity to the lacquer surface, while a power buffer ensures even application and a mirror-like shine. However, this technique requires skill and experience to avoid over-sanding or burning through the lacquer finish, making it better suited for advanced users.
FAQs about Sanding Veneer and Lacquer
Can I sand any type of veneer?
Yes, but with caution! Most veneers can be sanded, but always start with a finer grit (180-220) and work your way up slowly. Be extra careful with delicate veneers like paper-backed veneer.
How can I tell if I'm sanding through the veneer?
Look for a change in color or texture as you sand. If you see glue or the substrate material peeking through, stop immediately. You can try to touch up small areas, but extensive sanding through might require a veneer patch.
Do I need to sand between coats of lacquer?
Yes, lightly sanding between lacquer coats with 220 grit sandpaper improves adhesion and creates a smoother final finish. Remember to wipe away dust before applying the next coat.
Is there a way to fix scratches in the lacquer finish?
Yes! Depending on the severity, you can use a rubbing compound and a polishing pad to buff out minor scratches. For deeper scratches, you might need to reapply lacquer after sanding the affected area.
What if I mess up while sanding?
Don't panic! Small mistakes can be fixed. For minor scratches in the veneer, you can try wood filler or touch-up stains. Extensive damage might require professional repair or veneer replacement.


