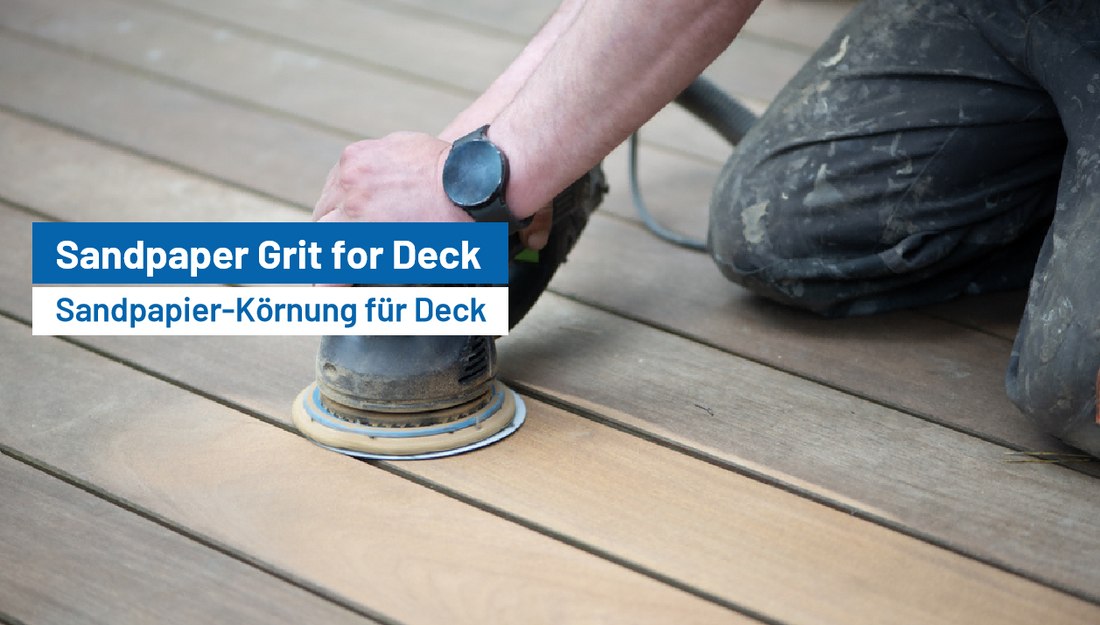
What Grit Sandpaper for Deck?
Refinishing your deck is essential to maintaining its longevity, beauty, and durability. Over time, decks endure exposure to harsh weather, foot traffic, and general wear and tear, leading to faded, splintered, or stained wood. Sanding is a crucial step before staining or sealing your deck, but choosing the right grit sandpaper can make all the difference. Using the wrong grit may damage the wood or leave it unprepared for finishing. This guide will walk you through the best grit sandpaper for different stages of deck sanding and refinishing.
Why Sanding Your Deck is Important
Before diving into the specifics of sandpaper grit, it’s important to understand why sanding is necessary when refinishing a deck:

- Removes Old Finish and Stains – If your deck has an old stain, paint, or sealer, sanding helps strip the surface to ensure even absorption of new coatings.
- Eliminates Surface Imperfections – Sanding smooths out rough patches, splinters, and cracks, making your deck safer and more comfortable to walk on.
- Enhances Finish Adhesion – A properly sanded deck allows stains, sealers, or paints to penetrate the wood better, leading to a longer-lasting finish.
- Restores Natural Beauty – Sanding reveals the fresh wood underneath, enhancing the overall appearance of your deck.
Choosing the Right Grit Sandpaper for Deck Sanding
1. Assessing the Deck Condition
Before selecting the sandpaper grit, evaluate your deck’s current state. Consider the following factors:
- Old finish type: Painted or heavily stained decks require coarser grit.
- Surface damage: Deep scratches or splinters need aggressive sanding.
- Wood type: Softer woods like pine require finer grit than hardwoods like teak or oak.
2. Coarse Sanding (Stripping Old Finish & Rough Surfaces)
Best Grit: 40-60 Grit Sandpaper
For removing tough coatings, use 40-60 grit sandpaper. This coarse grit is effective for stripping old paint, stains, or heavy weathering. Using a power sander with Film Sanding Disc PuroFilm 150mm Ceramic Velcro 15 Holes ensures efficient sanding with optimal dust extraction, reducing clogging and extending the life of the disc.
3. Intermediate Sanding (General Surface Smoothing)
Best Grit: 80 Grit Sandpaper
Once you’ve removed the old finish and evened out the rough areas, switch to 80 grit sandpaper. This medium grit refines the surface by eliminating the roughness left by coarser sanding. It’s the perfect choice for general deck sanding before applying a new stain or sealer. Using PURO Sanding Discs 150mm 119 Holes can improve efficiency with excellent dust extraction, reducing clogging and extending disc life.
4. Final Sanding (Prepping for Stain or Sealer)
Best Grit: 100-120 Grit Sandpaper
For the final pass before staining or sealing, use 100 to 120 grit sandpaper. This finer grit helps smooth the wood without making it too slick, ensuring that stains and sealers adhere properly. Avoid going finer than 120 grit, as excessively smooth surfaces may prevent proper stain absorption. Sanding Sheet Roll PURO 70mmx12m Ceramic Velcro Multi-hole is an excellent choice for this step, offering flexibility and uniform sanding performance.
Step-by-Step Guide to Sanding Your Deck
Step 1: Gather Your Tools and Materials
To efficiently sand your deck, you’ll need:
- Orbital or drum sander (for large decks)
- Hand sanding block (for corners and edges)
- 40-60 grit sandpaper (for stripping old finish)
- 80 grit sandpaper (for smoothing)
- 100-120 grit sandpaper (for final sanding)
- PURO Sanding Discs 150mm 119 Holes (for dust-free sanding)
- Sanding Sheet Roll PURO 70mmx12m Ceramic Velcro Multi-hole (for versatile sanding)

- Film Sanding Disc PuroFilm 150mm Ceramic Velcro 15 Holes (for efficient surface prep)
- Safety gear (dust mask, goggles, gloves)
- Broom or vacuum (to remove dust)
Step 2: Prepare the Deck
- Remove all furniture, plants, and obstacles from the deck.
- Inspect for nails or screws sticking out and secure them.
- Clean the surface with a deck cleaner to remove dirt, mold, and mildew.
- Let the deck dry completely before sanding.
Step 3: Start with Coarse Sanding (40-60 Grit)
- Use a power sander for efficiency, especially on large decks.
- Sand along the wood grain to prevent scratches.
- Work in sections, ensuring even sanding throughout.
- Utilize Film Sanding Disc PuroFilm 150mm Ceramic Velcro 15 Holes for effective removal of old coatings.
Step 4: Smooth with Medium Sanding (80 Grit)
- Replace the coarse sandpaper with 80 grit.
- Continue sanding in the direction of the grain.
- Focus on eliminating marks left by the coarser grit.
Step 5: Finish with Fine Sanding (100-120 Grit)
- Switch to fine sandpaper for the last pass.
- Lightly sand to refine the surface before applying stain or sealer.
Step 6: Clean the Deck
- Remove all sanding dust using a vacuum or broom.
- Wipe the deck with a damp cloth to remove any remaining particles.
- Let the deck dry before staining or sealing.
Common Mistakes to Avoid When Sanding a Deck

- Skipping Grit Progression – Jumping from coarse grit directly to fine grit can leave uneven surfaces. Always follow the correct grit sequence.
- Over-Sanding – Sanding too much can make the surface too smooth, preventing stain absorption.
- Sanding Against the Grain – Always sand in the direction of the wood grain to avoid scratches and an uneven finish.
- Not Cleaning Between Steps – Failing to remove dust can affect the final finish.
- Using Too High Grit – Avoid sanding with grits finer than 120, as it can hinder stain penetration.
Final Thoughts
Choosing the right grit sandpaper ensures that your deck refinishing project is successful. By following the recommended grit progression, you can achieve a smooth and durable surface ready for staining or sealing. A well-sanded deck enhances both the aesthetic appeal and longevity of the wood, providing a perfect finish that lasts for years. FastPlus sanding products offer high-quality solutions to help you complete the job efficiently and professionally.


