
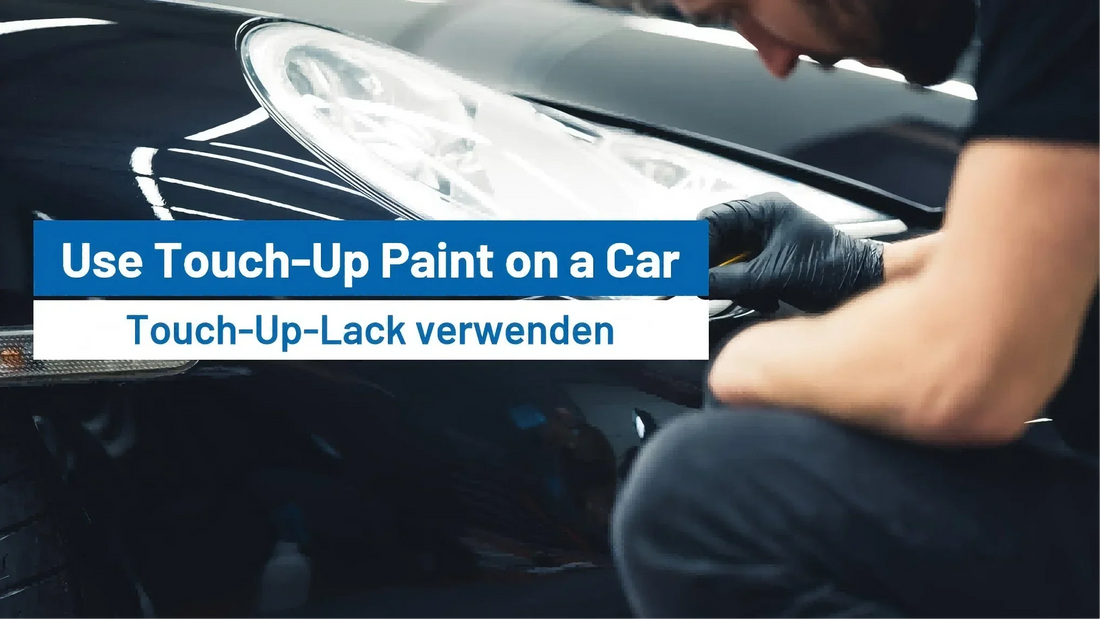
How to Use Touch-Up Paint on a Car?
When it comes to maintaining the appearance of your car, small chips and scratches in the paint can be a major concern. Whether caused by road debris, minor accidents, or just the wear and tear of everyday use, these imperfections can make your vehicle look aged and neglected. Thankfully, touch-up paint provides an affordable and straightforward way to restore your car’s appearance without the need for expensive professional repairs.

In this comprehensive guide, we’ll walk you through the steps of using touch-up paint on your car, so you can handle the task with confidence and achieve a flawless finish.
What You’ll Need
Before you get started, it's important to gather all the necessary tools and materials. Here’s what you’ll need:
-
Touch-up paint (usually available in small bottles or pens)

- Primer (for deeper scratches or exposed metal)
- Clear coat (for added protection and gloss)
- Sandpaper (grit ranges from 1000 to 2000, depending on the finish)
- Masking tape and paper (to protect surrounding areas)
- Microfiber cloth
- Polishing compound
- Rubbing alcohol or wax and grease remover
- Paintbrush or applicator pen (depending on the touch-up kit)
Once you have everything, you’ll be ready to start.
Step 1: Clean and Prepare the Area
The first and most important step when applying touch-up paint is cleaning the area. Any dirt, grease, or residue left on the surface can cause imperfections and prevent the paint from adhering properly. Here's how you can prep the car:
- Wash the Surface: Use car shampoo and water to wash the area around the scratch or chip. This removes any dirt or debris.
- Dry the Area: Use a clean microfiber cloth to dry the surface completely.
- Clean with Rubbing Alcohol: To ensure the surface is free from any oils or contaminants, wipe down the area with a cloth soaked in rubbing alcohol or wax and grease remover.
Now, your car’s surface is prepped and ready for touch-up paint.
Step 2: Mask Off the Surrounding Areas
If you want a clean and precise application, it’s essential to mask off areas surrounding the chip or scratch. This ensures the paint stays where it’s needed and doesn't spill over onto the surrounding undamaged areas.
- Apply Masking Tape: Use high-quality masking tape to outline the area you’ll be painting. Be sure to leave a small margin around the scratch to protect the rest of the car's finish.
- Cover Large Areas: If you're dealing with a larger area, use masking paper or plastic to cover adjacent panels to avoid getting paint on other parts of your car.
This step ensures that only the affected area will get painted and minimizes the risk of mistakes.
Step 3: Apply Primer (Optional)
If your scratch or chip is deep enough that it has exposed the metal, you’ll need to apply a primer before you start painting. Primer helps ensure that the paint adheres better and provides a smoother finish.
- Apply a Thin Layer of Primer: Using the primer provided in your touch-up kit or a separate automotive primer, apply a thin layer to the exposed metal or the scratch area.
- Let It Dry: Follow the manufacturer’s instructions for drying time, which can range from 15 minutes to an hour depending on the product.
If the damage doesn’t expose the metal, you can skip this step and move on to applying the touch-up paint.
Step 4: Apply the Touch-Up Paint
Now it’s time to get the touch-up paint on your car! This is the most critical step, so take your time and be patient.
- Shake the Paint: Make sure the paint is well-mixed by shaking the bottle or pen for at least a minute. This will ensure a consistent color when applied.
- Use the Applicator: Depending on the product you have, you can use a fine brush, paint pen, or an applicator sponge. For smaller chips, a brush or pen is ideal, while larger chips may require a sponge.
- Apply Thin Layers: Start with a very thin layer of paint. Apply the paint directly to the chip or scratch, filling it in gently. Avoid overloading the brush or pen with paint, as this can cause drips and uneven coverage.
- Build Up Layers: If the damage is deep, apply additional coats of paint. Let each layer dry completely before applying the next. This will help build up the color and cover the imperfection.
- Feather the Edges: To make sure the repair blends in with the surrounding paint, feather the edges of the touch-up paint by gently smoothing out the borders with the applicator.
Step 5: Let the Paint Dry
Once the paint has been applied, you’ll need to let it dry completely. The drying time will depend on the type of paint you’re using and the weather conditions.
- Drying Time: Typically, touch-up paint should dry for at least 24 hours before proceeding to the next step. However, follow the instructions on the touch-up paint product, as some may require longer drying times.
- Avoid Touching the Area: Try not to touch the painted area while it’s drying. Oils from your fingers can create smudges or fingerprints.
Step 6: Apply Clear Coat
After your touch-up paint has fully dried, you’ll want to protect it and give it a glossy finish by applying a layer of clear coat. This will also make the paint more durable and provide protection against the elements.
- Apply Clear Coat: Use a fine spray or brush to apply a thin, even layer of clear coat over the repaired area.
- Allow it to Dry: Clear coat typically takes about 30 minutes to dry to the touch, but it’s best to wait at least 24 hours before polishing.
- Repeat if Necessary: For a thicker or smoother finish, you may want to apply additional coats of clear coat.
Step 7: Sand and Polish the Area
Once the clear coat has dried, it’s time to make the repair blend seamlessly with the rest of your car’s paint. This step may seem intimidating, but with the right tools and a little patience, you can achieve a flawless finish.
- Wet Sanding: After the clear coat has dried, lightly wet sand the area with 1000 to 2000 grit sandpaper. Use a sanding block to keep the pressure even. This helps to smooth out the surface and level the touch-up paint with the surrounding paint.
- Polishing: After sanding, use a polishing compound to restore the shine to the repaired area. Apply the compound using a soft microfiber cloth and rub it in circular motions until the area is smooth and shiny.

Be careful not to sand too aggressively, as this can cause damage to the surrounding paint.
Step 8: Final Inspection and Clean-Up
Once you’re satisfied with the appearance of the repaired area, remove the masking tape and paper. Inspect the repair to ensure the touch-up paint blends seamlessly with the rest of the car’s finish.
- Inspect the Repair: Look closely at the touch-up area to make sure the color and texture match the surrounding paint. If necessary, repeat any of the steps above to refine the finish.
- Clean the Area: Wipe down the entire surface with a clean microfiber cloth to remove any dust or residue.
Tips for the Best Results
- Use the Correct Color: Make sure the touch-up paint you purchase matches your car’s paint code. You can usually find this code on a label inside the driver’s side door frame or in the owner’s manual.
- Work in a Controlled Environment: Try to perform touch-up repairs in a garage or shaded area to avoid dust, dirt, or bugs from getting into the wet paint.
- Take Your Time: Don’t rush the process. Allow the paint to dry completely between coats, and make sure each layer is thin and smooth.
- Avoid Car Washes: After your repair, avoid washing the car for at least a week to ensure the paint has time to fully cure.
Conclusion
Using touch-up paint on your car can restore its appearance and help you avoid the high costs of professional repairs. By following these simple steps and using the right products, you can achieve a smooth, seamless finish that blends perfectly with your car’s original paint. Whether you're touching up a small chip or a larger scratch, a little patience and attention to detail will give you impressive results.
If you're looking for premium touch-up products and automotive accessories, FastPlus offers a wide range of high-quality solutions designed to make your repairs easier and more efficient. From touch-up paint to sanding discs, sandpaper, and polishing tools, FastPlus ensures that your car looks as good as new with products that deliver professional results every time.


