How to Remove and Prevent "Pigtails" on the Car Surface After Sanding?

Causes of Pigtails During the Sanding Process
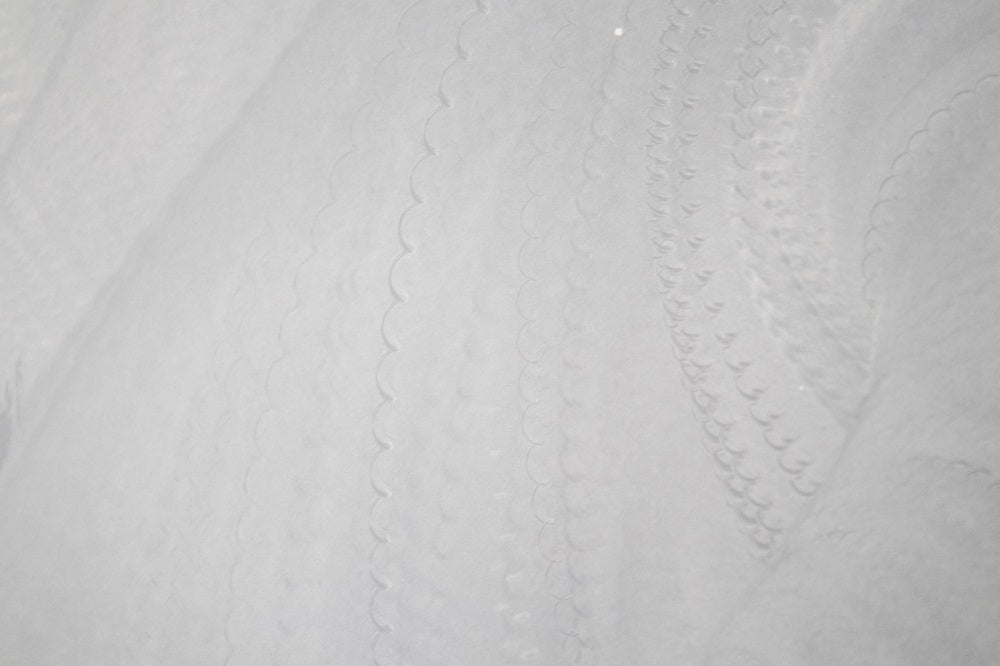
Pigtails can occur during the sanding process due to a variety of factors and improper techniques. In order to provide you with a clearer understanding of pigtails, we have compiled a list of common causes associated with their formation:
Incorrect sanding technique
Applying uneven pressure, using excessive force, or sanding in a haphazard manner can lead to the formation of pigtails. Inconsistent movements or not following a systematic approach while sanding can result in irregular scratches.
Wrong sandpaper grit
Using an inappropriate grit size of sandpaper can cause pigtails. Using too coarse grit can leave deep scratches, while using too fine may not effectively remove imperfections, leading to uneven results.
Contaminated sanding tools
Sanding with dirty or contaminated sanding discs for car, blocks, or pads can introduce debris or abrasive particles onto the car's surface. These particles can cause additional scratches, resulting in pigtails.
Insufficient lubrication
Inadequate use of water, lubricants, or sanding compounds during the sanding process can increase friction and heat buildup. This can result in sandpaper grabbing and causing pigtails.
Poor sanding pad or tool selection
Using a sanding pad or tool that is not suitable for the specific job can contribute to pigtails. For instance, using a worn-out or damaged pad or a pad with an incorrect level of aggressiveness for the paint type can leave unwanted marks.
Lack of proper surface preparation
Failing to thoroughly clean and decontaminate the car's surface before sanding can introduce foreign particles that may cause pigtails during the sanding process.
How to Remove Pigtails from Car Surface?
In the case where the pigtails are superficial, merely grazing the surface without breaching the clear coat or paint layer, you may explore gentler approaches as a first recourse. However, if the pigtails have etched deeply, breaching the clear coat and impacting its integrity, it becomes imperative to undertake additional measures, such as using sandpaper for clear coat, to address the situation effectively.
Assess the pigtails:
Thoroughly examine the pigtails to determine their severity. Pigtails resemble swirls or scratches and are typically caused by incorrect sanding techniques or the use of inappropriate sandpaper grit.
Evaluate the depth:
If the pigtails are shallow and have not penetrated the clear coat or paint layer, you can attempt less aggressive methods. However, if they are deep and have affected the clear coat, additional steps will be necessary.
Shallow pigtails - Compound and polish:
Achieve a thorough cleansing of your car by utilizing a mild car wash soap and water, effectively eliminating any dirt and debris that may have accumulated on the surface.
Take a small quantity of automotive rubbing compound and carefully apply it onto a foam pad or cloth, ensuring even distribution for optimal results.
With a gentle touch, employ circular motions to work the compound onto the pigtails, applying moderate pressure while ensuring the pad or cloth remains adequately lubricated throughout the process.
Repeat the process until the pigtails are significantly reduced or eliminated. This may require multiple attempts, so patience is key.
Wipe off any excess compound and inspect the surface.
Using a clean foam pad or cloth, gently apply car polish in circular motions, rejuvenating the surface with a renewed shine and accentuating the overall finish.
Unleash the final stroke of refinement as you delicately maneuver a pristine microfiber cloth across the area, meticulously buffing away any lingering traces of polish residue, unveiling an impeccably smooth finish that radiates sophistication.
Deep pigtails - Spot repair:
For deep pigtails that have penetrated the clear coat or paint layer, spot repairs are necessary.
Gradually sand the area surrounding the pigtails with increasingly finer grit Flexpro foam discs, starting from around 2000 grit and progressing to 3000 or 5000 grit. This will help smoothen the surface.
Upon completing the sanding process, employ the power of rubbing compound and proceed with the aforementioned polishing method to effectively banish any lingering pigtails or unsightly sanding marks that may have persisted.
If the clear coat or paint layer has been significantly affected, proper repair and refinishing of that specific area may be required.
How to Prevent Pigtails During the Sanding Process?
Use high-quality sandpaper
Invest in reputable brands of sandpaper that are specifically designed for automotive applications. High-quality sandpaper tends to have better abrasive properties and is less prone to causing pigtails.
Perform a test spot
Before sanding the entire surface, it's advisable to do a test spot in a less visible area. This will allow you to assess the results and make any necessary adjustments to your technique before proceeding to the larger areas.
Keep the surface lubricated
Using a lubricant or water while sanding can help reduce friction and heat buildup, minimizing the chances of pigtails. Some automotive wet and dry sandpapers are designed to be used wet, and following the manufacturer's recommendations can be beneficial.
Utilize an adequate tool speed
Ensure that you utilize an adequate tool speed that allows the pad to rotate smoothly, with one rotation per second being sufficient. This spinning motion facilitates the expulsion of particles and prevents their accumulation, leading to a smoother surface and reducing the likelihood of the formation of "pigtails."
Always hold the sander as flat to the surface as possible
Maintaining a flat position of the sander in relation to the surface is crucial for achieving optimal results during sanding. By holding the sander as flat as possible, you ensure consistent contact between the sanding pad and the surface, allowing for even material removal and minimizing the risk of uneven or inconsistent sanding marks.
Opt for progressive sanding
Start with coarser grit sandpaper to remove imperfections and then gradually move to finer grits. This progressive sanding process helps minimize the depth of scratches, reducing the visibility of pigtails.
Use proper lighting
Adequate lighting is crucial during the sanding process. Properly illuminated work areas allow you to spot any pigtails as they occur, giving you the opportunity to correct them immediately.
Wrapping It All Up
While pigtails can be a distressing and, at times, an inevitable consequence of the sanding process, fear not, by diligently following the approaches we presented, not only can you bid farewell to these unsightly marks, but you can also take preventative measures to minimize their occurrence, guaranteeing a finish that is nothing short of flawless and exuding a professional allure.
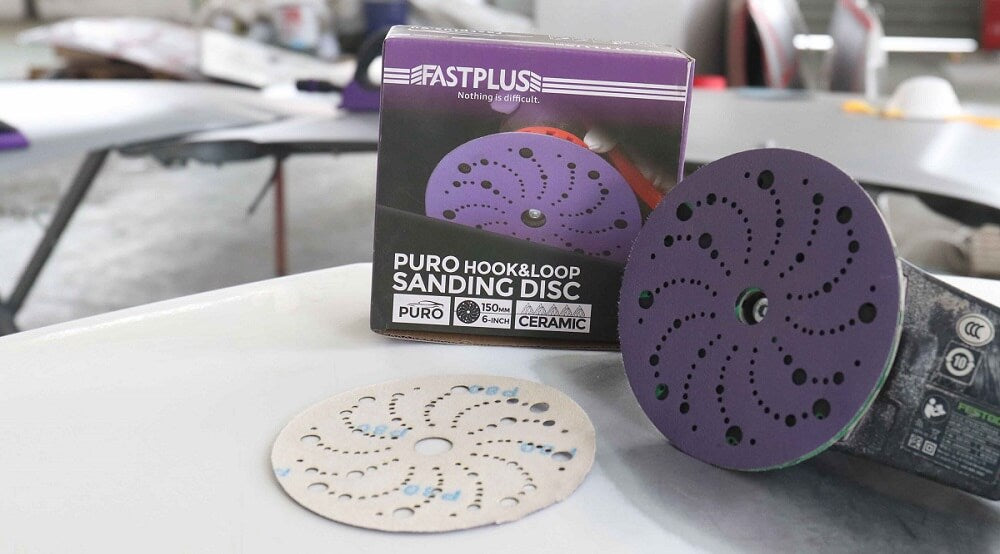
Buy Fastplus Factory-Direct Abrasives
Want to purchase high-quality, factory-direct sanding discs, sanding sheet rolls, and film abrasive discs for automotive applications? Try Fastplus Abrasives today and place your orders online! 


