
How to Sand and Polish Clear Coat Properly?
Clear coat is a very durable and scratch-resistant paint. It is most commonly used in cars because it can withstand any weather conditions. Sanding and polishing the clear coat can reduce or dispose of the orange peel impact. In case you want your vehicle to look high-quality, remember that clear coat polishing work takes time, practice, and precision.
Materials Needed:
- Polishing compound
- Polishing pad (100 percent wool)
- Electric buffer/polisher
- Finishing polish
- Abrasive discs & Sandpapers for the car (400, 800,1000, and 1200 grit)
- Soft foam buffing pad
- Variable speed polisher
Sand the Clear Coat
Step 1: Soak the sandpaper
Put all the sandpaper in a bucket of clean water and let it soak for about 10 minutes to an hour.
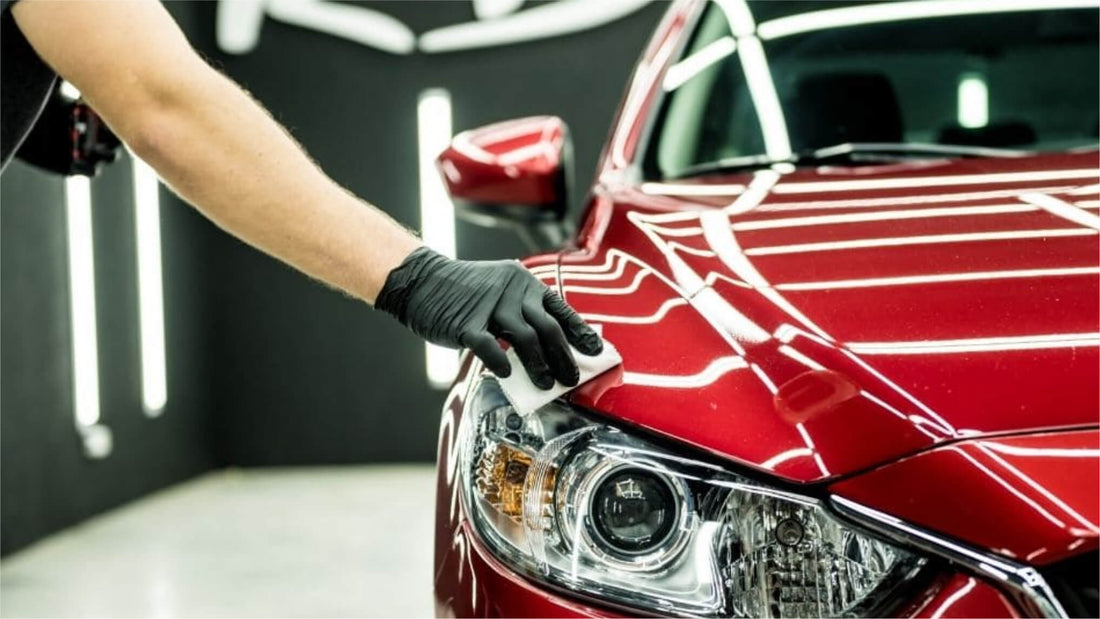
Step 2: Wash the car before you start working
You want to make sure the car is very clean, so wash it thoroughly with soap and a car wash brush or sponge to avoid scratches.
Dry the vehicle thoroughly after cleaning using a microfiber cloth or chamois leather. If necessary, let it dry naturally.
Step 3: Start by wet sanding the clear coat

Wet sand the clear coat with 400 grit sandpaper, as finer and finer imperfections can replace the orange peel. Finally, fill it with polish.
The sanding step helps remove the clear coat until the entire surface is smooth, as sandpaper removes fine scratches from the finish. Sanding can be a lengthy process, so this step will take some time.
Step 4: Keep on wet-sanding with finer grit sandpaper
Progress up to 800 grit sandpaper, and after which 1000 grit, and finally 1200 grit. The surface needs to look smooth and you ought to see a crosshatch pattern in the sanding markings.
Step 5: Tape delicate surfaces
Apply masking tape to areas of surfaces you may not wish to scratch with the sandpaper, including molding, edges of panels, headlights or taillights, and weather strip protection.
Step 6: Get your sandpaper ready
When sanding, you have two options: You can start with coarse sandpaper (600-800 grit) or use fine grit sandpaper (1200-2000 grit).
Tip: For better results, you should start with coarse-grit sandpaper and finish with a fine grit. Either way, you'll need to take the sandpaper out of the bucket, trim it if necessary, and attach it to the sanding block.
Step 7: Sand the car
Applying light but steady pressure with one hand, start sanding. When the surface starts to dry, hold the spray bottle in your other hand and spray the surface. Grind evenly at a 45-degree angle to the blemish you wish to remove so that it can be identified from the blemish you have polished.
Step 8: Let the sanded area dry
When the water is gone and it turns milky, stop grinding. Dry the area with a towel and make sure the clear coat has not penetrated completely.
NOTE: Do not allow the surface you are sanding to dry out.
Step 9: Sand with finer sandpaper
Switch to fine sandpaper and repeat step 5 to remove scratches from the coarse sandpaper. When finished, the area should be wiped dry. The sanded surface should have a matte, even, chalky appearance. Remember to remove the masking tape after sanding all surfaces.
Polish the sanded area with polishing compounds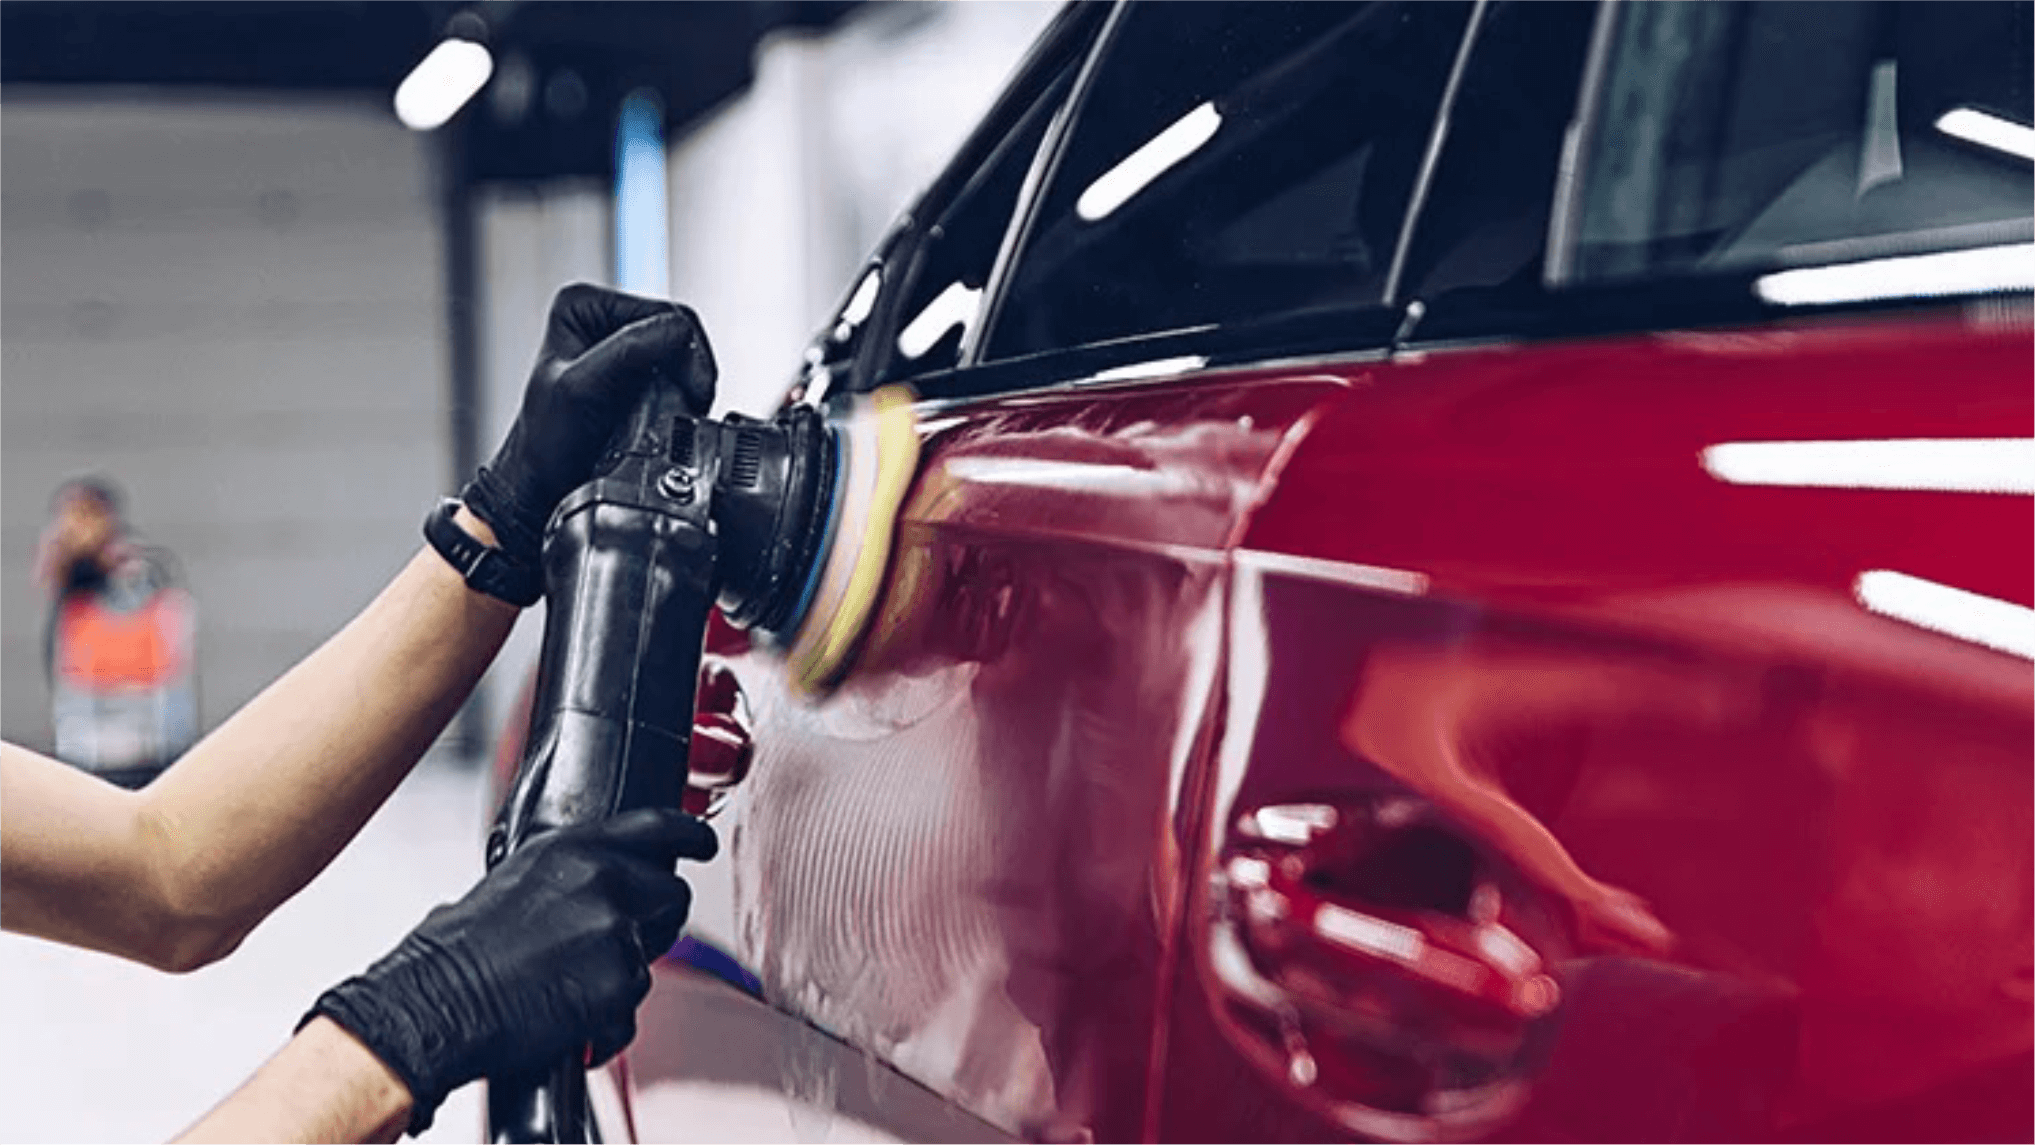
Step 1: Apply polish
Apply polish evenly to the electric bumper or foam pad. If you use an electric damper, it should be turned on at low RPM (around 1200-1400). Move the bumper frequently while polishing to avoid overheating the area. If using a foam pad, apply abrasive in circular motions until a sufficient amount is applied.
Step 2: Continue polishing with a soft pad
The scratches should now be gone, but you may see tiny swirls on the surface. Now switch to a soft polishing compound and continue polishing until the vehicle has a high sheen.
Warning: Do not leave polish on one area for too long or it will damage the primer. Make sure you have enough polish to keep it wet at all times, otherwise you'll have to start over or clean the surface again.
Step 3: Clean the polished area with a sprayer
This will finally clean the area and remove any residue.
Step 4: Check for areas you missed
If found, repeat the polishing procedure until the entire surface is properly polished and looks clean and shiny.
Step 5: Apply wax to the polished area
This adds an extra layer of protection. Use a good-quality paste or liquid wax and apply according to the manufacturer's instructions.
It's time to put away all your polishing tools and enjoy the great work. Polishing up the clear coat is a lot of work, but it's worth the effort when you're driving down the road and enjoying the compliments.
NOTE: Regular cleaning and waxing are required to maintain the vehicle's luster.
Buy Factory-Direct Fastplus Abrasives
Want to purchase high-quality, factory-direct sanding discs, sanding sheet rolls, and film abrasive discs for automotive applications? Try Fastplus Abrasives today and place your orders online! 


