How to Wet Sand Your Car at Home?
 Are you trying to wet sand your car so you can polish it to high gloss? Do you want to just remove the topcoat and sand the paint before adding a primer and painting the car? Generally speaking, wet sanding can be used on new paint to achieve an even finish and remove what is commonly referred to as orange peel where the paint appears to have the texture of the orange peel. It can be used on paintwork to remove scuffs and minor scratches and to restore shine to the paintwork. In this article, Fastplus Abrasives will discuss the best way to wet sand your car and how to do it properly.
How to Do Preparations to Wet Sand Your Car
Here are the items and materials you will need to gather before you start wet sanding your car.
-
Determine if wet sanding is right for your vehicle.

Wet sanding is a great way to restore paint to its original sheen, but it's not always the best option. For example, scratches down to the metal often cannot be repaired with wet sanding alone. However, if the clear coat of the paint is scuffed or scratched, wet sanding may be a good idea.
- Scratches deep enough to expose metal cannot be removed by wet sanding alone.
- Wet sanding primarily repairs damage to paint topcoats and clear coats.
-
Evaluate the type of sandpaper required.

The damage you are trying to repair will determine the amount of sanding and type of sandpaper you need. Severe varnish damage requires multiple steps, while minor scuffs can be repaired in one step.
- For minor paint damage, skip the 1200- or 1500-grit sandpaper and start with 2000 or 3000-grit instead. You can also skip directly to 2000- or 3000-grit sandpaper when wet sanding a newly painted surface.
-
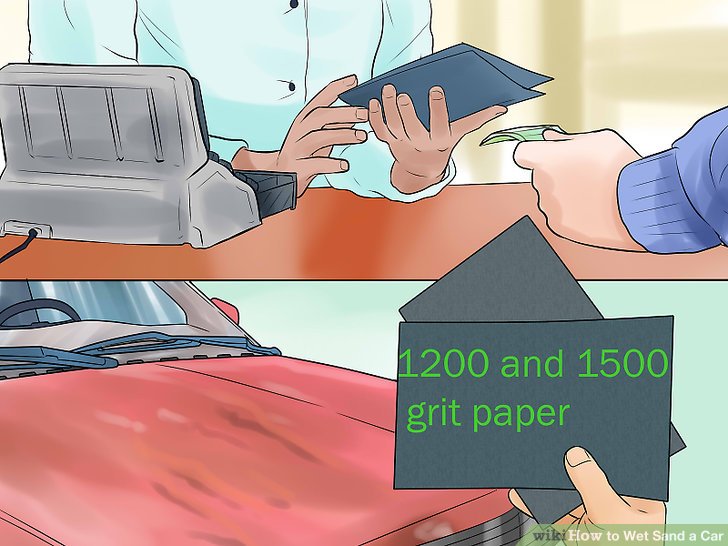
Use 1200 or 1500 grit sandpaper.

To repair a worn, scuffed, or scratched painted surface, start with 1200 or 1500 grit sandpaper.
- Sandpaper less than 1200 grit may cause hard-to-polish scratches.
- The larger the grit of the sandpaper, the finer the polished surface.
-
Fill the bucket with water and a small amount of car wash.

Wet sanding requires a lubricant to prevent the sandpaper from scorching the paint. Fill a regular bucket with water and a little car wash liquid. Don't use car soap that doubles as wax or polish.
- Detergents can also be used for this application.
-
Cut the sandpaper in half lengthwise.

Take the sandpaper out of the package and hold it like a piece of paper, with the long sides facing each other. Using heavy-duty scissors, cut the 230x280mm sandpaper sheets lengthwise to double the number of sheets.
- The width of the cut sheet surrounds most sandpaper squeegees and is more manageable.
- The strip should be longer than it is wide so that it is half submerged in water.
-
Soak half of each sandpaper for 5 minutes.

Place sandpaper along the edge of the bucket so that half of each sheet is submerged in soapy water. Soak for about 5 minutes.
- The soaking half should be completely saturated with soapy water before continuing.
- Dry parts allow the sandpaper to be securely attached to the tool of your choice.
How to Wet Sand the Car
The following is a list that discusses how you can wet sand your car the right way.
-
Wash and dry the part.

Before you start wet sanding, be sure to remove any residue or film from the area you will be working on. To clean, use regular car detergent and a wet sanding sponge, and rinse thoroughly with a hose.
- Do not use automotive soaps that are also polished or waxed.
- No need to wait for the area to dry.
-
Wrap sandpaper around a squeegee or pad.

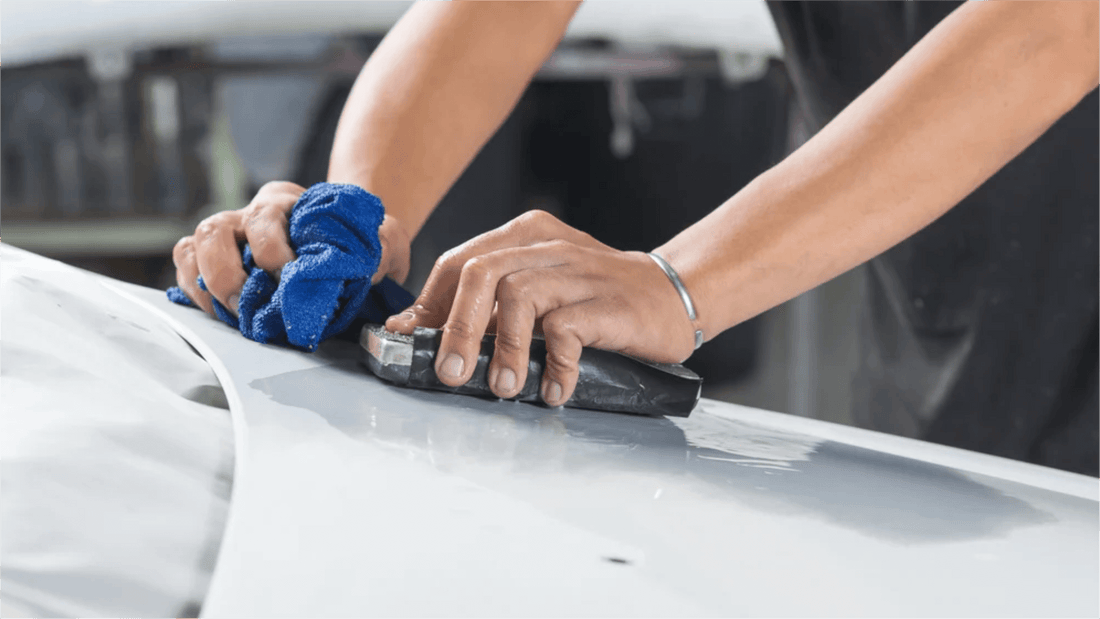
Do not use your hands when wet sanding. The gaps between your fingers can create unevenness on the polished surface, resulting in an uneven finish. Instead, wrap sandpaper around a pad, handle, or sandpaper his wiper, depending on your preference.
- Available with flat, curved, or flexible handles depending on the area to be wet sanded.
- You can buy sanding tools at most hardware, auto parts stores or Fastplus online store.
-
Rub gently in a circular motion.

Once the sandpaper is fully soaked, use small circular motions and light pressure to begin sanding the area. If the sanding doesn't seem to affect the wet sanding clear coat, use a little more force. Do not press hard enough to damage the paint itself.
- It may take a little practice to determine how much pressure to apply to the sandpaper.
- If the sandpaper penetrates beyond the clear coat or damages the paintwork, remove the sandpaper.
-
Move the sandpaper in multiple directions to sand evenly.

Occasionally change the direction of the circular motion or approach the area from a different angle. This ensures that the entire surface is evenly polished.
- Polishing unevenness is not noticeable during work, but it is noticeable in the finish. Be careful not to increase the pressure when changing the angle or direction.
- The paint color should seep into the water and be slightly tinted. If the water thickens, you are grinding too hard.
-
Add water as needed.

Do not allow the sandpaper to dry when sanding wet. Keep the area well wet with soapy water throughout the process, dipping the sandpaper into a bucket or pouring soapy water over the vehicle.
- As the sandpaper dries, it will generate heat and scorch the paint.
- If you burn the paint, you may need to repaint that part of the body.
- If the sandpaper is worn or too wet to use, replace the sandpaper sheet with a new soaked one.
Final Thoughts
Now you know the right way to wet sand cars! This is a very delicate process and there is absolutely no room for error during the wet sanding car, so it is important to follow all of the above steps meticulously. It is crucial to take your time and be careful.
Buy Fastplus Factory-Direct Abrasives
Want to purchase high-quality, factory-direct sanding discs, sanding sheet rolls, wet/dry sandpapers and film abrasive discs for automotive applications? Try Fastplus Abrasives today and place your orders online! 
Image source: wihiHow


