How to Restore Car Headlights by Yourself?
Like almost all other things, your car headlights begin to degrade eventually. The majority of cars’ headlight is made from plastic, which as a material is quite susceptible to oxidation and UV radiation. Specifically, your plastic headlights become foggy, faded, and yellowed. Apart from the fact those defects on headlights are a major turnoff aesthetically, some legit safety concerns should make you want to learn how to restore headlights of your car.

Thankfully, with the right tools to work, and some Fastplus abrasives, you can get your car headlight looking like new again. Don’t talk yourself out of this now – as far as DIY activities go, restoring your car headlight falls into the easy category. Don’t worry, we have detailed everything you need to get it done this upcoming Saturday morning. Let’s go!
Why You Should Restore Headlights Of Car?
When your headlight becomes foggy or turns yellow, they reduce the light output coming out from the beam, making it difficult for you to see the road at night. It also makes it difficult for other road users to see your car coming, putting all concerned at risk. Furthermore, we expect a foggy and/or faded car headlight to fail just about every government agency check on the road. So, you might not have as much time to fix things as you think. Lastly, have you seen faded or oxidation headlights before? It so easily takes the shine out of an otherwise impeccably-detailed car. If you love cars as much as we do, we expect you’d do anything to bring your car in line with your style and personality.
How to Restore Car Headlight?
Give Your Car a Good Cleaning
Because we are going to be detaching and attaching stuff and using abrasives and polishing, it's necessary to remove dust from the car surface, especially around the headlight area. We recommend you carry out a thorough cleaning job of your car, both prewash and contact wash. Thereafter, rinse well and dry the vehicle properly.

Start your cleaning from the lens and then work your way around the edges where there may be trapped dirt. Your first job here is straightforward, just get the area where you’re going to be doing so much work as spotless as possible. Because any dirt or grim left on the headlight surface can cause damage by inflicting deep scratches on the car and ingraining itself into the soft plastic.
Tape Off the Work Area
Unless for peculiar cases, you don’t have to remove your headlight to do this DIY. This means the areas around your headlight will need some protection.

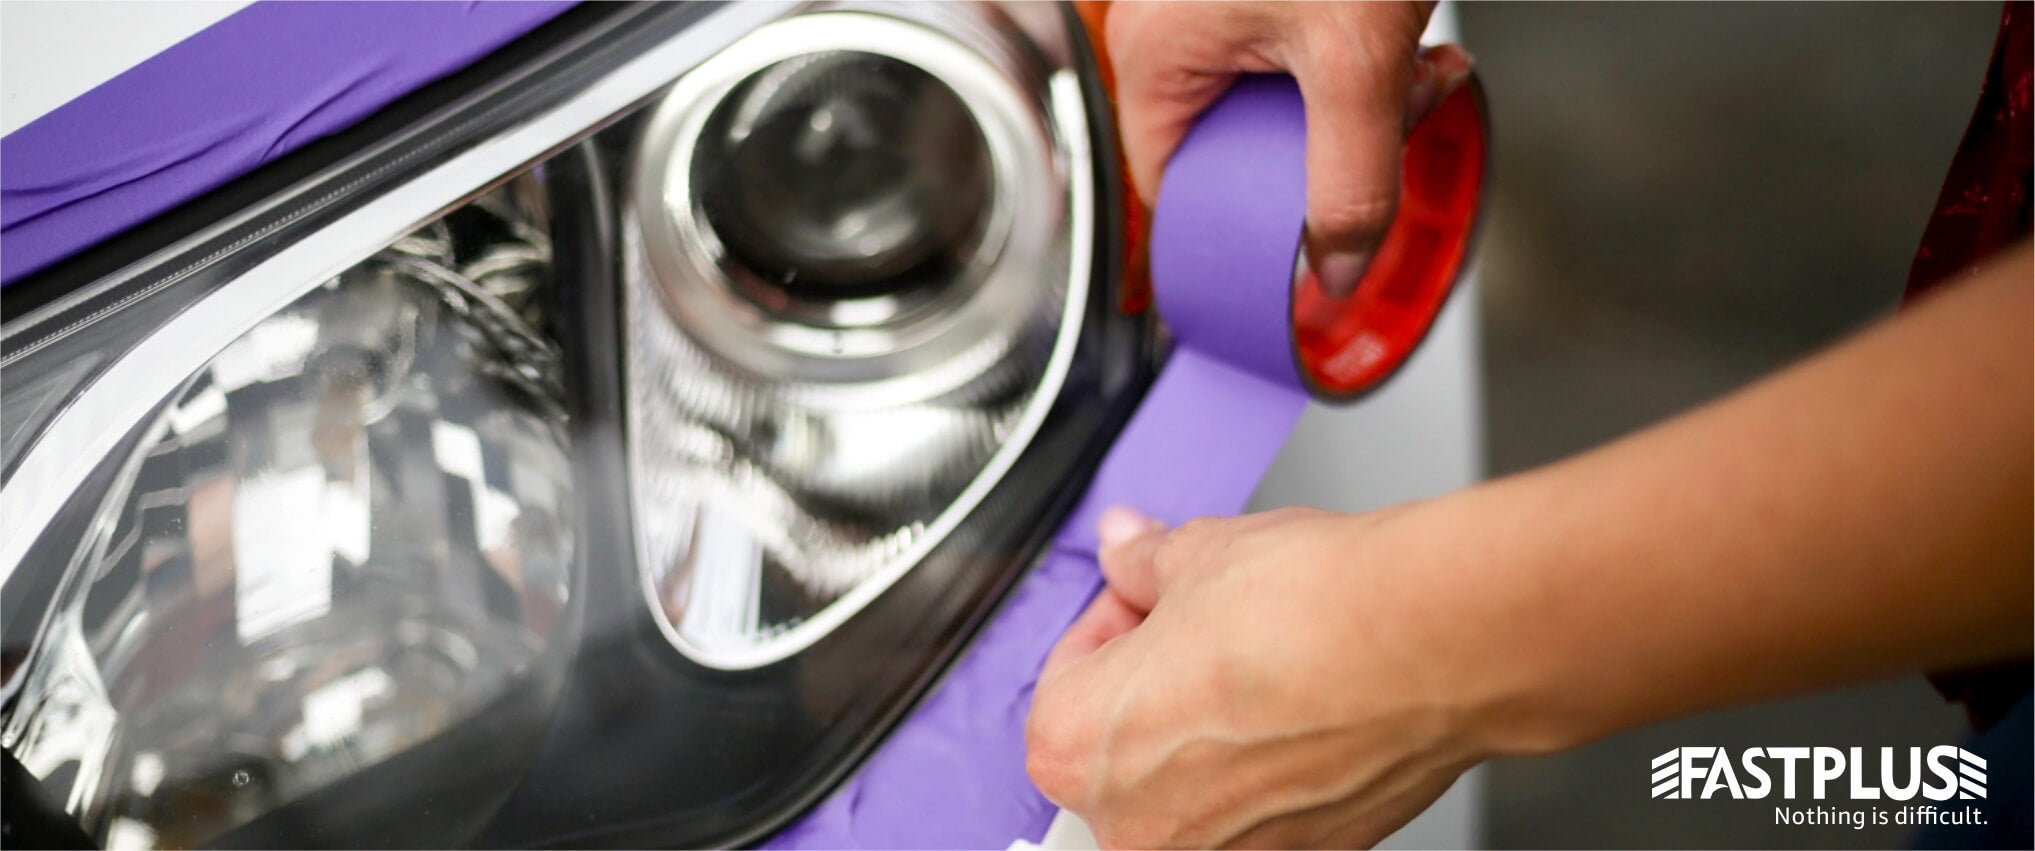
Masking the work area is your first real job and you want to get it right. People say it’s the most important step in the whole process, considering it is meant to protect your car paint, it’s hard to disagree. With masking tape, cover up any paint surrounding the headlights. Ensure even the recesses are well taped off while avoiding the surface of the lenses. If you do it well enough, you won’t mess up the paint while improving the condition of your headlight. Hence, no need for a repaint job.
Get To Work With The Sanding Sheets
Okay, here’s actually the step where you start getting your headlight to look new again. The sanding process is mostly the same, whether you bought the sanding and abrasives for the car kit or just the material.

Depending on the level of damage to the surface of your headlight, it is advisable to start with the harshest sandpaper option that you have and then work your way to the finer options in your collection. Wet the sandpaper and the headlight, then sand the lens by moving in straight, horizontal strokes. Once you have chosen a direction to sand, maintain it with every other stroke you take. You must keep the surface sufficiently lubricated with water.
Then, switch over to the finer sandpaper in your kit, such as the 2000 grit, and then the 3000 grit. For the 2000 grit sandpaper, you’ll want to sand diagonally across the headlight. For the final sanding using the 3000 grit paper, your direction should be in the opposite diagonal motion to the last one you just did. All through the process practice wet sanding – keep the surfaces always lubricated with water.
Polishing and Restoring
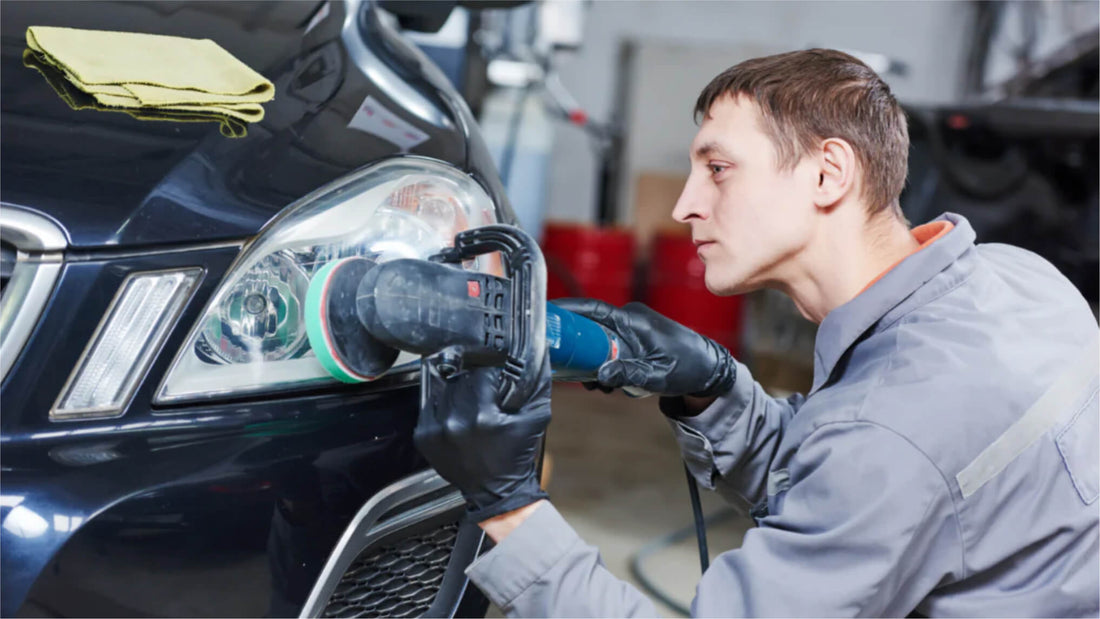
Wet sanding leaves the surface with haze and light scratches, the restoring and polishing stages use polishing compounds and materials to finish up the job. Again, the idea is to work with coarse compounds and then move up to finer options. Use a clean microfiber cloth to brush off residual particles. This time, you can achieve the best results by working each polisher component into the surface gently, with a small overlapping circular motion.

Finish Off with UV Sealant
At this point, your headlight should be looking very clear again. What you need now is to ensure it stays that way for a long time - enter the UV sealant. When you sanded, you wiped off all of the old oxidized sealants. To ensure that all your hard work doesn’t go down the drain, you’ll have to apply this protective layer that ensures the lenses don’t hazel over.
Simply wet sandpaper and apply the UV sealant in sweeping broad strokes. Just ensure that you achieve full coverage. The tradition is to apply one layer of sealant, but always defer to the instructions for the particular sealant you get. Allow the sealant to dry properly by parking your car in a cool dry place.
Final Thoughts
There you have it. With a few abrasives and masking tape and finishing polish, you can be able to restore your car headlights to brand-new levels again. We have detailed a process that works, all you have to do is DIY! There you have it. With a few abrasives and masking tape and finishing polish, you can be able to restore your car headlights to brand-new levels again. We have detailed a process that works, all you have to do is DIY!
Buy Fastplus Factory-Direct Abrasives
Want to purchase high-quality, factory-direct sanding discs, sanding rolls, and film abrasive discs for automotive applications? Try Fastplus Abrasives today and place your orders online!


